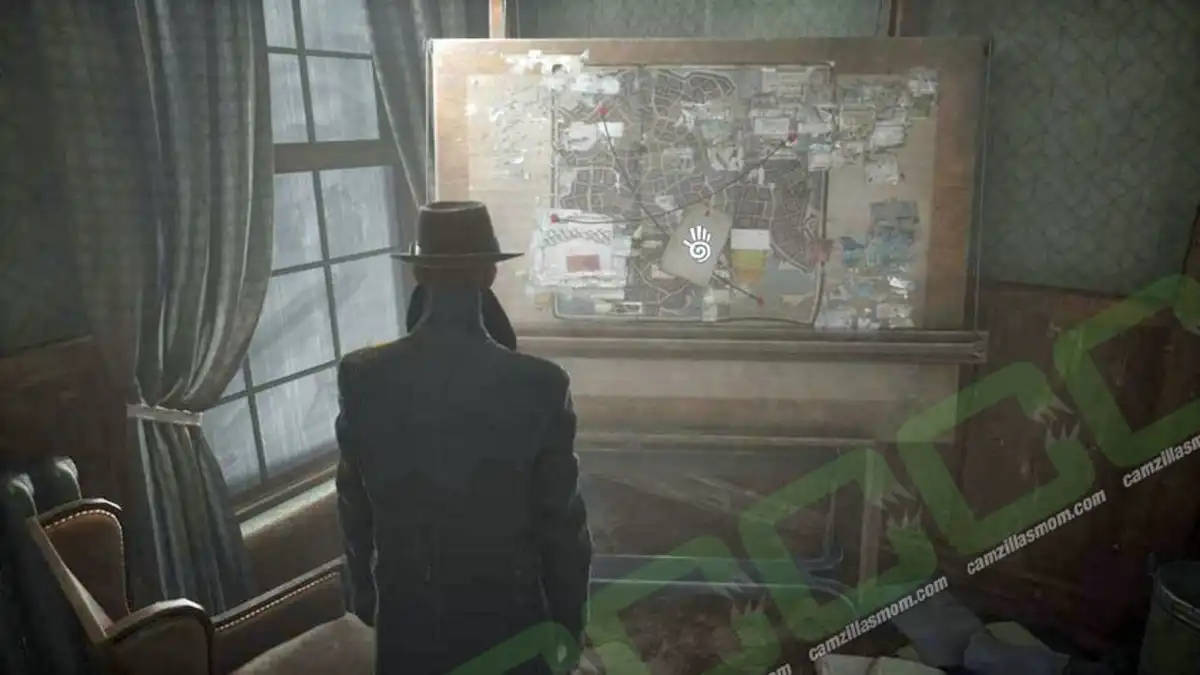
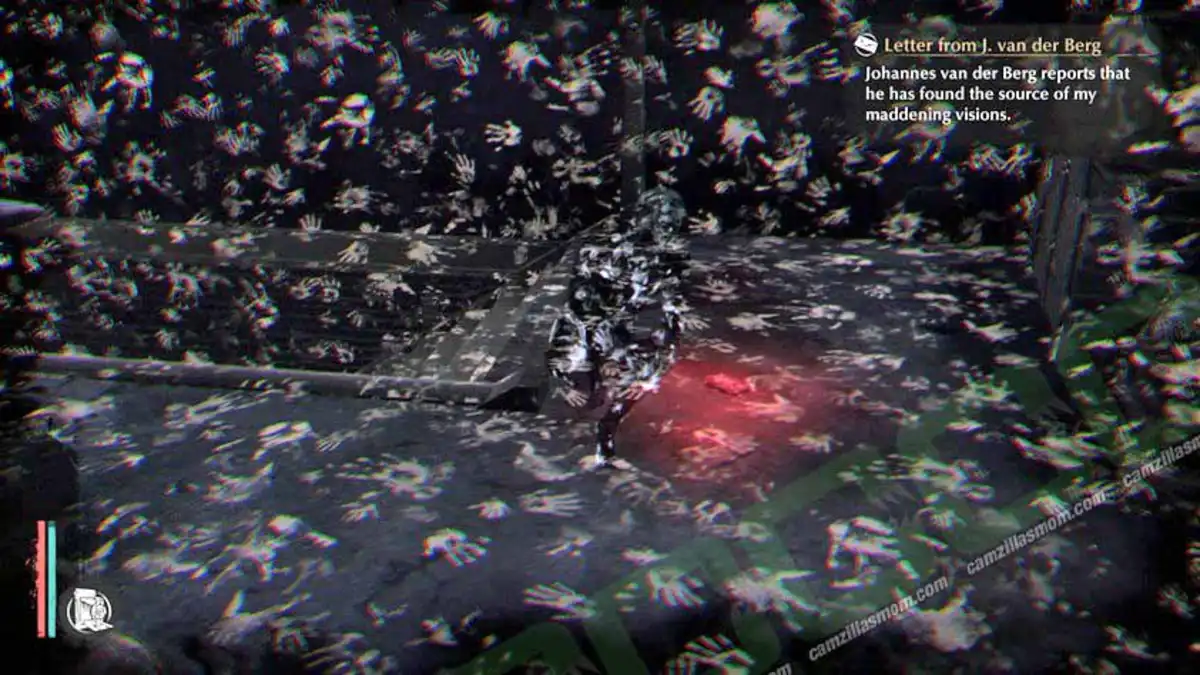
This walkthrough for Fathers and Sons (Main Case) in The Sinking City shows how to complete all investigation steps, from the Oakmont Chronicle archives to the final confrontation at the Fish Market. Follow the clues, use the Mind Palace, and solve each location to progress through the case.
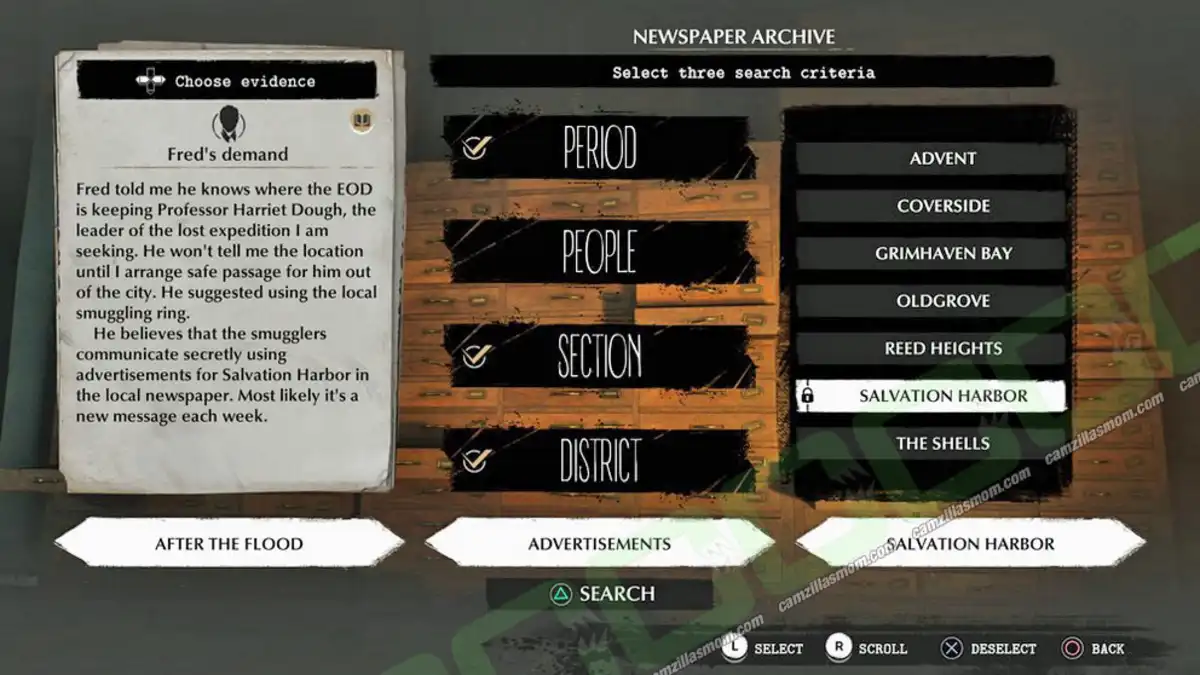
- 1 – The Oakmont Chronicle – Newspaper
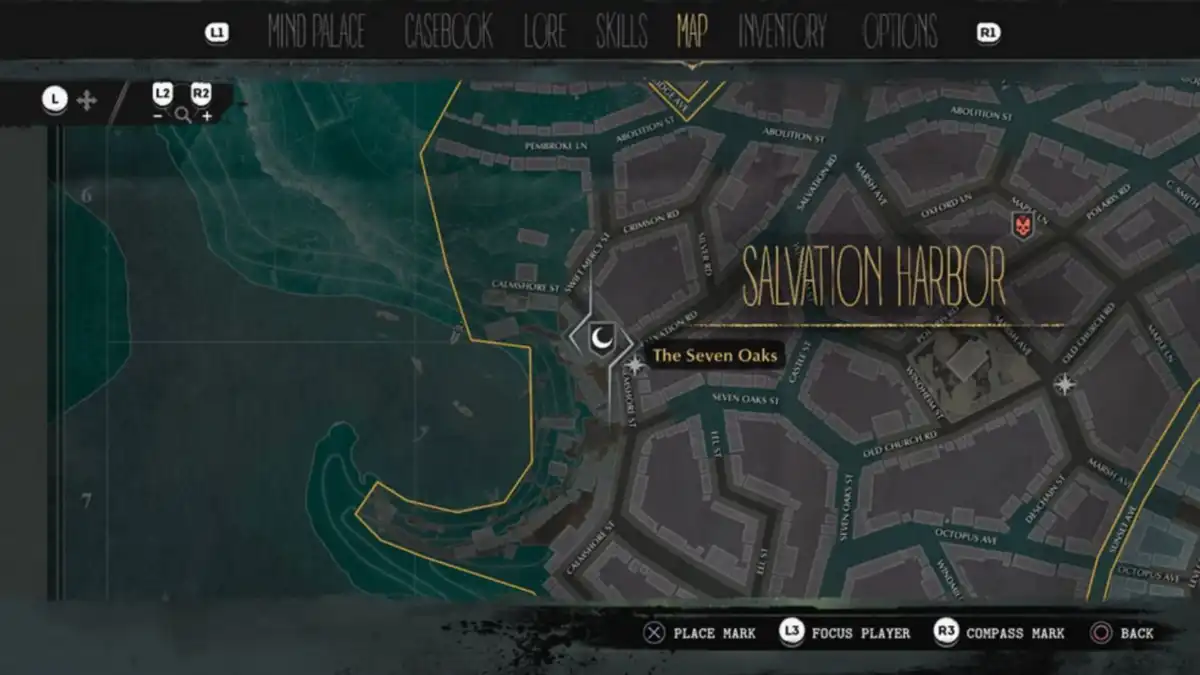
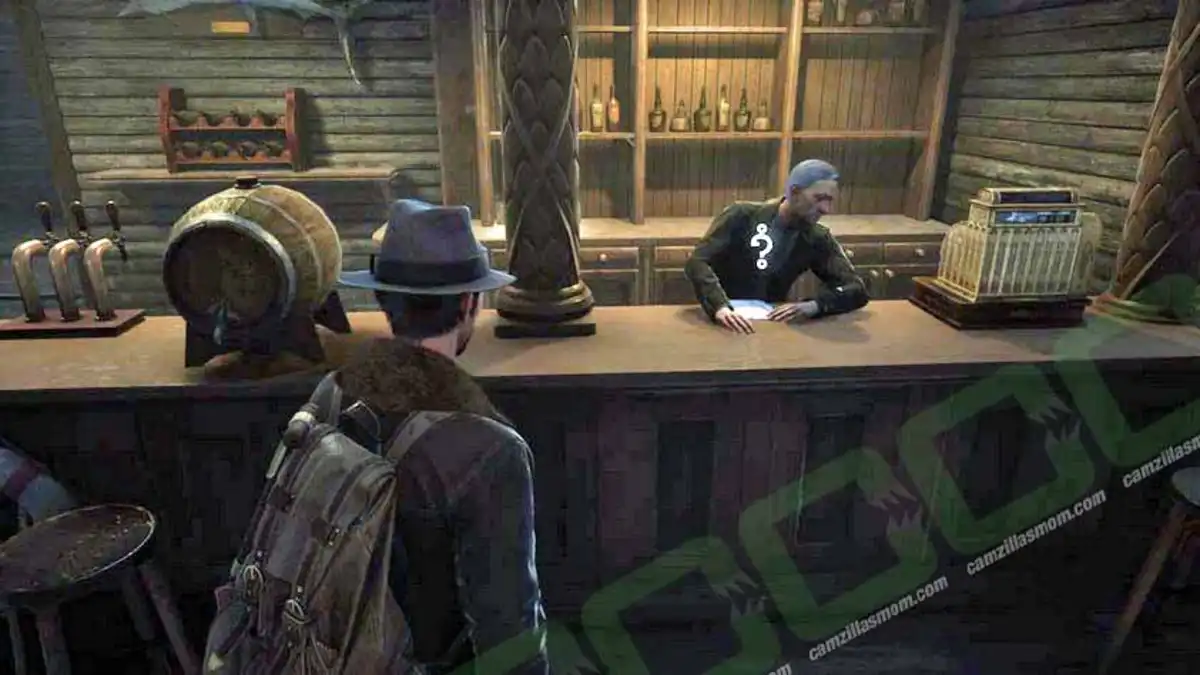
- 2 – The Seven Oaks Bar
- 3 – Courier’s Final Destination
- 4 – The Seven Oaks Bar
- 5 – Smuggler’s Meeting Point
- 6 – Smuggler’s Hideout
- 7 – Carpenter Manor
- 8 – Crematorium
- 9 – Hospital of St. Mary
- 10 – Oakmont University Library
- 11 – Redemption Church
- 12 – Dive
- 13 – Smugglers’ Hideout
- 14 – Fish Market
- More The Sinking City Guides
3 – Courier’s Final Destination
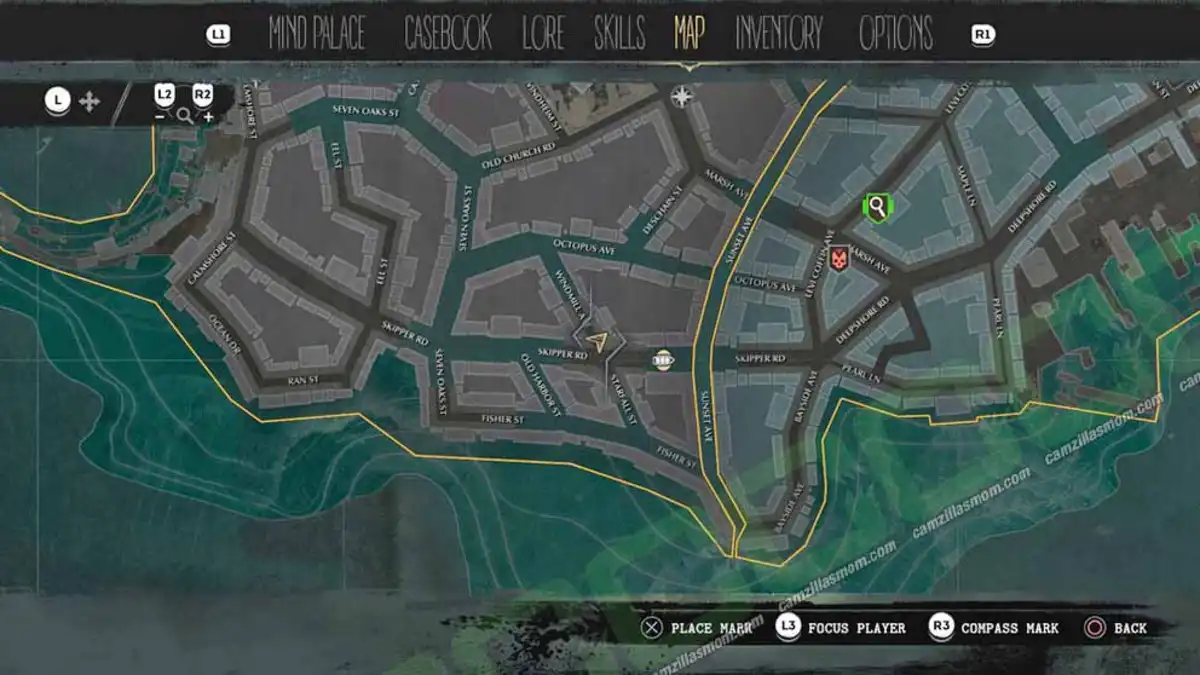
The house is north of the infestation area.
Go down the basement and look at the tracks on the floor. There is a hidden door you can open not far from the tracks, near the hole in the ceiling.
Enter and pick up the bottles on the table.
Evidence:
A Whiskey Crate
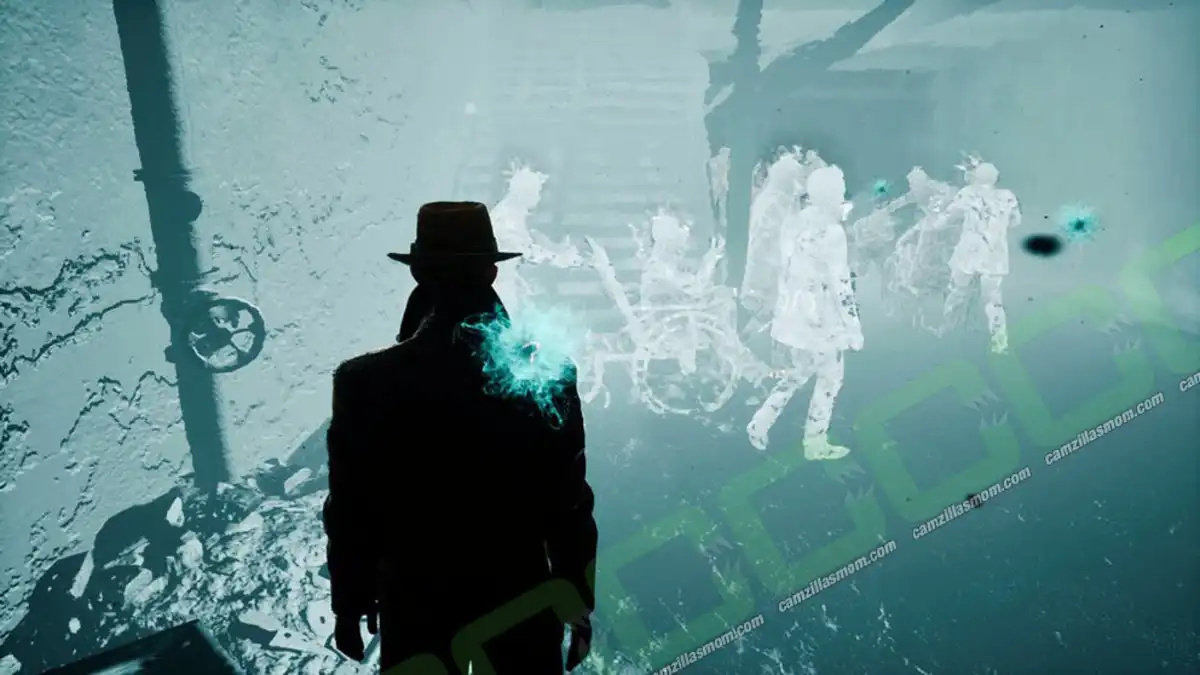
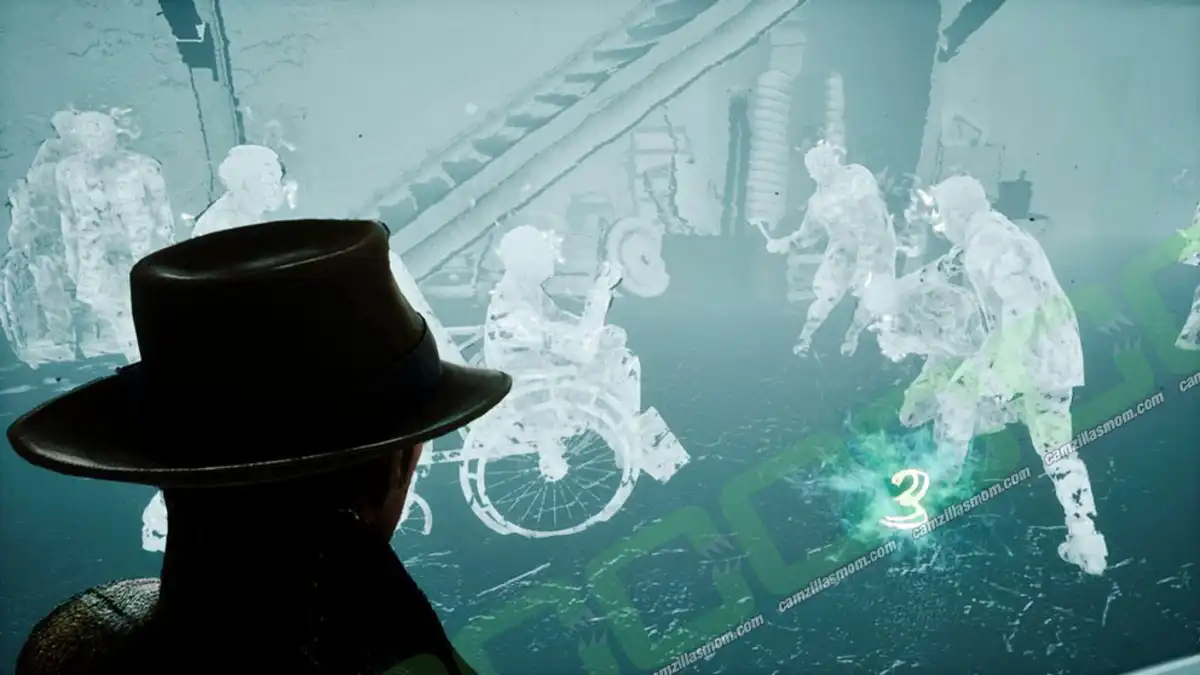
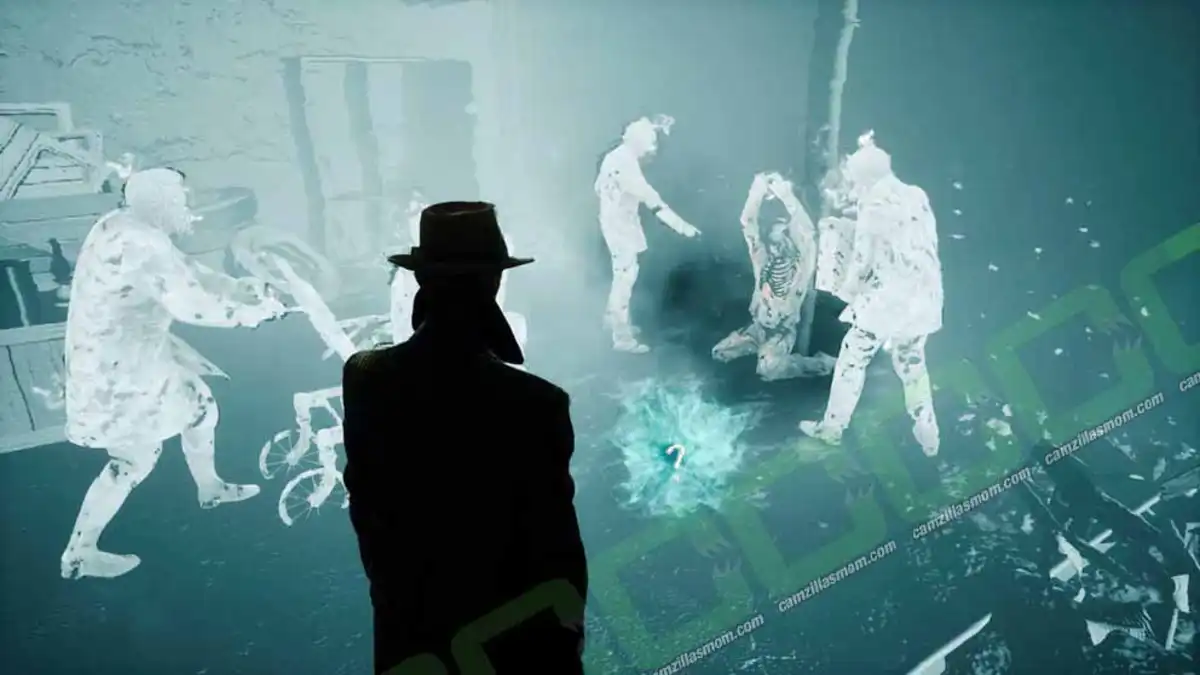
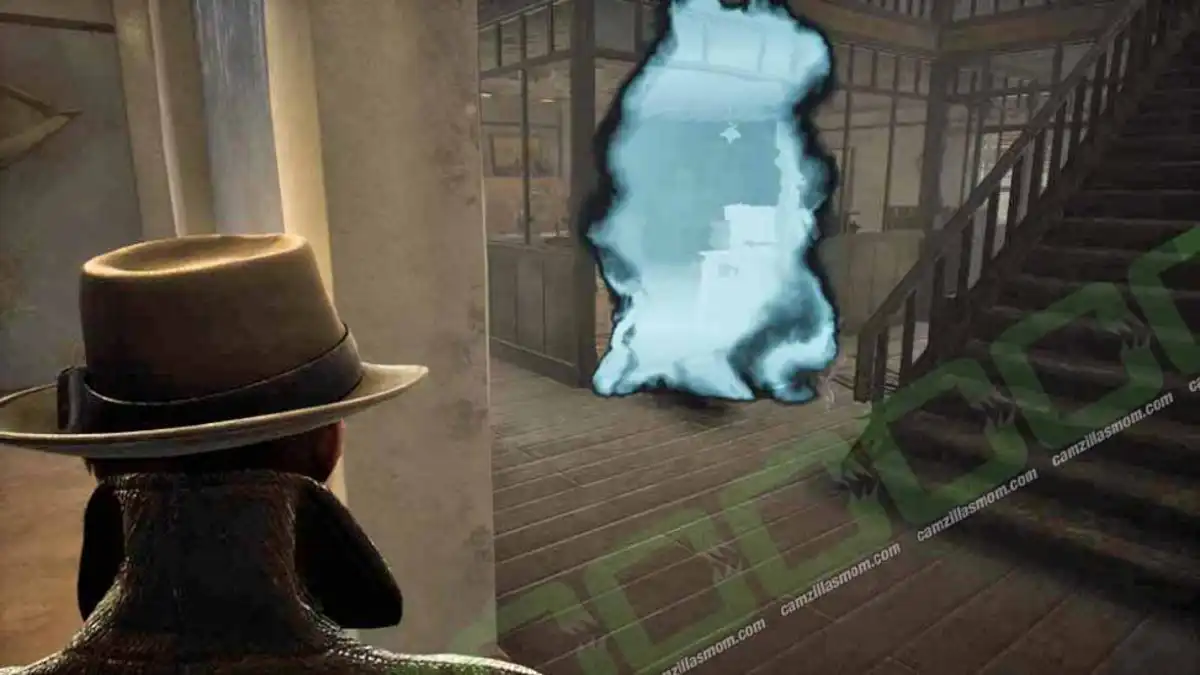
Go back to the basement main room. Look at the blood on the floor, look at the skeleton, look at the gas can. Use Mind’s Eye to see the vision rift and enter it. Put the events in following order:
First, the courier at the hidden door
Then the wheelchair man by the staircase.
Then the scene, where the courier is kneeling down.
Last is the one by the corpse.
Evidence Collected:
Murder in the Basement
4 – The Seven Oaks Bar
Return to the Seven Oaks and talk to the bartender.
Evidence Collected:
Bartender’s Instructions
Smugglers’ boss – ruthless tyrant (Mind Palace)
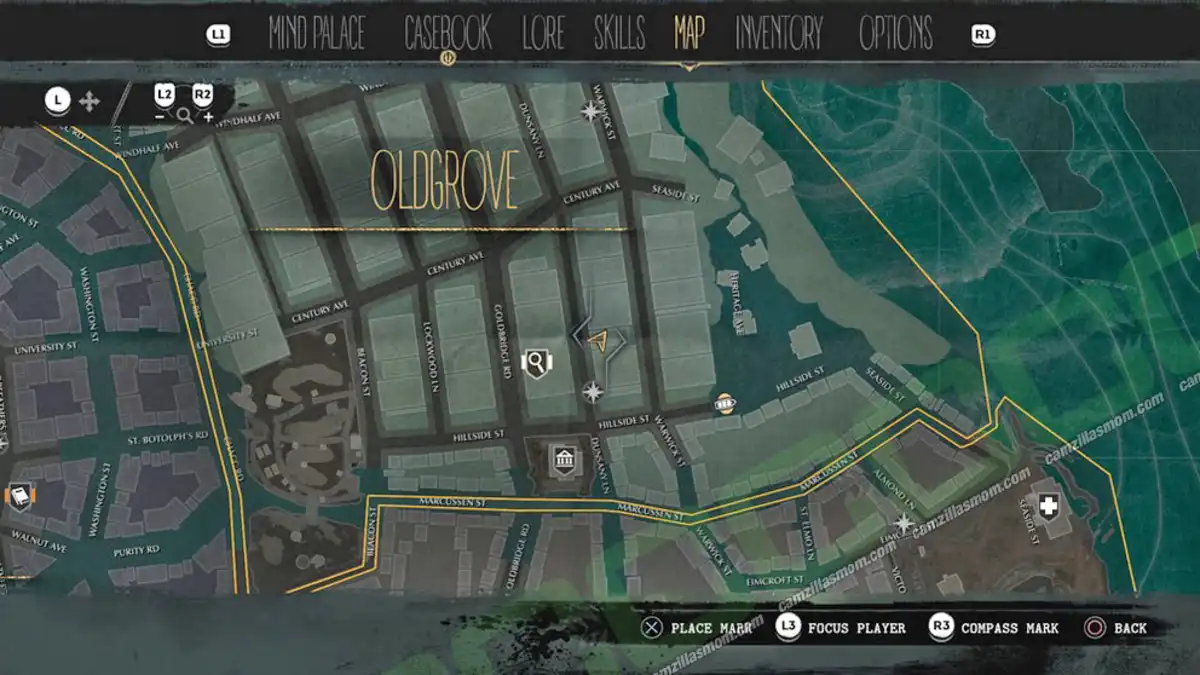
6 – Smuggler’s Hideout
Talk to the man in the red coat, Brutus Carpenter.
Evidence Collected:
Brutus’ Hideout
Brutus’ Testimony
Double in the Manor
Crematorium Tag
Brutus wants to be a better man (Mind Palace)
In the Mind Palace combine:
Brutus wants to be a better man <-> Smugglers’ boss – ruthless tyrant
When having a choice, I chose:
A second chance for Brutus
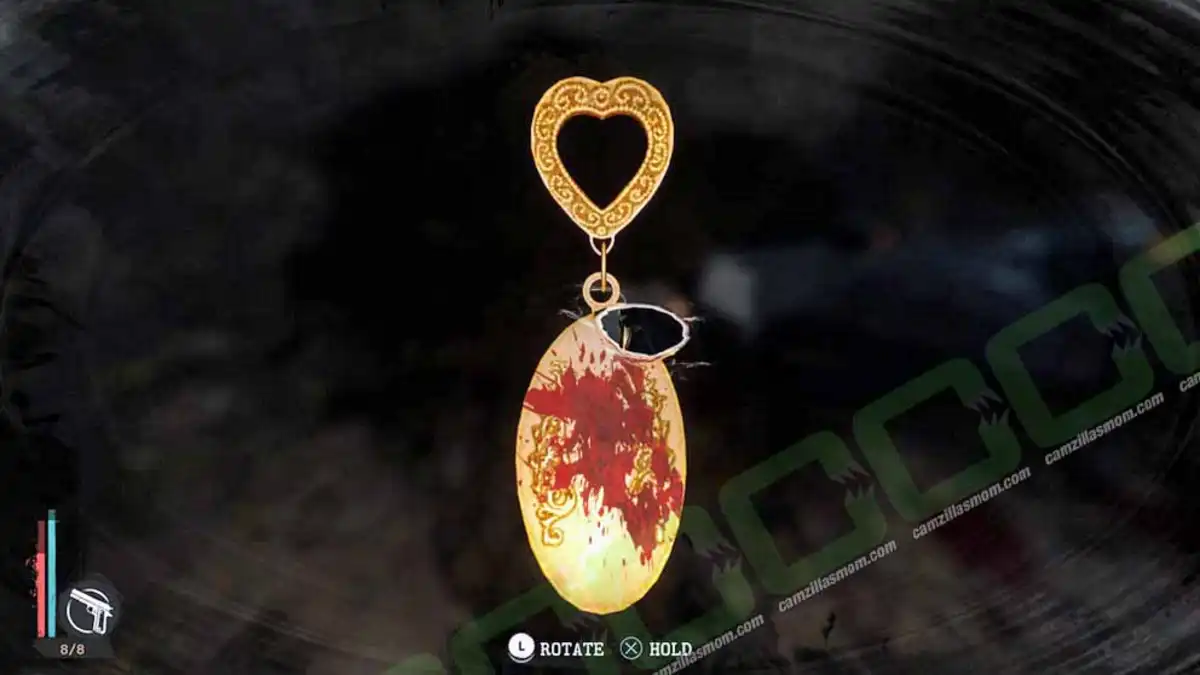
Leave the room and go down to the basement. There is a corpse on the floor. Activate Mind’s Eye and pick up the medallion. Turn it around so you can see the vision.
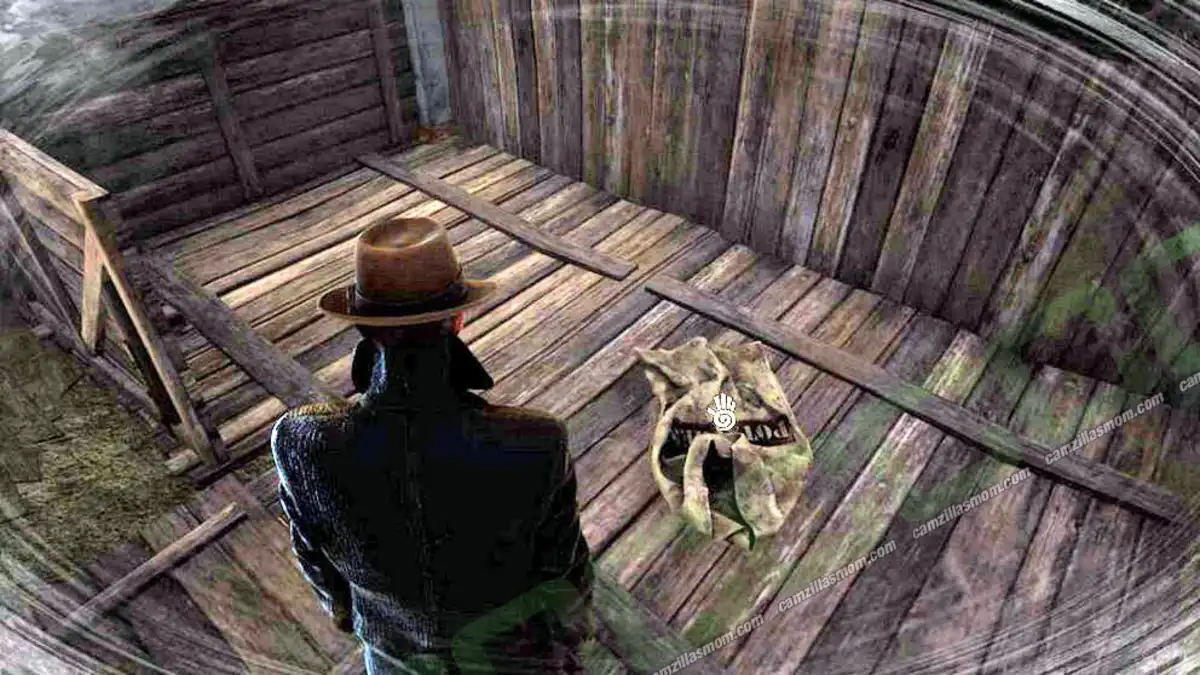
Then look up to the hole in the ceiling. There is a blood cloth hanging. Investigate that one too. On the ground floor, there is a guy cleaning the floor. Look at the blood splatter on the wall with the bullet holes. Go back to Brutus and tell him about the dead woman.
7 – Carpenter Manor
Go to Carpenter Manor
Talk to the man at the entrance.
Evidence collected:
A Job From the Taskmaster
Carpenters are helping poor (Mind Palace)
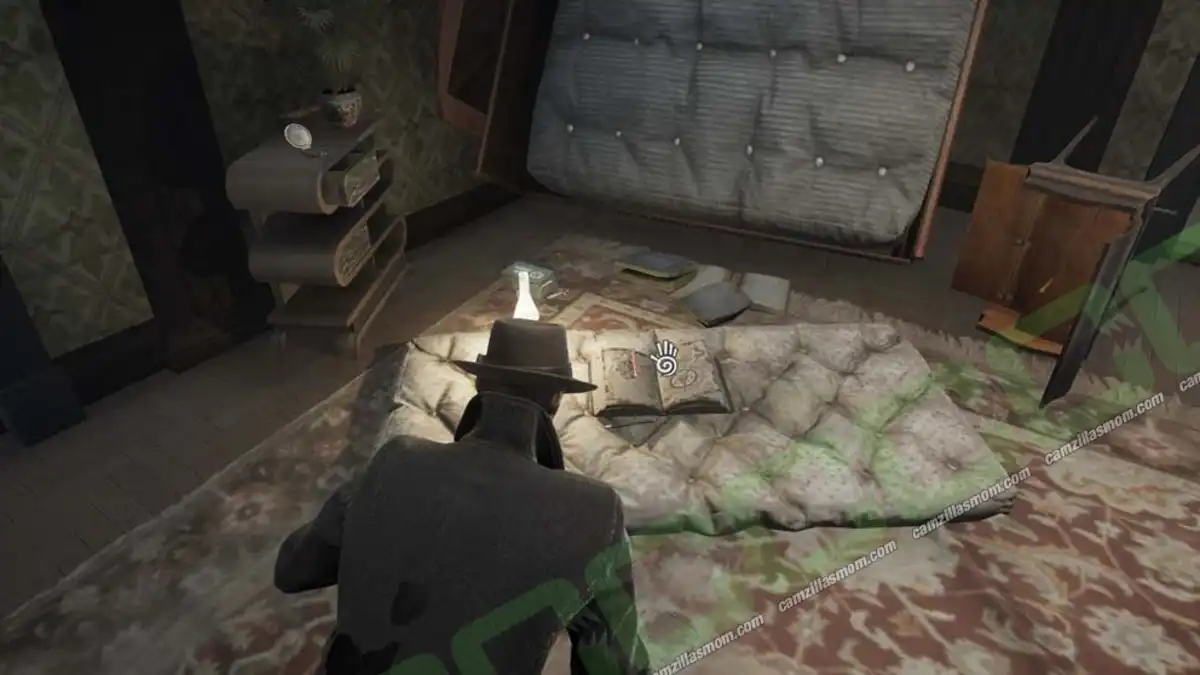
Enter the building and go down to the basement. At the first basement level, there is a bag lying on the floor. After you touched it you get a Mind’s Eye aura.
Use Mind’s Eye and follow the ghostly figure. Follow it to a man on a car behind the house.
Take the potatoes, decide what to do with it. I took the last option.
Evidence collected:
Speak with Graham Carpenter
Now you’re allowed to go upstairs to talk to Carpenter.
Evidence collected:
Graham wants to change his family (Mind Palace)
Go to Mind Palace and combine:
Graham wants to change his family -> Carpenters are helping poor
In Graham’s room, go to the cross, activate Mind’s Eye and activate the vision.
Go to the other door on this floor and pick up the note
Evidence collected:
Note on Brutus’ door
Activate Mind’s Eye and follow the ghostly figure to the kitchen fridge.
Take the key
Evidence collected:
The Manor Key
Now enter Brutus’ room upstairs, talk to Brutus. Look at the picture on the table. Look at the open safe.
Evidence collected:
Brutus’ Diary
Brutus met the pries of an old church (Mind palace)
8 – Crematorium
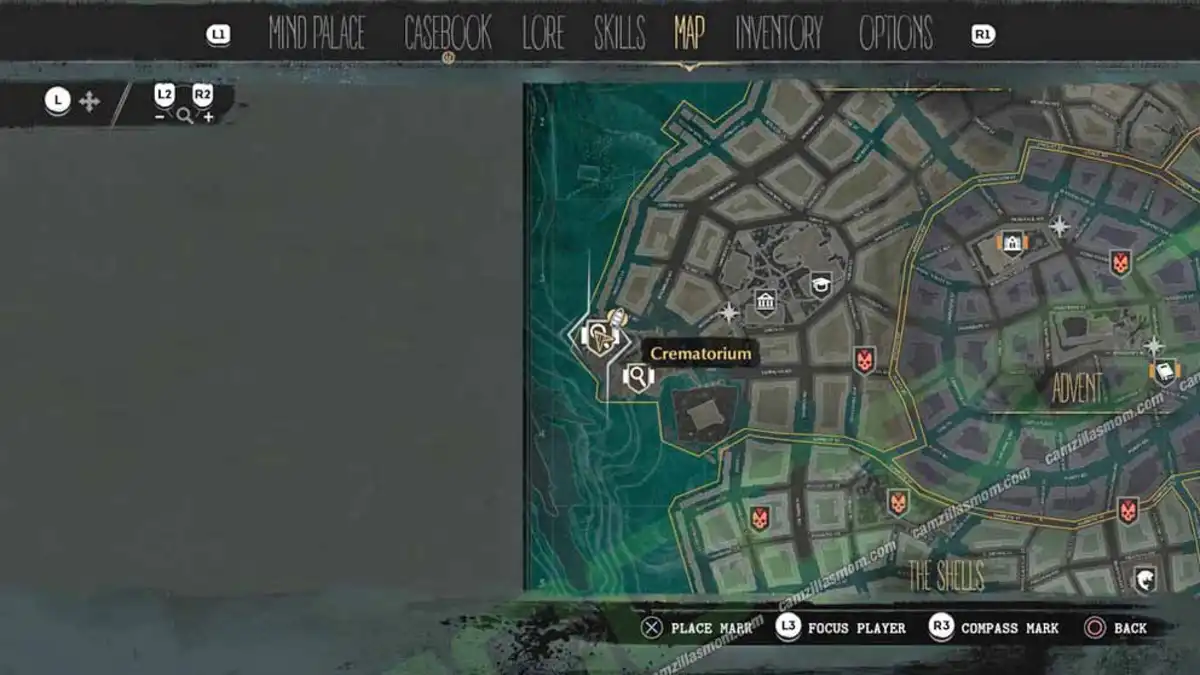
Go to the Crematorium.
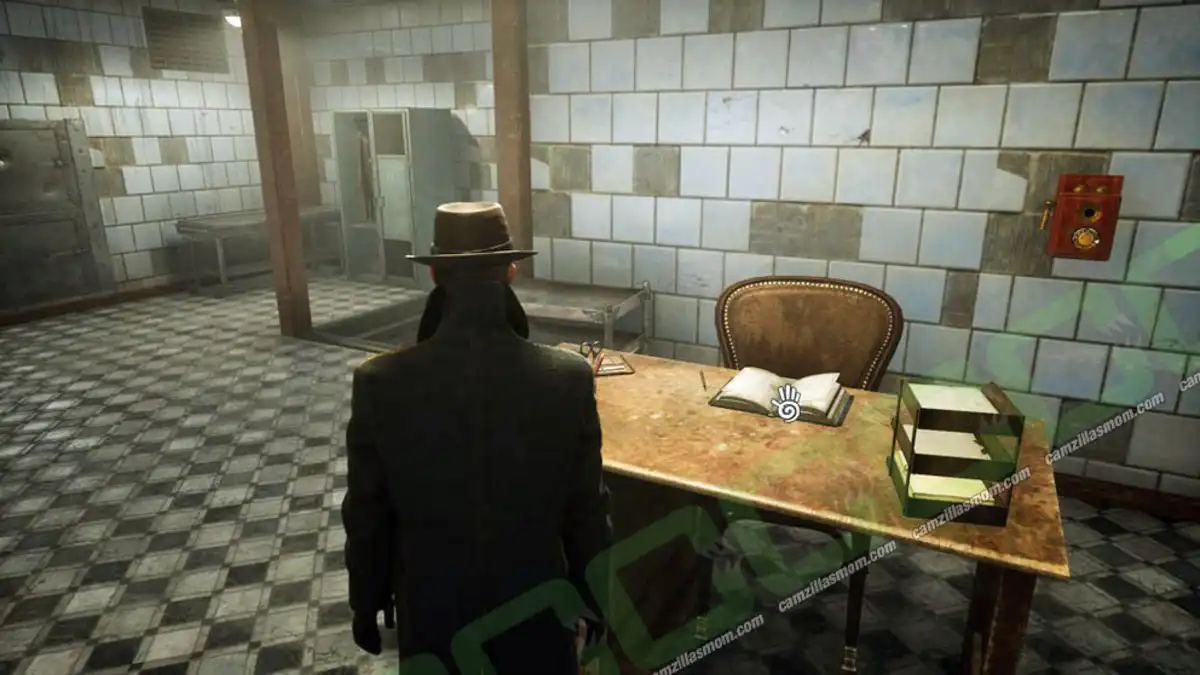
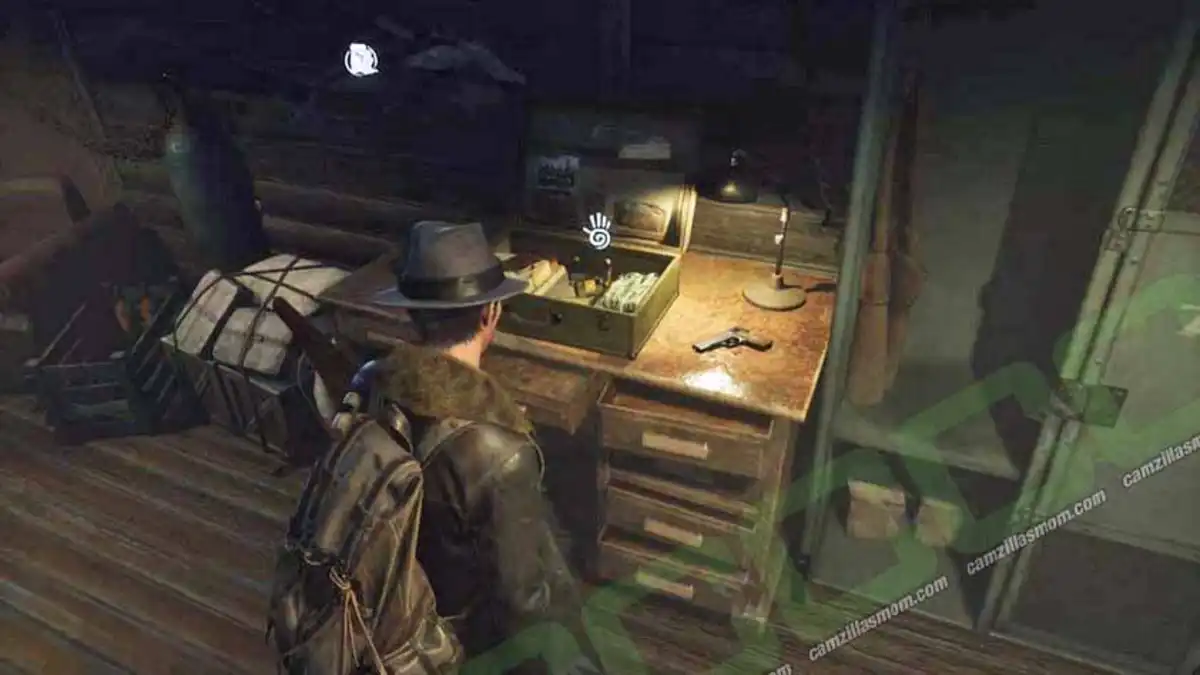
Go down to the basement. In the morgue, have a look at the book on the desk.
Evidence collected:
Crematorium Registry
Crematorium Shift Schedule (Mind Palace)
After you picked up the book, take the key on the desk that was underneath the book.
Evidence collected:
Crematorium Keys
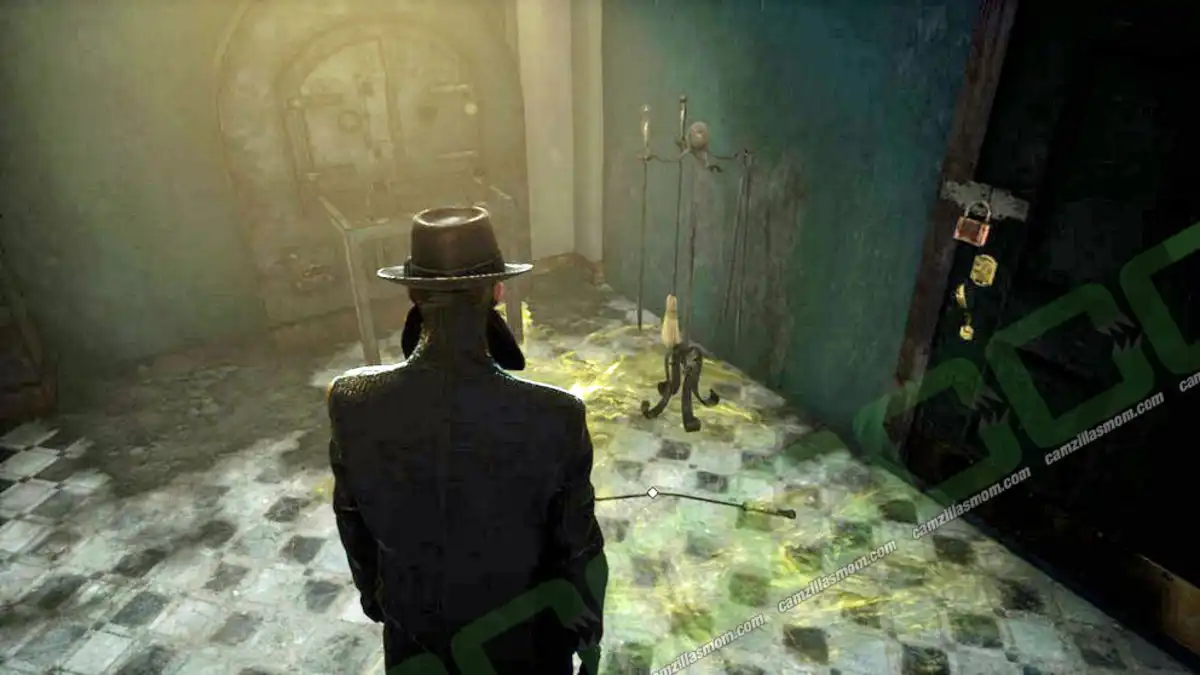
Go down to the Crematorium. At the bottom of the stairs you can interact with some green “stench”. Next to the locked door is some stench to investigate as well.
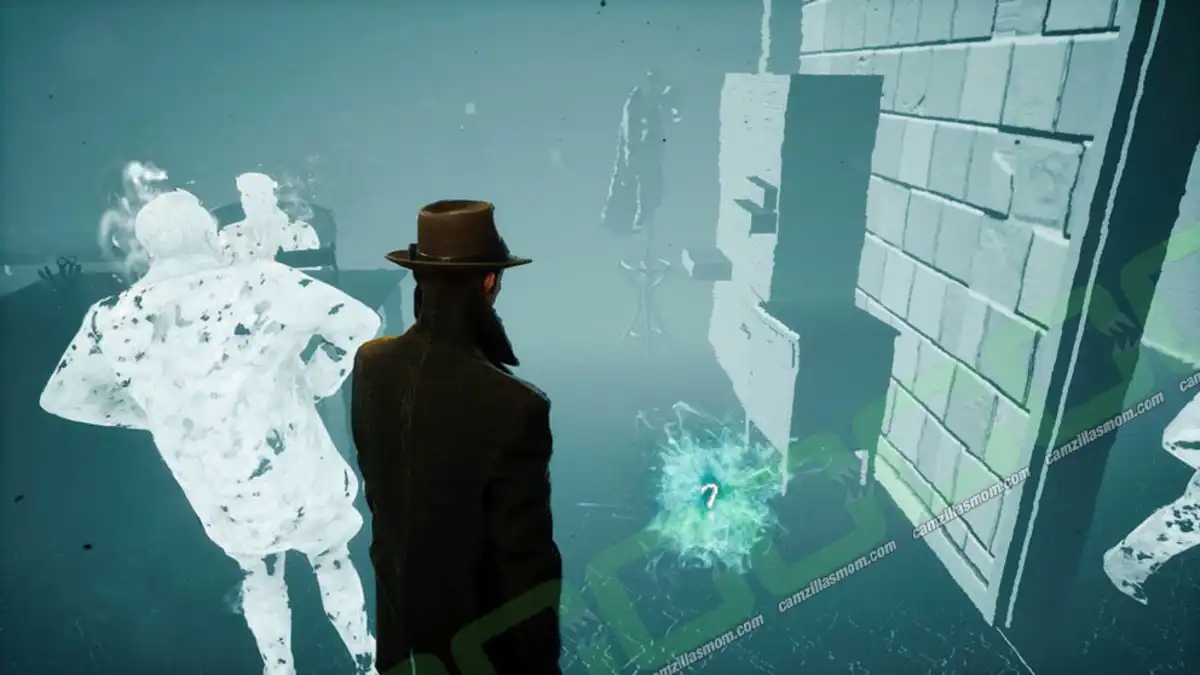
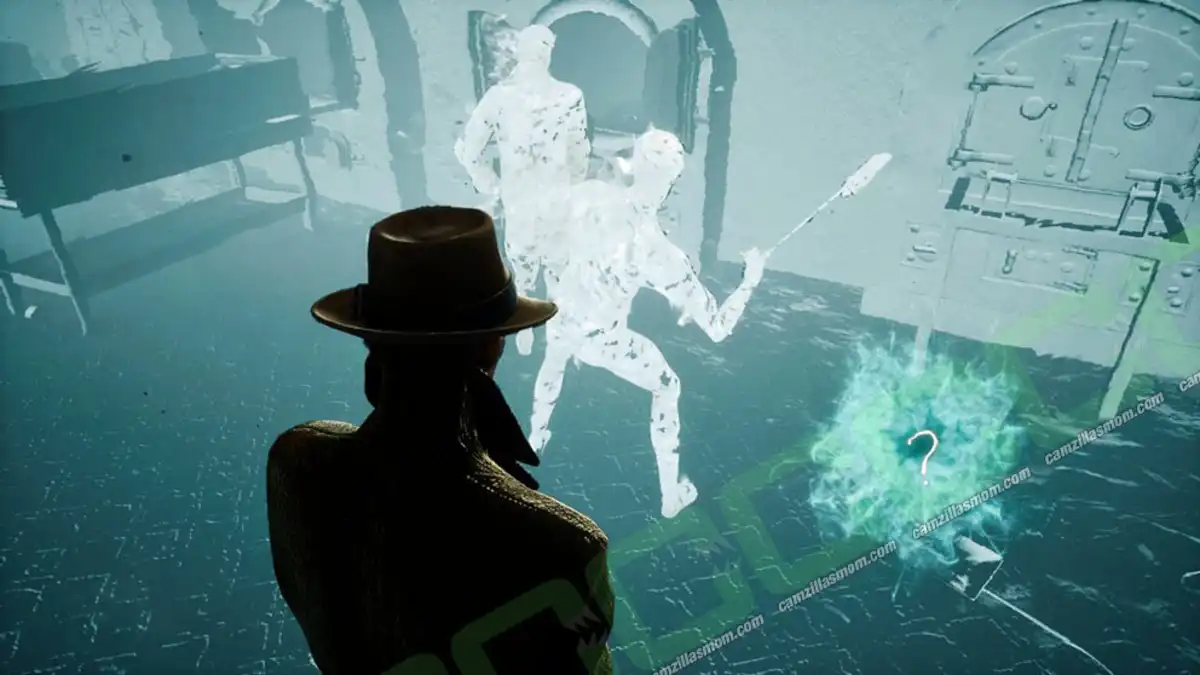
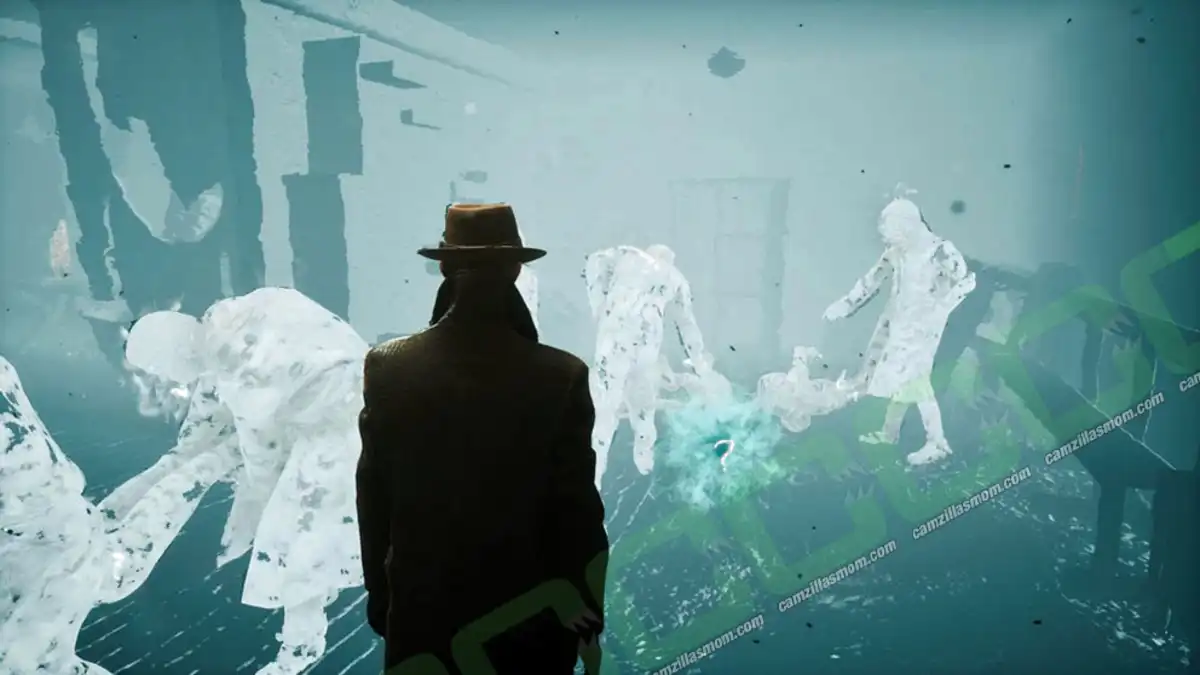
Pick up the dented shovel and investigate the blood and the handle. Then melee open the door to the right. Enter the room and look at the brush on the corpse table. In the same room is a carpet roll you can look at. Now the rift will open and you can go through. Put the events in following order:
The first event is at ground floor where you found the morgue key.
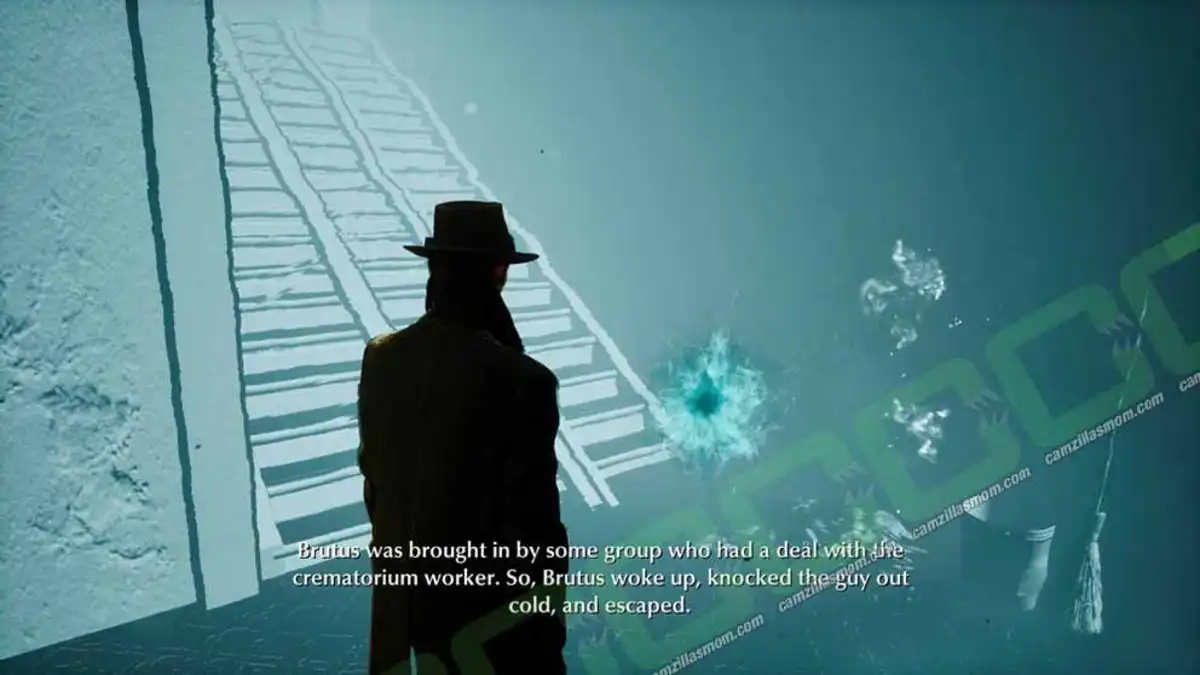
Then, go to the room, where Carpenter woke up.
Then the event, with the dented shovel.
Then the one by the stairs.
Evidence Collected:
An Event in the Crematorium
Brutus stunned the crematorium worker (Mind Palace)
In the Mind Palace, combine:
Crematorium shift schedule -> Brutus stunned the crematorium worker
Evidence Collected:
Locate James Warren
9 – Hospital of St. Mary
Go to the Hospital’s Archive.
Choose Evidence:
Locate James Warren
Select criteria:
Subjects: Patients
Period: After the Flood
Department: Therapy
Evidence collected:
James Warren
Go talk to him on the 2nd floor.
Evidence collected:
Warren’s Testimony
Churchgoers wanted Brutus to be cremated (Mind Palace)
In the Mind Palace combine:
Brutus met the priest of an old church -> Churchgoers wanted Brutus to be cremated
Evidence collected:
Find an old Oakmont Church
10 – Oakmont University Library
Go to the Library’s Archives.
Choose Evidence:
Find an old Oakmont church
Select criteria:
Section: Religion
Period: 17th-19th century
Region: Local
Evidence collected:
Prayer of Heavens
11 – Redemption Church
Go to the church and melee attack the entrance lock.
Go to the altar and use Mind’s Eye. It will open and monsters burst out. Use Mind’s Eye on the two statues next to the altar. They turn into sea creature statues. Then, go upstairs and use Mind’s Eye on the statue. It will turn into a sea creature statue.
Evidence collected:
It’s a cult, not a church (Mind Palace)
Go to the basement. Investigate the green slime on the floor. Investigate the corpse and the items.
Evidence collected:
A Rusty Key
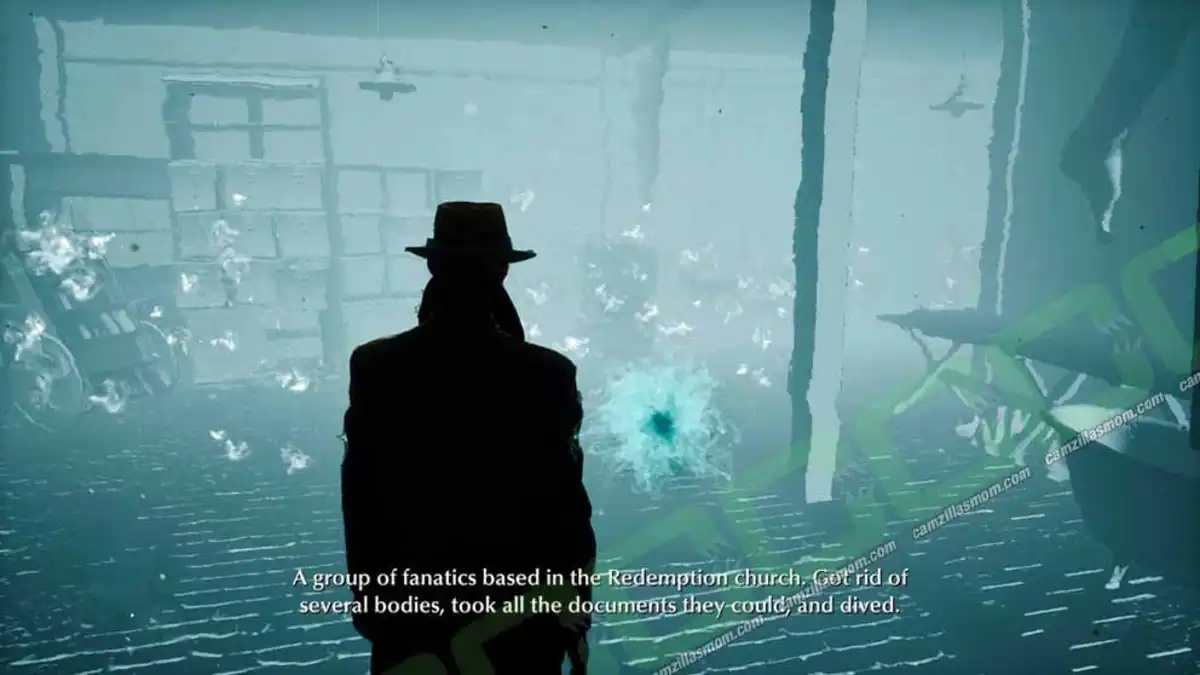
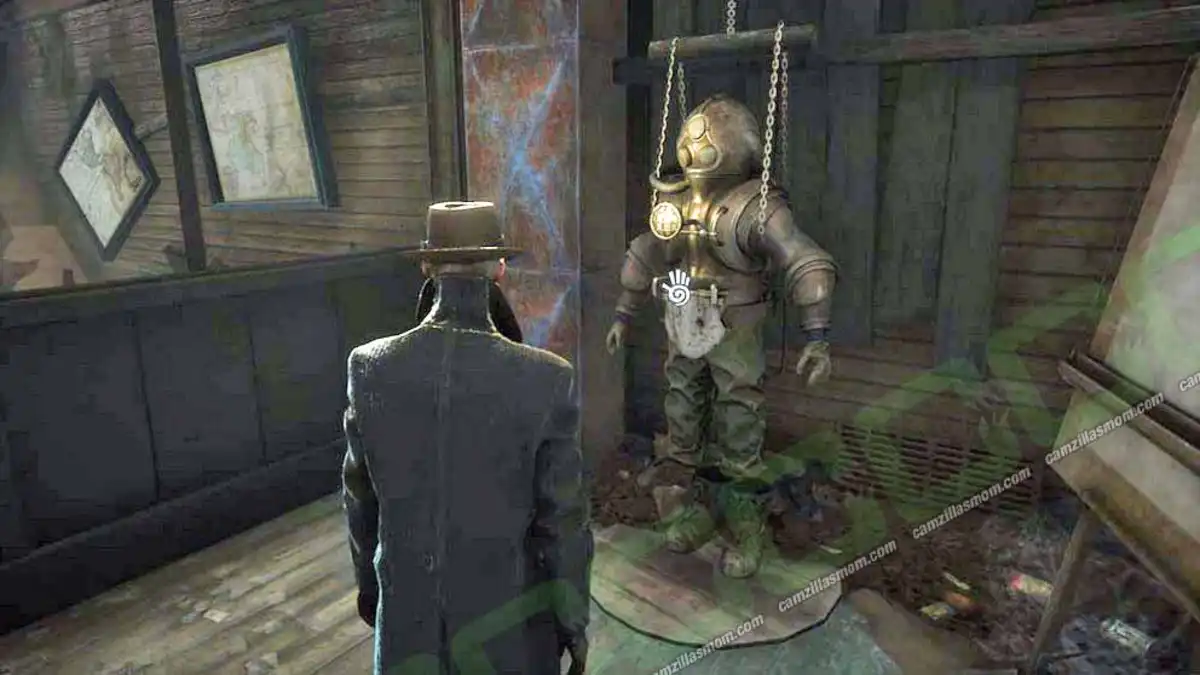
Go through the door next to the corpse and investigate the diving suit. Go back to ground floor end enter the Vision Rift. Put the events in following order:
Go to the top floor event first.
Next is the event at ground level.
Then the one in the basement where they carry bodies.
Last, the divers.
Evidence collected:
Redemption Church Cult
Church Records are taken away (Mind Palace)
The Cultists hid under the church (Mind Palace)
Go to the Mind Palace and combine:
It’s a cult not a church
Churchgoers wanted Brutus to be cremated
Church records taken away -> The cultists hid under the church.
Evidence collected:
The answers are underwater
Now go downstairs and use the diving suit.
12 – Dive
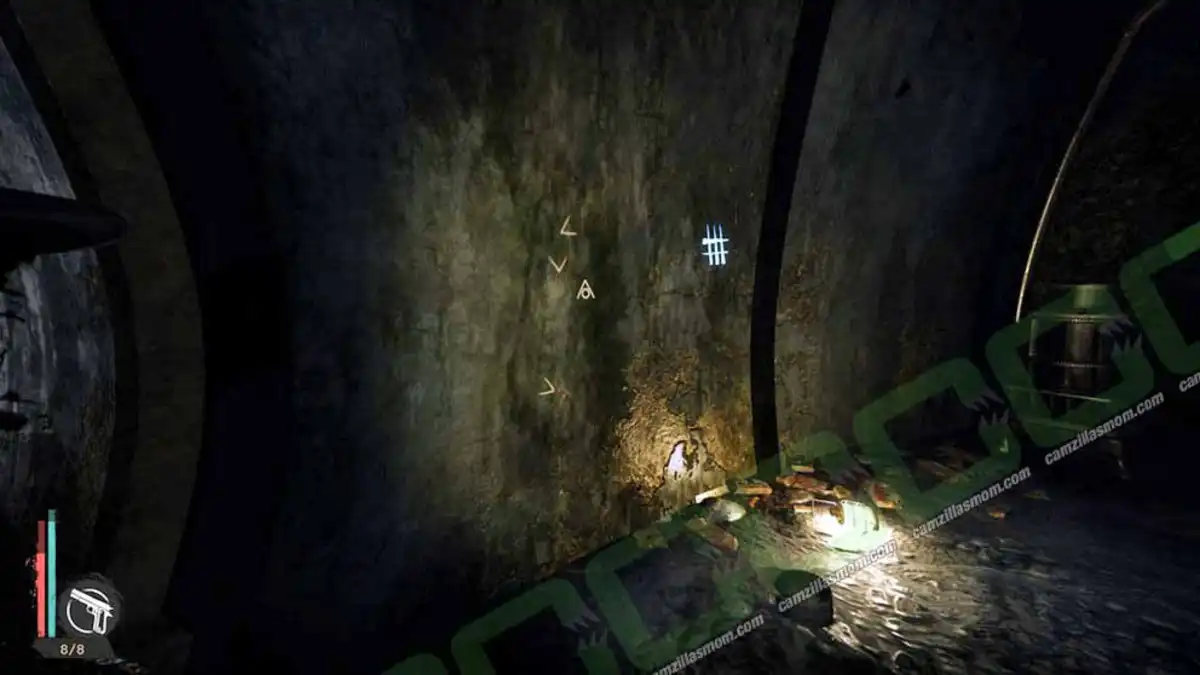
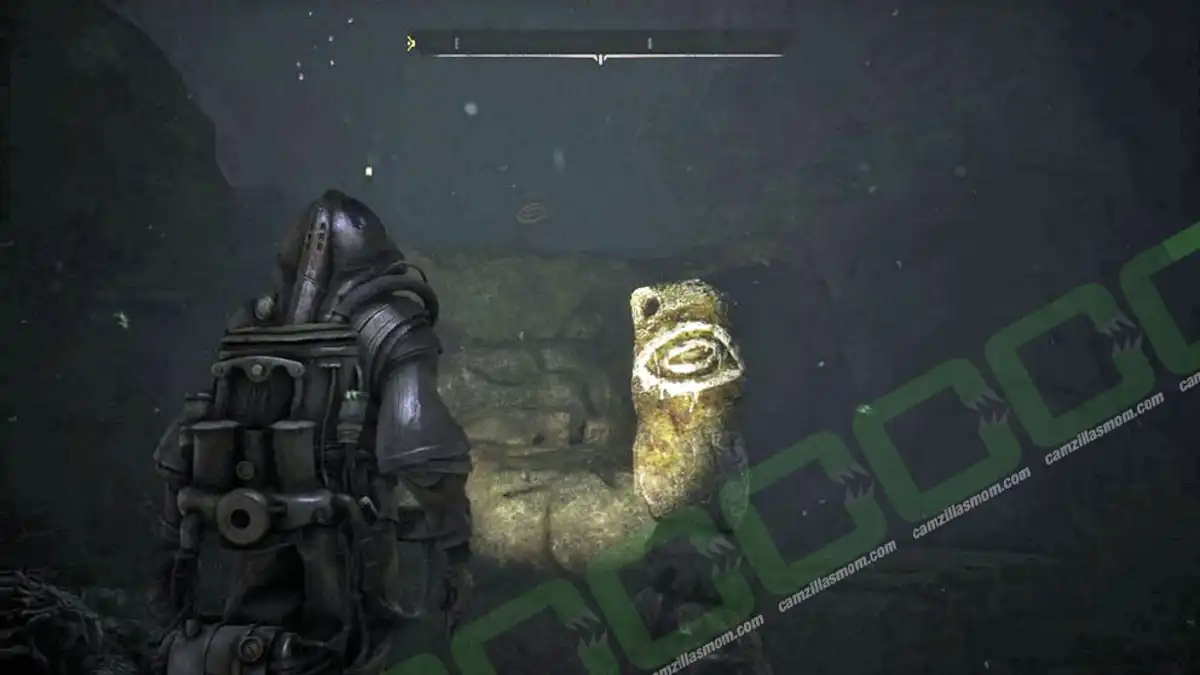
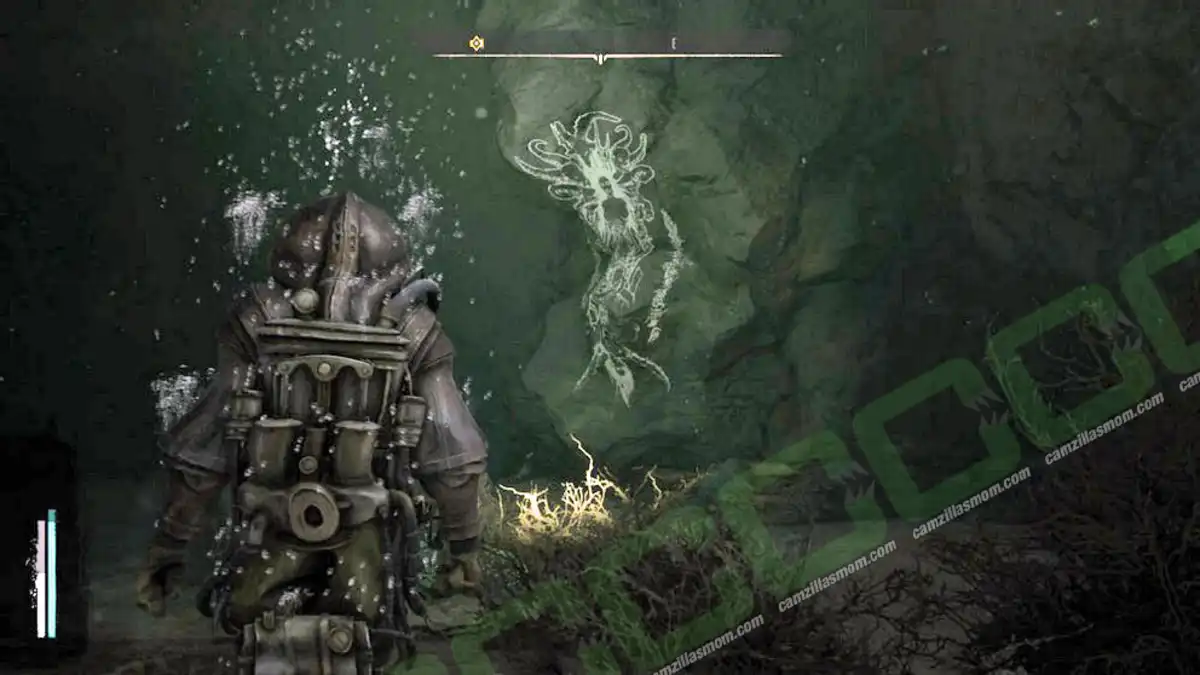
After the cutscene, you land in front of a big rock with writing on it. Approach it and use Mind’s Eye. There is a hidden wall symbol right in the center of the cult symbol. Open the hidden door. Then follow the round symbol poles.
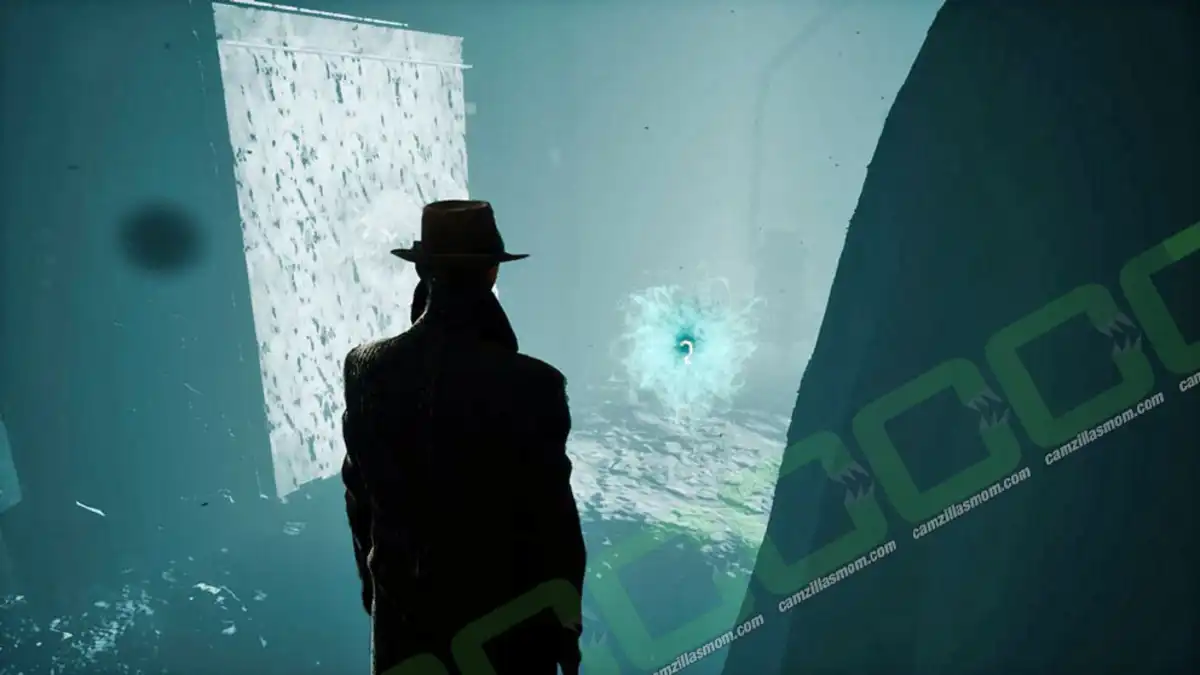
The symbol shows you the direction to go. When you stand in front of a pole you should see the next one. This walk is quite tricky. Try to stay out of the bursts. You should get to this painting:
Right behind it is the glowing exit. Inside the cave, go to the altar and talk to the man.
Evidence collected:
The church can control Graham (Mind Palace)
Then fight the monster with its own bombs. You have to be quite close… Pick one up and throw it. Fast! You’ll have to throw a lot of those.
In the Mind Palace, combine:
It’s a cult, not a church -> The church can control Graham
Now you can combine:
Graham’s motivated to change things -> The cultists could manipulate Graham
Now you can pick out of 2:
I chose: Graham -> cultists’ puppet
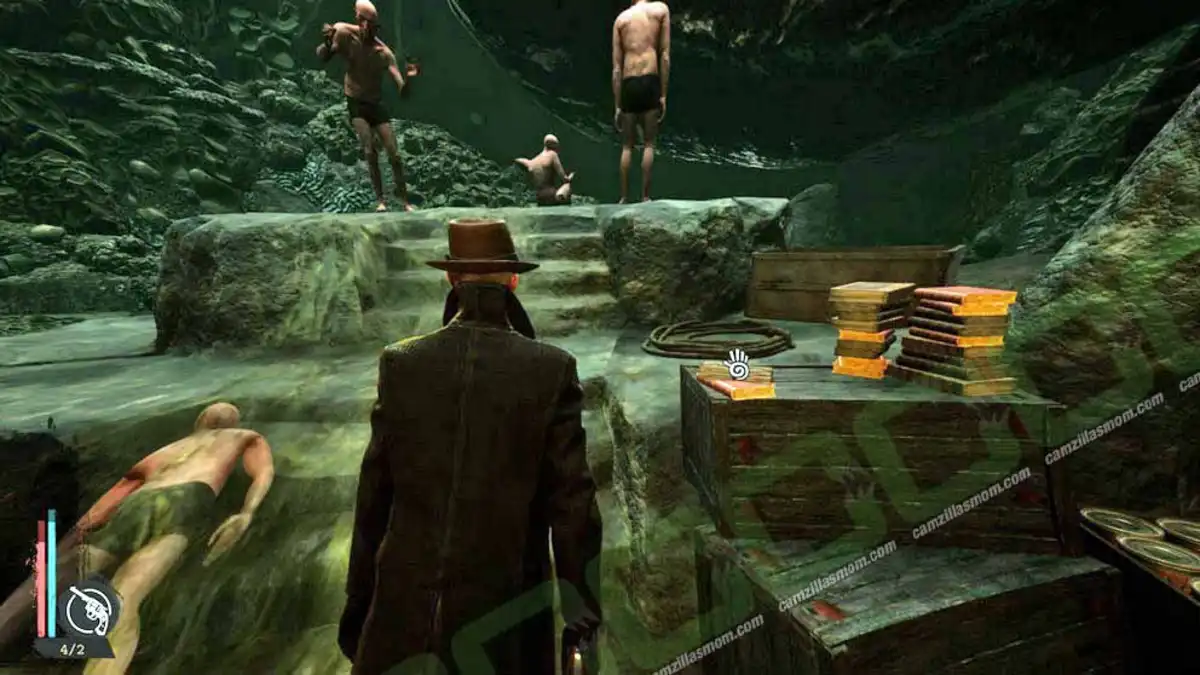
Go to the back of the cave, where the book piles are.
Evidence collected:
A Letter from the church
Graham had a deal with church (Mind Palace)
In the Mind Palace, combine:
Graham had a deal with church -> Churchgoers wanted Brutus to be cremated
Now you can combine everything together.
Return to the diving suit.
13 – Smugglers’ Hideout
Return to the “Smugglers’ Hideout” in Salvation Harbor and talk to Carpenter.
Evidence collected:
Escape from Oakmont
14 – Fish Market
Return to the Fish Market basement, talk to Fred.
Case Complete
More The Sinking City Guides
The Sinking City: “Charon” Ship – All Evidence
Find all Pieces of Evidence on the "Charon" in The Sinking City.
The Sinking City: A Delicate Matter Walkthrough
The complete walkthrough of the side mission "A Delicate Matter" in The Sinking City.
The Sinking City: Devil’s Reef Hotel – All Evidence & Lore
Where to find all evidence in the Devil's Reef Hotel in The Sinking City.
The Sinking City: Diving Suit Factory – All Evidence
Find all Evidence in the Diving Suit Factory in the Sinking City.
The Sinking City: Expedition Headquarters – All Evidence
Collect all Evidence at the Expedition Headquarters in The Sinking City.
The Sinking City: Fathers and Sons Walkthrough
Fathers and Sons walkthrough in The Sinking City – complete the main case, follow clues, and solve a…
About The Sinking City
Release: June 28, 2019
Developer: Frogwares
Publisher: Bigben Interactive
Official Website: https://frogwares.com/
