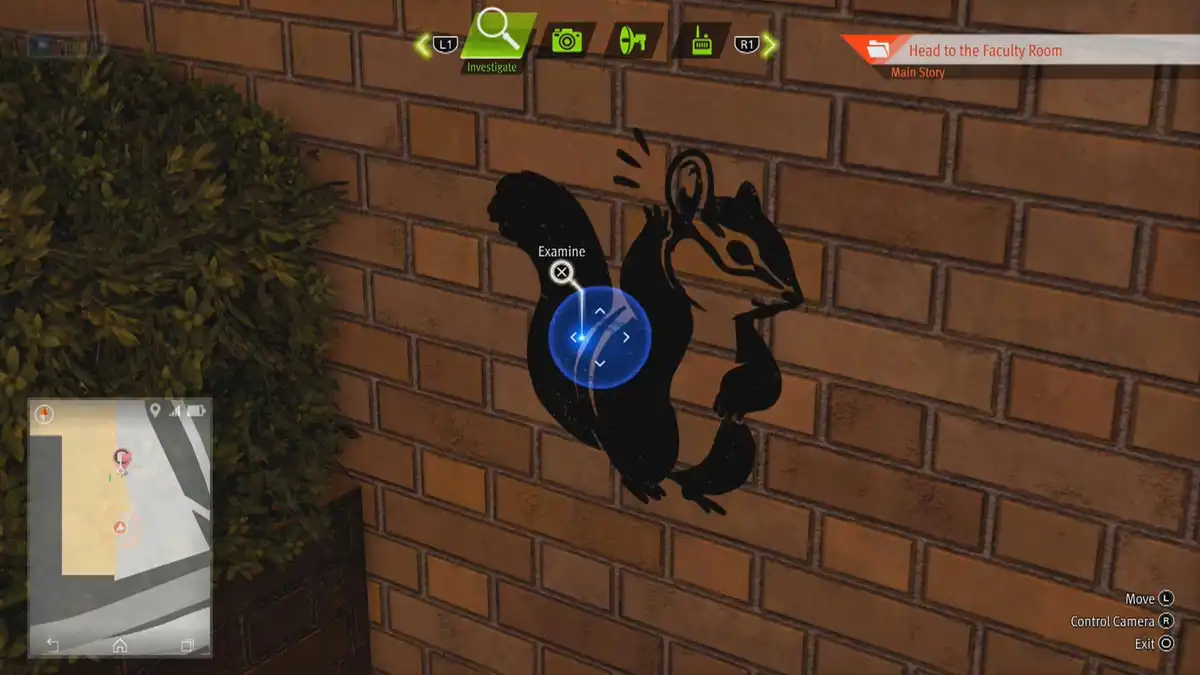
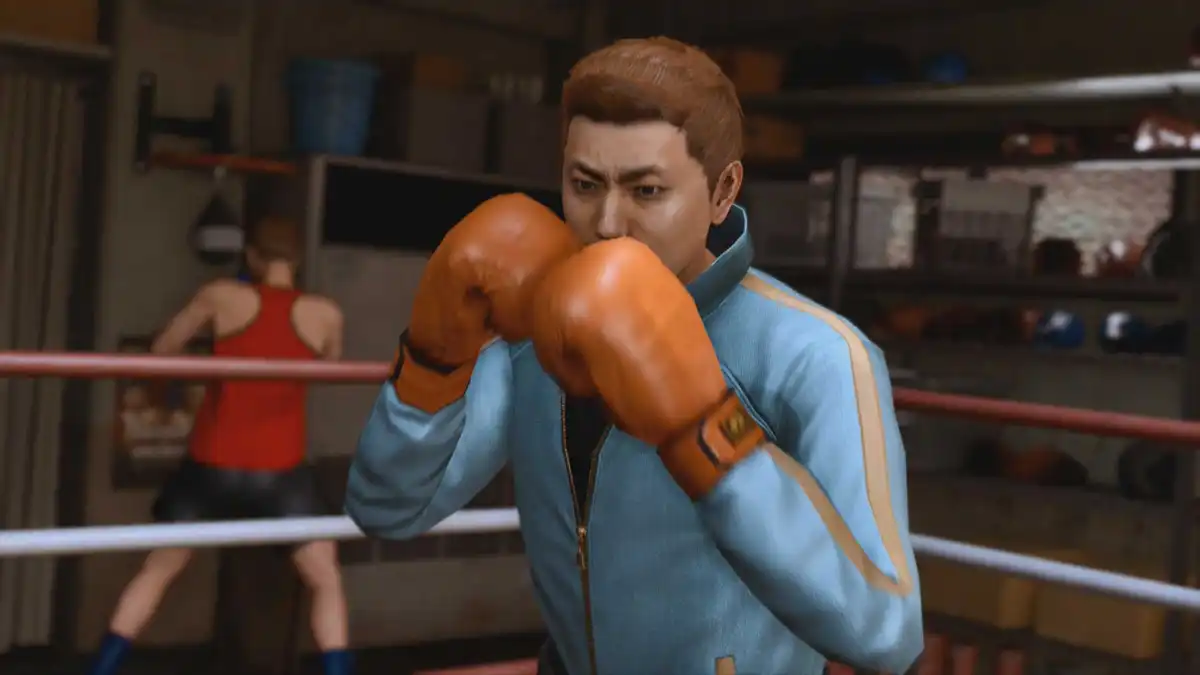
This is the complete walkthrough of the first Chapter: Black Sheep in Lost Judgment. The first chapter is a tutorial mission. You will learn to tail, take photographs, and fight.
Also available:
Chapter 2: Vicious Cycle
-> More Guides at the Hub
- 1 – Tail Kosuke
- 2 – Sneak Into The Building
- 3 – Defeat the Thug
- 4 – Head Upstairs Without Getting Spotted
- 5 – Defeat Kosuke and the Others
- 6 – Catch Kosuke
- 7 – Go to Genda Law Office, Talk to Genda
- 8 – Defeat the Owner of the Shady Bar
- 9 – Return to Yagami Detective Agency
- 10 – Head to Yokohama 99
- 11 – Go to Kyoinro
- 12 – Go to Seiryo High School
- 13 – Set up Cameras Around Campus
- 14 – Head to Class 2-2 on the Second Floor
- 15 – Go to the Chairman’s Office on the 3rd Floor
- 16 – Check the Camera by the 2nd Floor/Escape
- 17 – Head to Class 2-2 Without Getting Spotted
- 18 – Set up the Speakers/Punish the Students
- Browse Lost Judgment
1 – Tail Kosuke
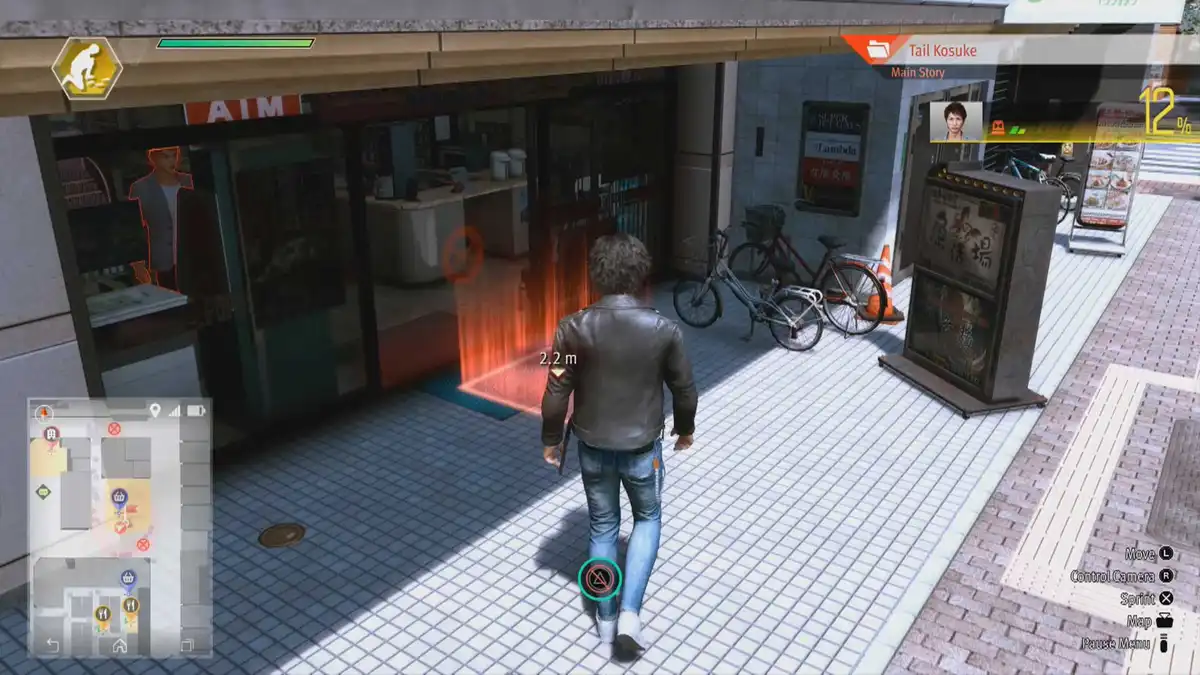
At the start of the game, you’ll learn the game basics of tailing someone but also how to fight.
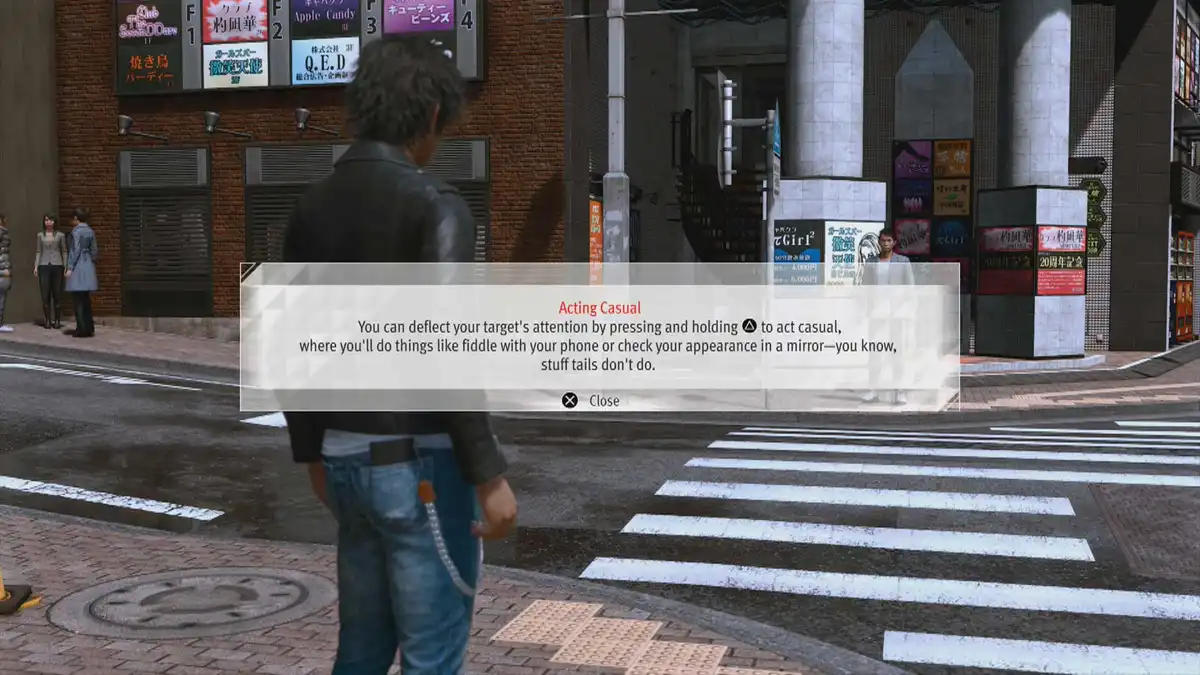
The Red Square means you have to get there to start the cinematics to cross over into the next part of the story. Acting Casual is used to deflect your target’s attention, when he spots you while tailing. You can only use this option, when the target sees you. Otherwise it’s inactive at the center bottom.
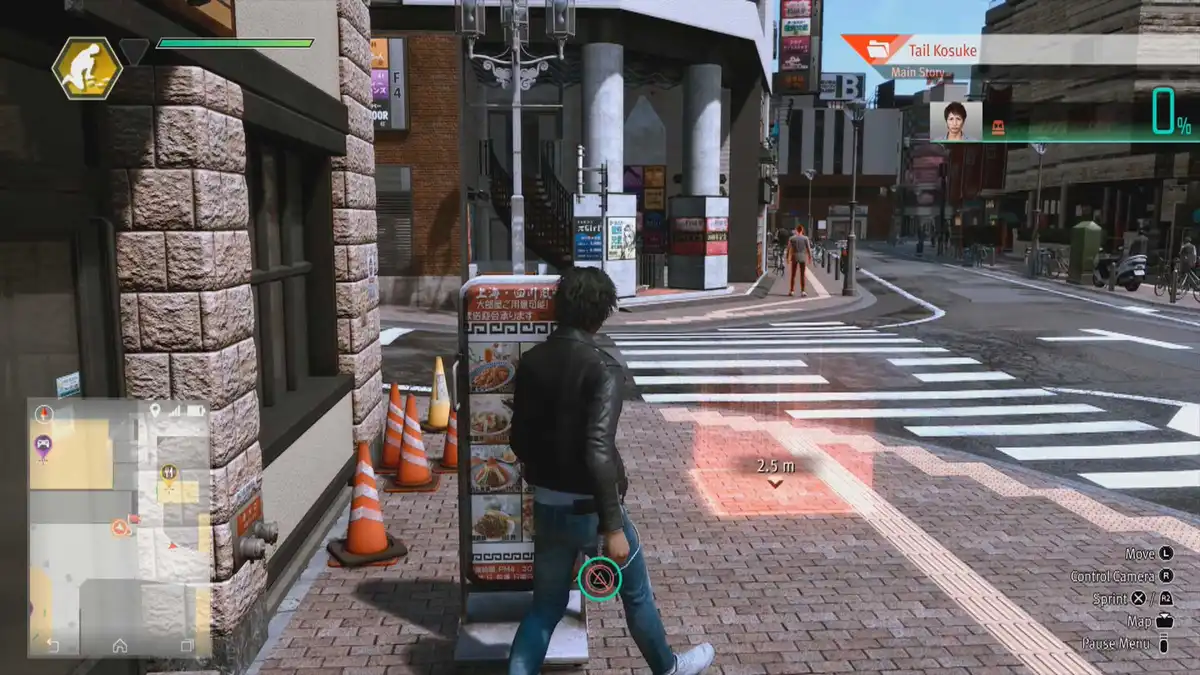
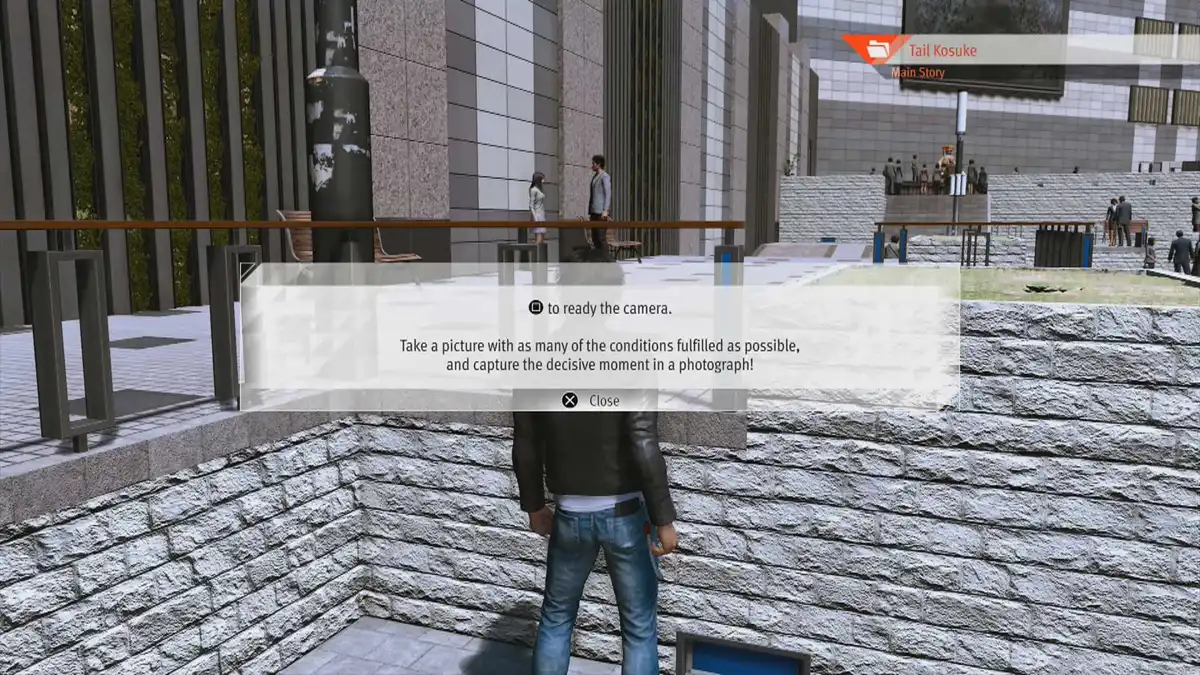
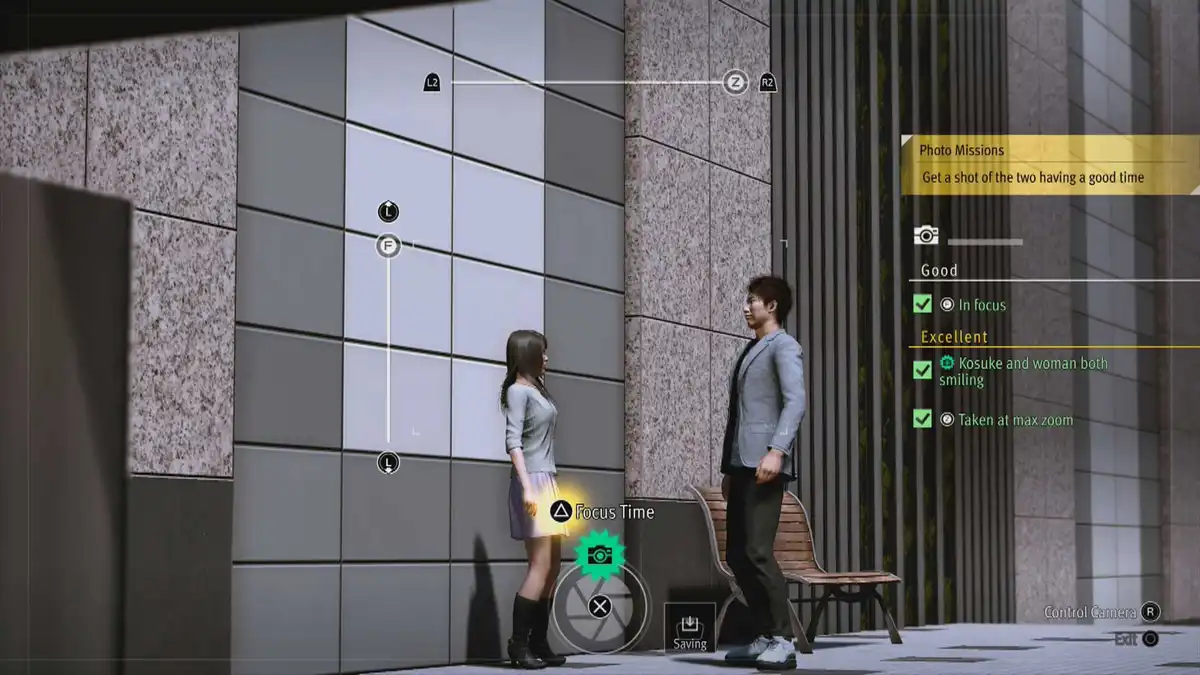
After some cinematics, you will be asked to take a picture of Kosuke and a woman. Ready the camera and try to meet the requirements.
Here, you’ll need “In focus”, “Taken at max zoom” (use the controller sticks) and “Kosuke and woman both smiling”. For the last one, you just have to wait a bit until the box is ticked. Then take the picture.
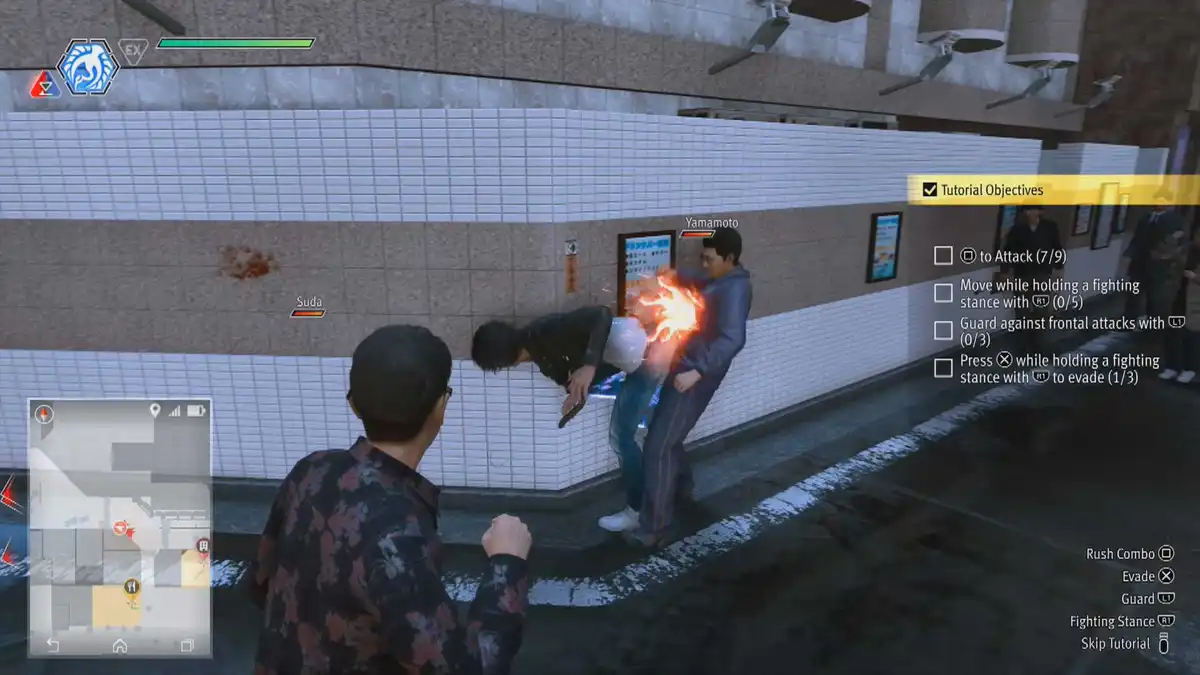
While continuing to tail Kosuke, you will be recognised by “Street Punks” and you will be introduced to fighting with “Crane Style”.
Meet the these Tutorial Objectives to continue:
“Square” to Attack (9x)
Move while holding a fighting stance with R1 (5x)
Guard against frontal attacks with L1 (3x)
Press “Cross” while holding a fighting stance with R1 to evade (3x)

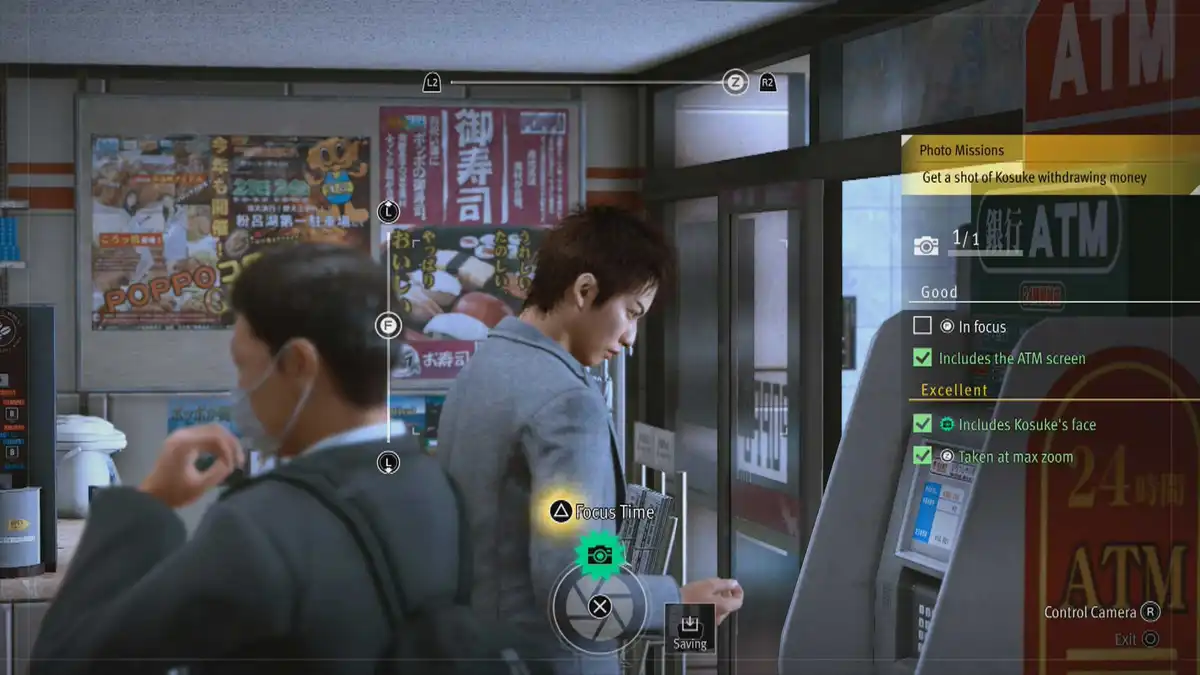
Follow him into the POPPO convenience store and take a photograph of Kosuke withdrawing money.
Requirements to meet “Excellent”:
In focus and Taken at max zoom (with controller sticks)
Includes the ATM screen
Includes Kosuke’s face
2 – Sneak Into The Building
Active Search Mode: Secure the Infiltration Route
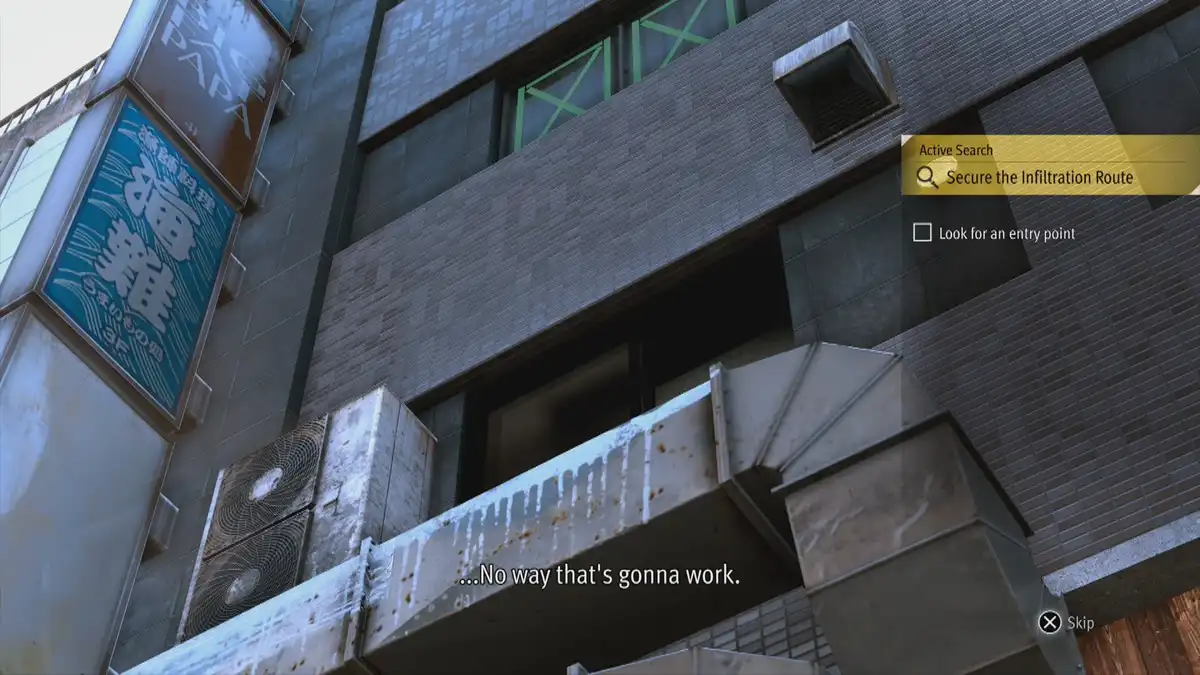
You’ll tail Kosuke to a building with a guard in front. Now, you enter Active Search Mode where you have to look around and zoom in to:
“Look for an entry point”:
One of the windows in the first floor are open. Zoom into it.
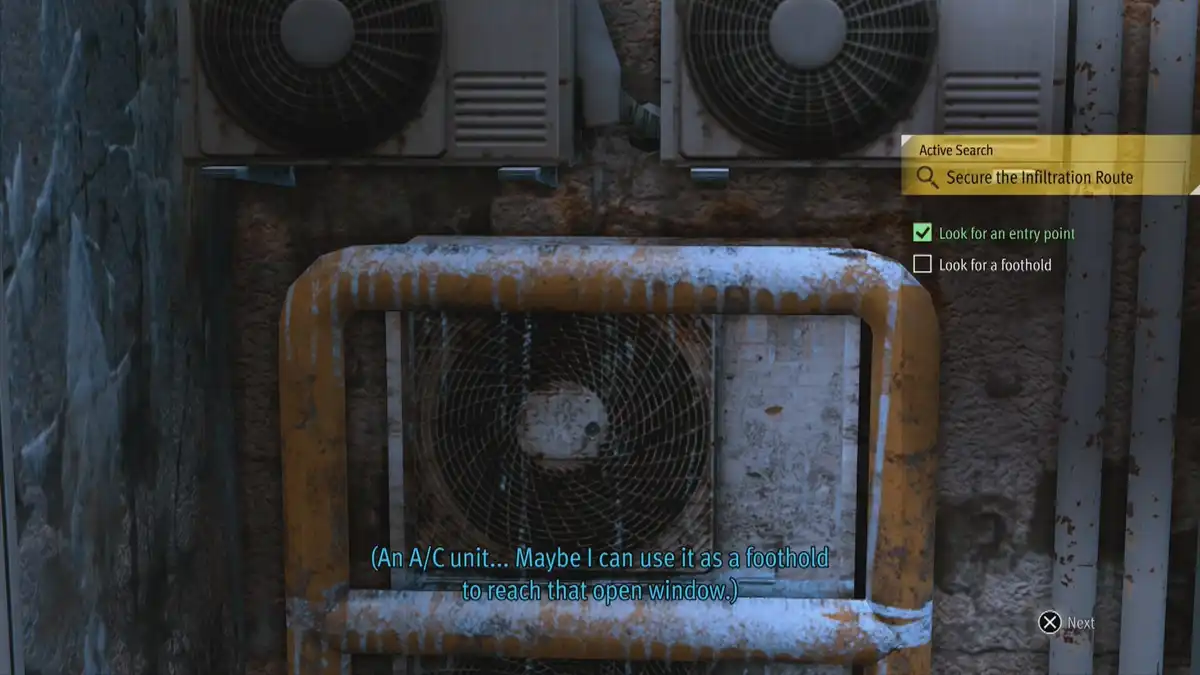
“Look for a foothold”:
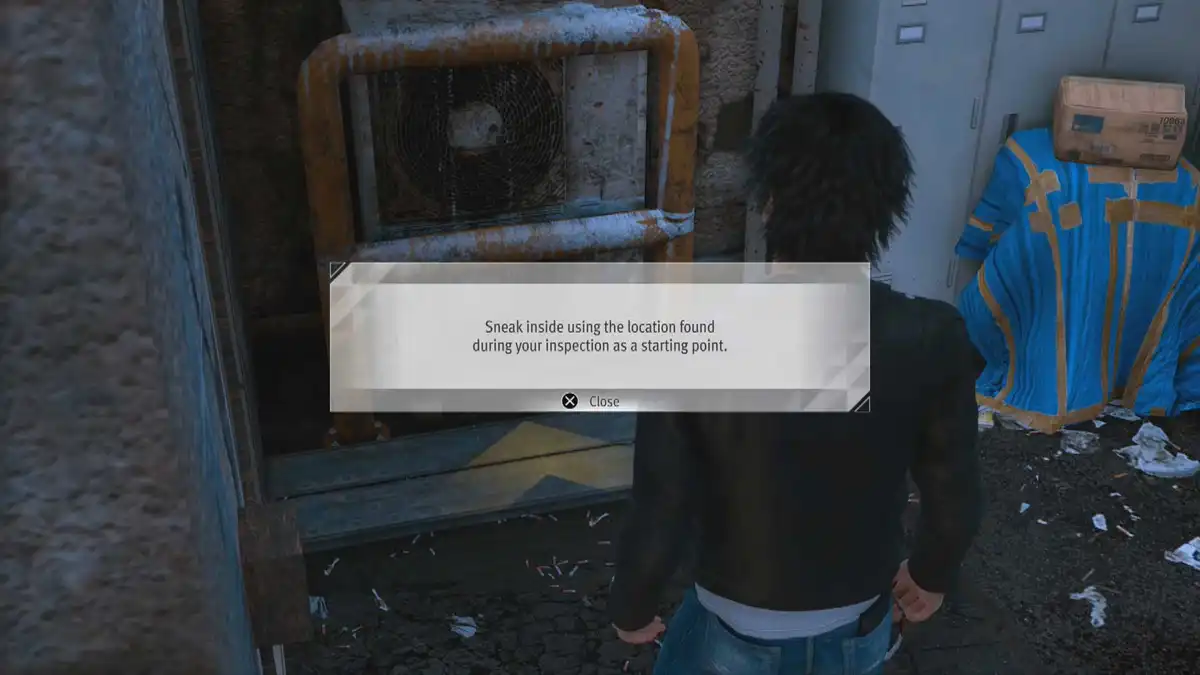
You can walk in Active Search Mode. Walk into the near alley and zoom into the A/C Unit.
The starting point to sneak inside has a nice yellow arrow. Now you get the Parcour – Grip Gauge and Climbing Walls tutorial.

3 – Defeat the Thug
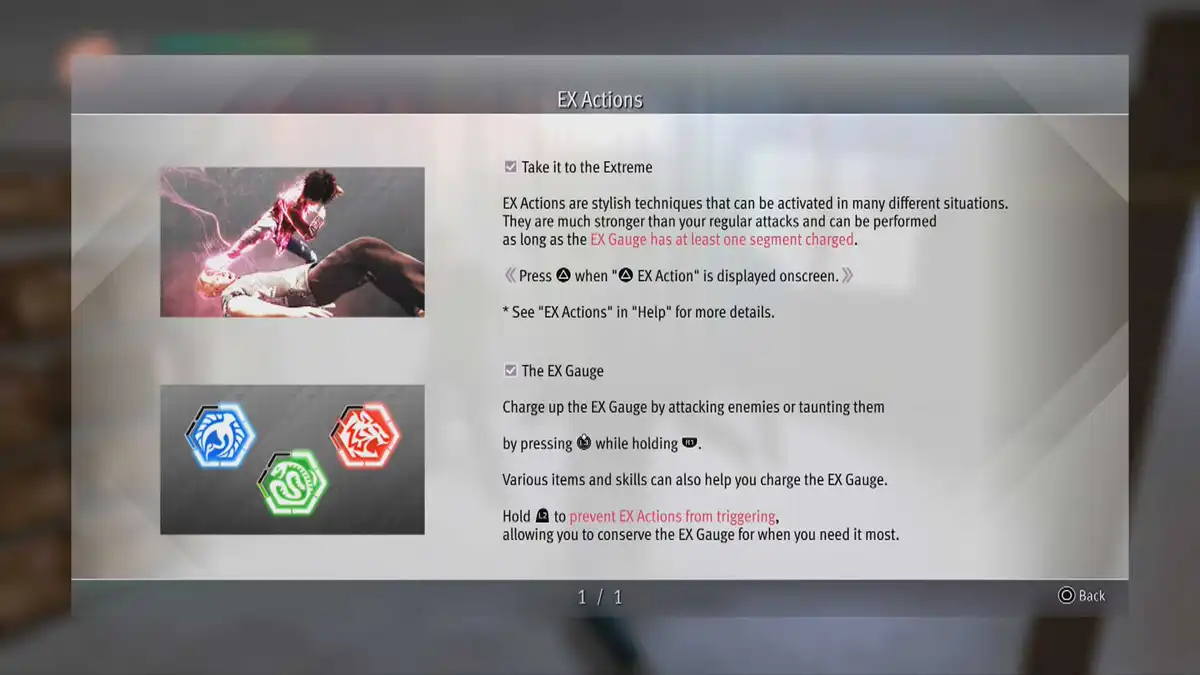
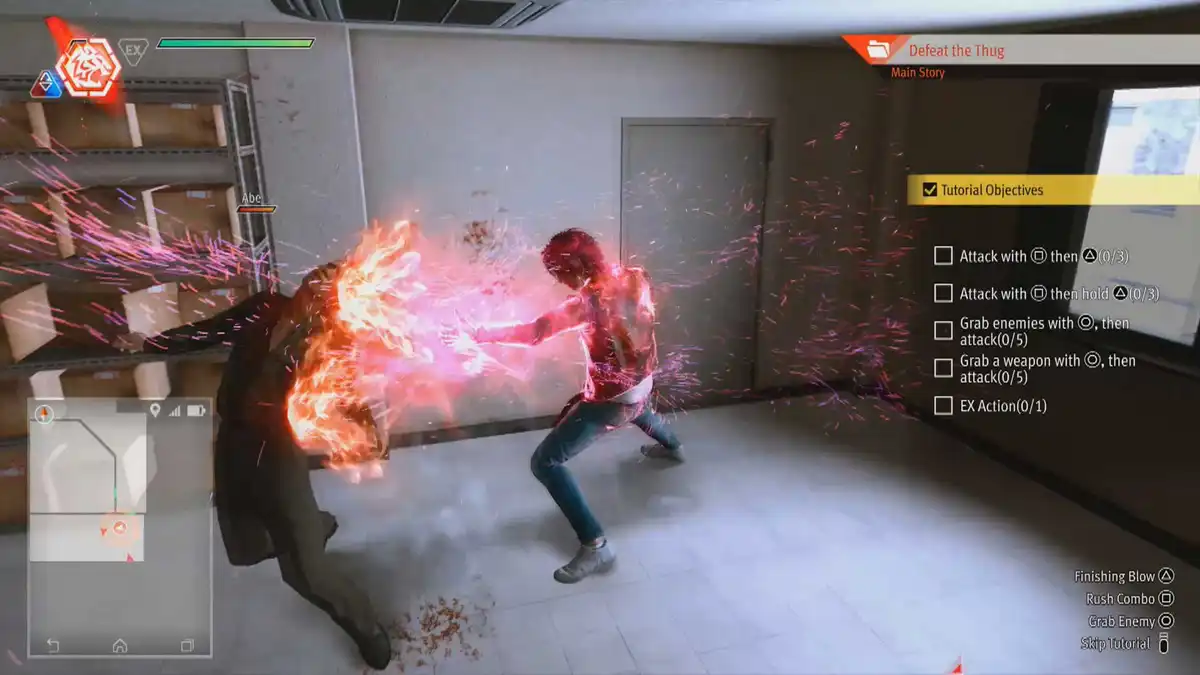
Use the instructions to get inside the building. While fighting the Street Punks, you’re introduced the the Tiger Style and Ex Actions.
Meet the these Tutorial Objectives to continue:
Attack with “Square” then “Triangle” (3x)
Attack with “Square” then hold “Triangle” (3x)
Grab enemies with “Circle”, then attack (5x)
Grab a weapon with “Circle”, then attack (5x)
EX Action (1x)
4 – Head Upstairs Without Getting Spotted
Leave the room after the fight and go to the red triangle as indicated. Target the thug and “look” when indicated.
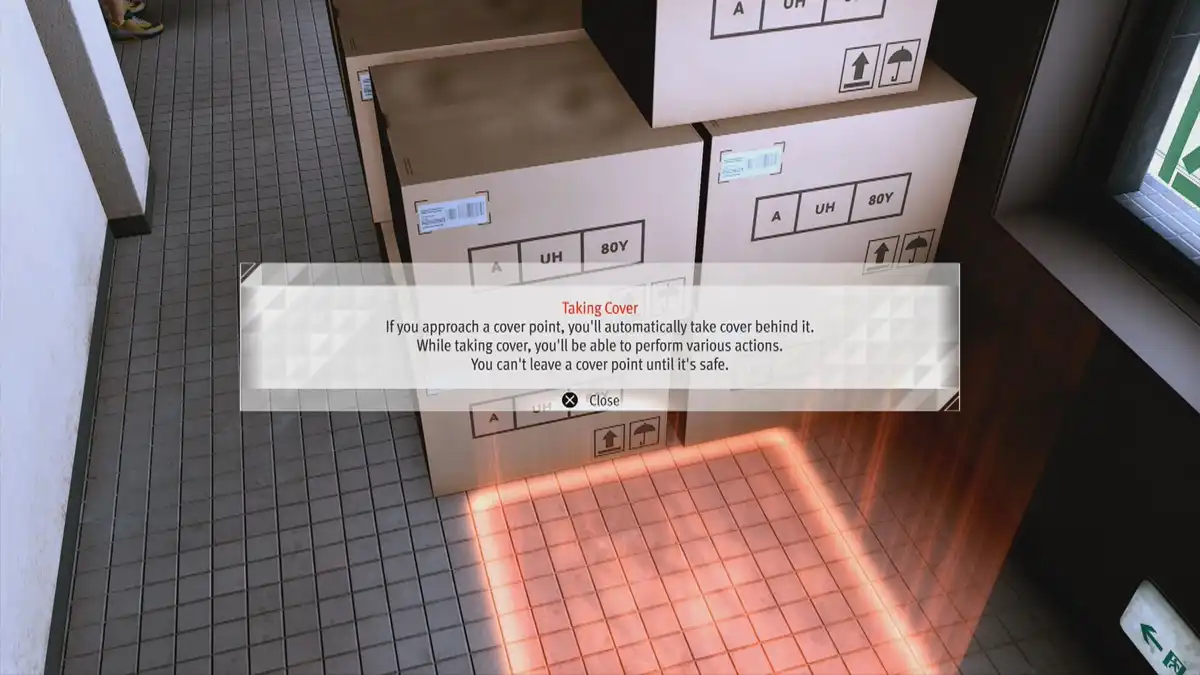
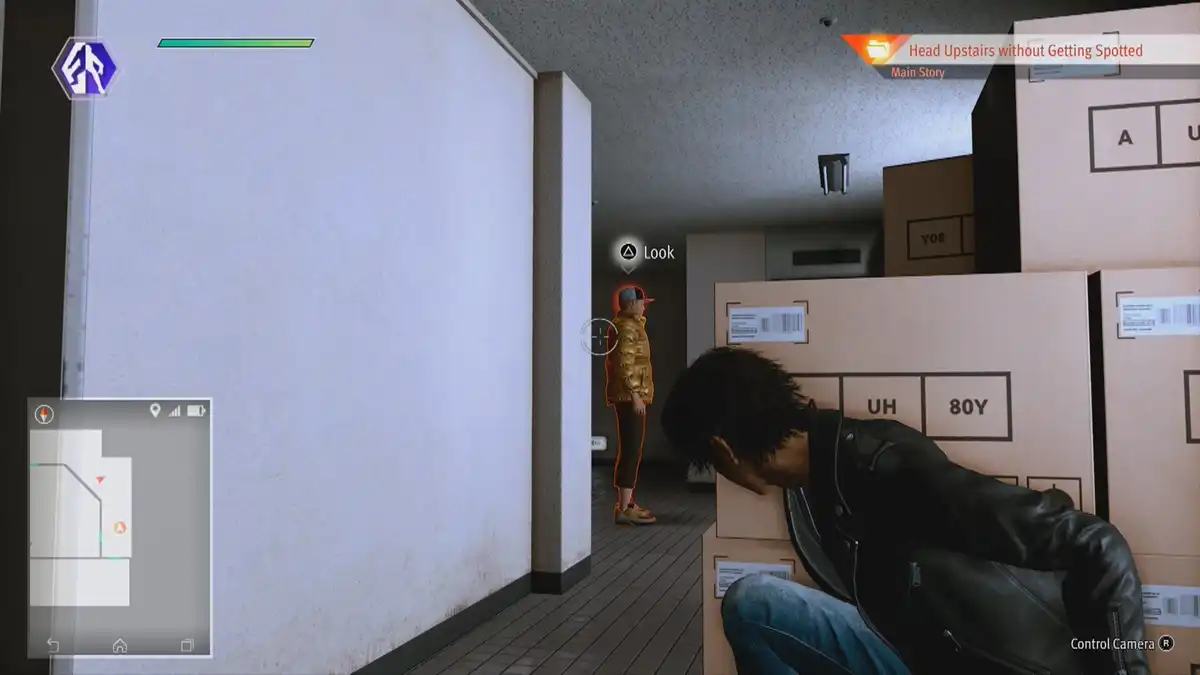
You can’t get passed the guy with the golden jacket Go through the other door instead. In the next room, a thug is sleeping. The exit door is locked, so you need to get the keys on the table next to the sleeper.
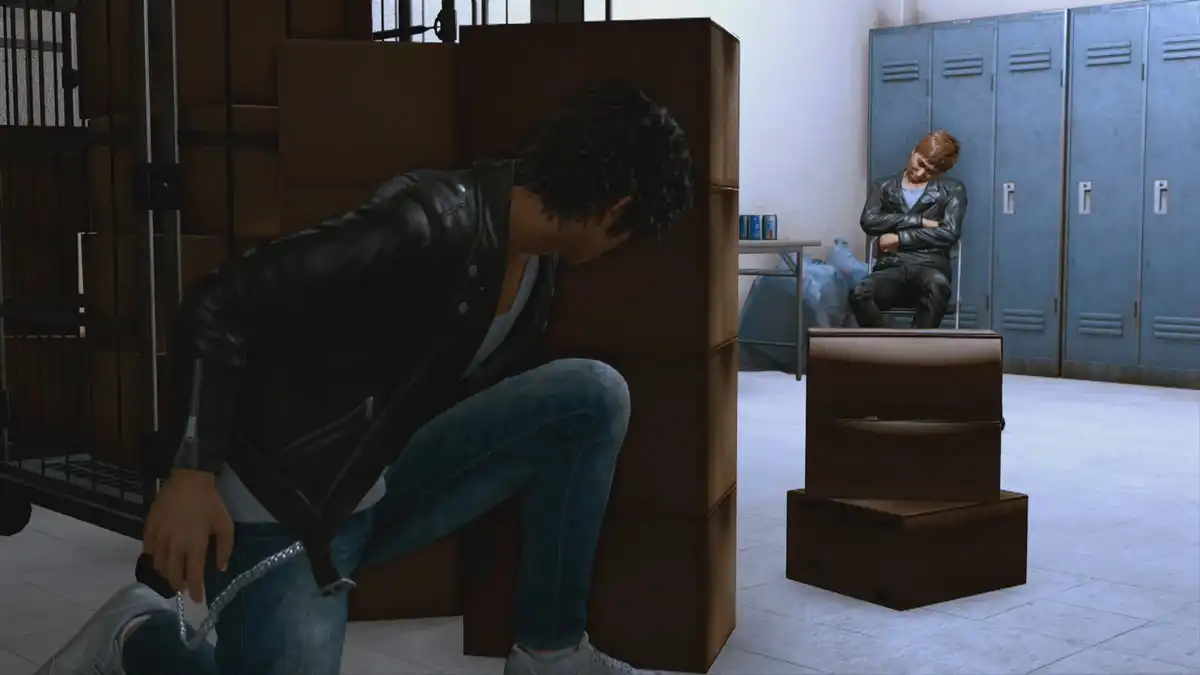
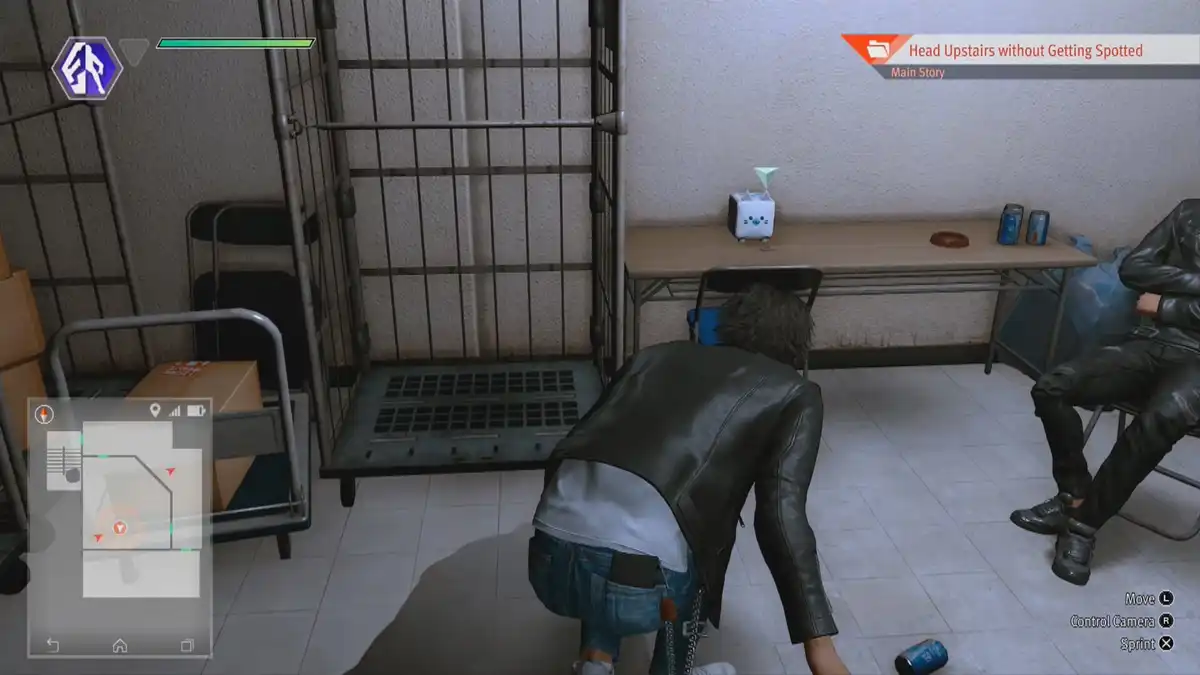
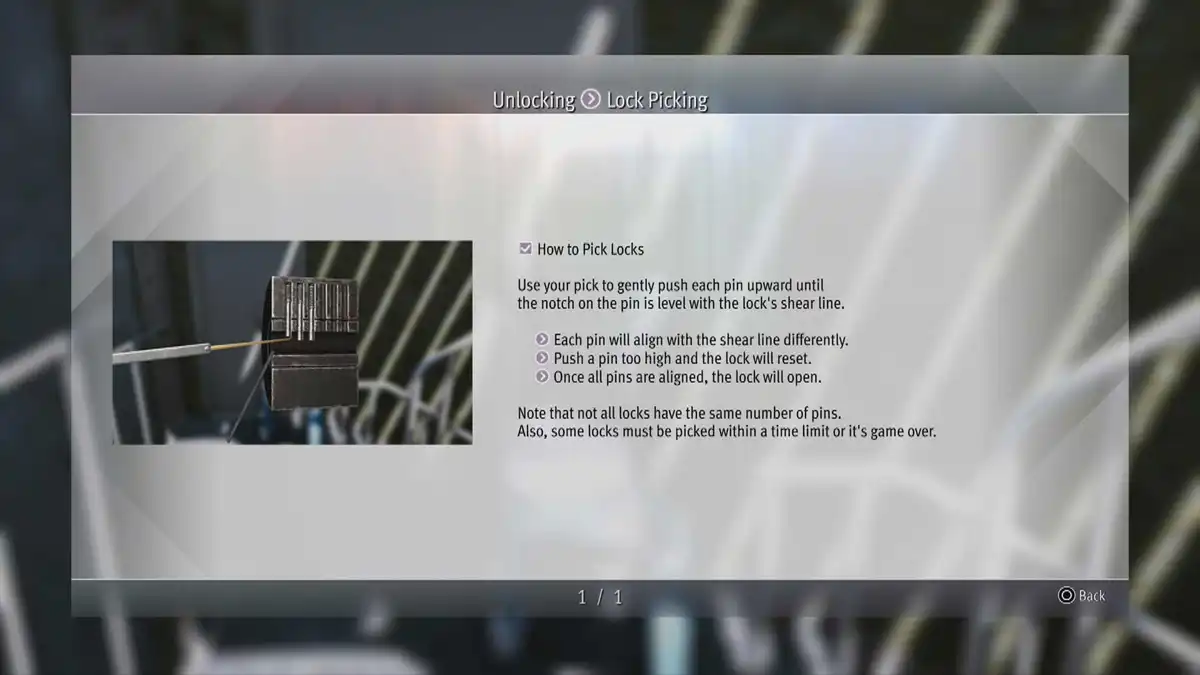
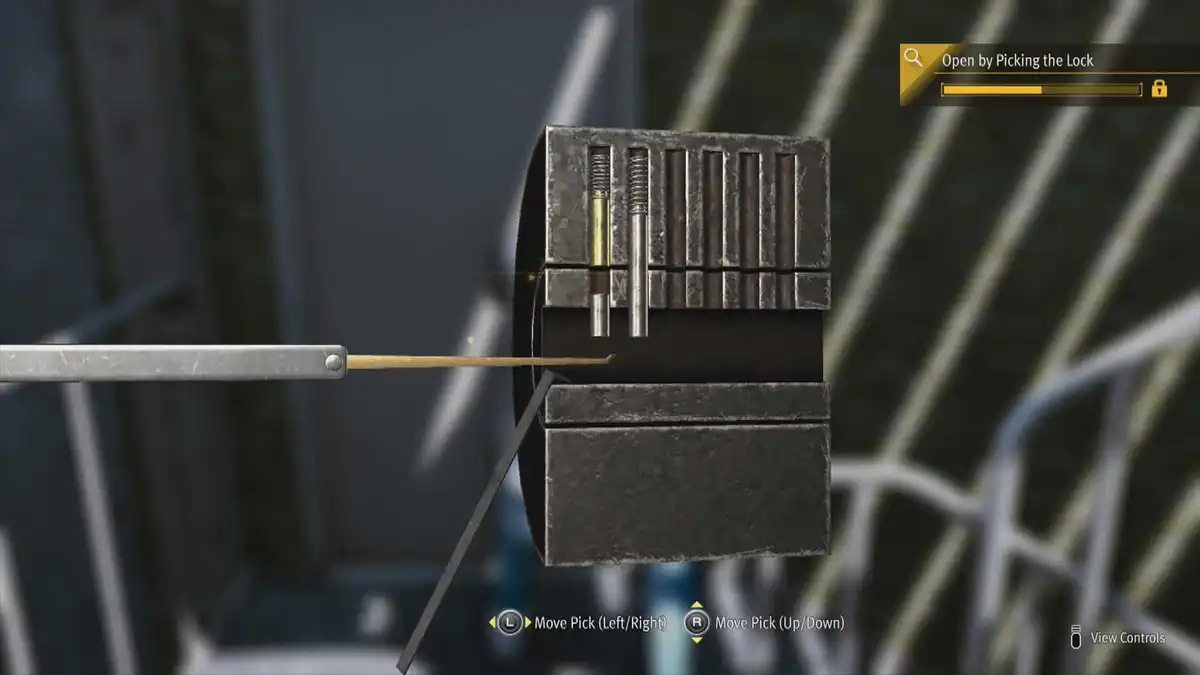
Go outside and up the stairs to the locked door, where you are introduced to lock picking. Move every pin up so it turns golden. Open the door and go to the red square.
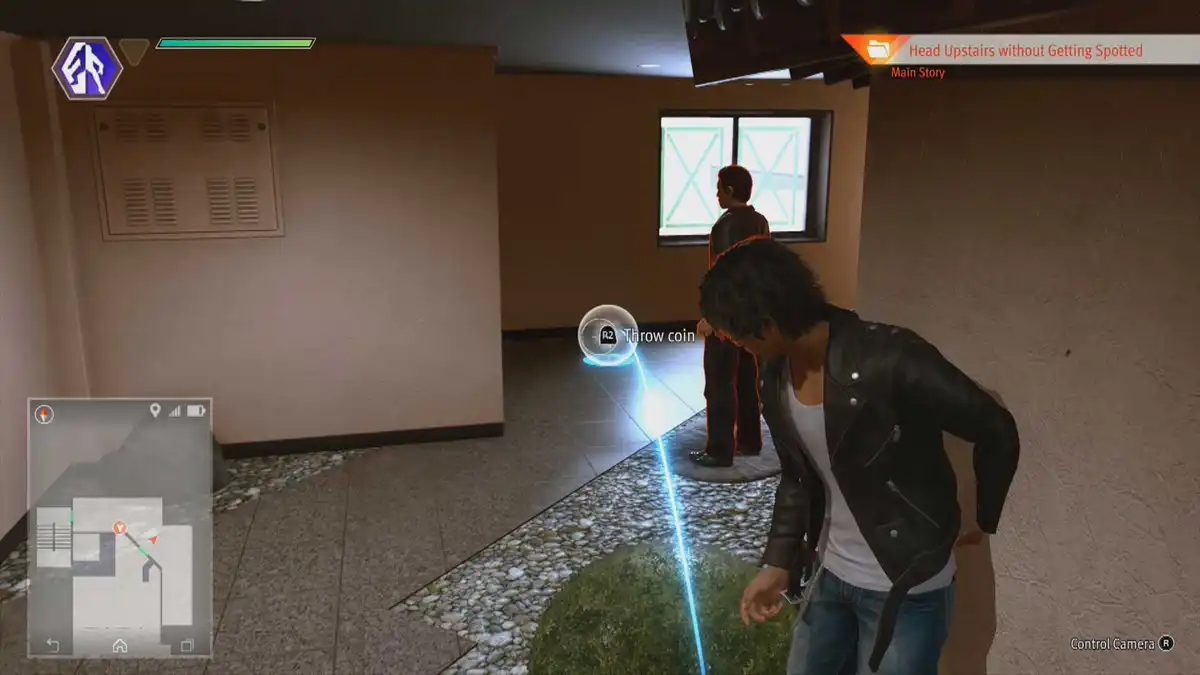
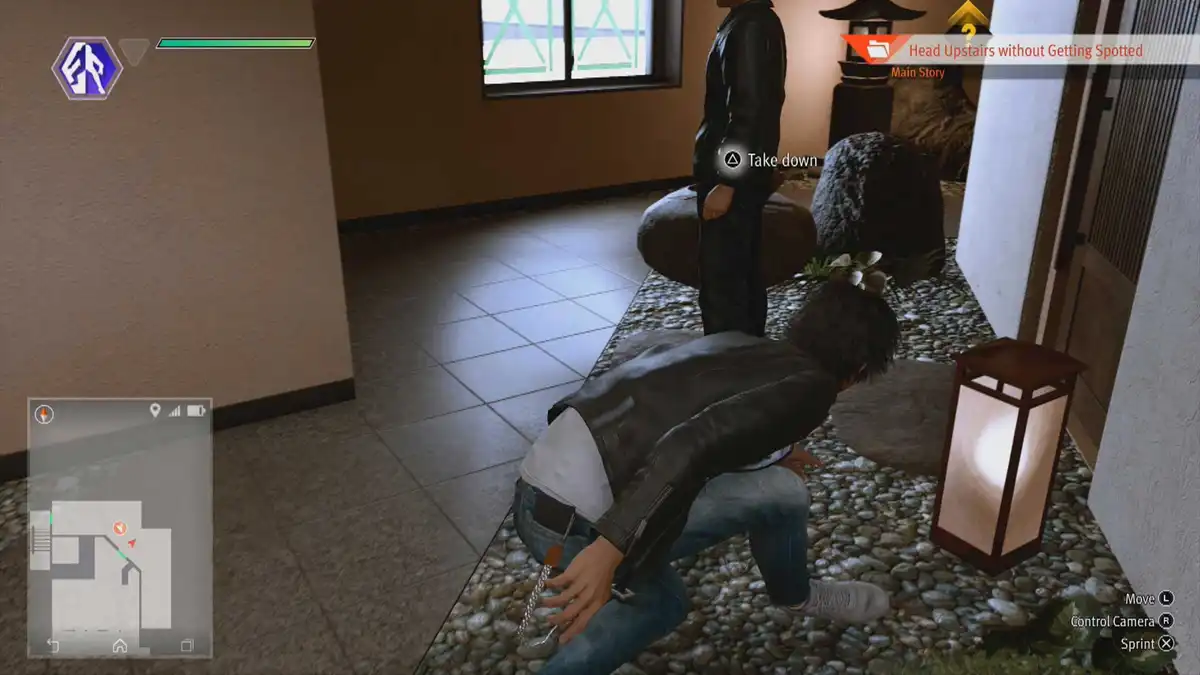
Look at the guard and toss a coin to the marked location to practice a stealth takedown. Now you can enter the Tatami Room.
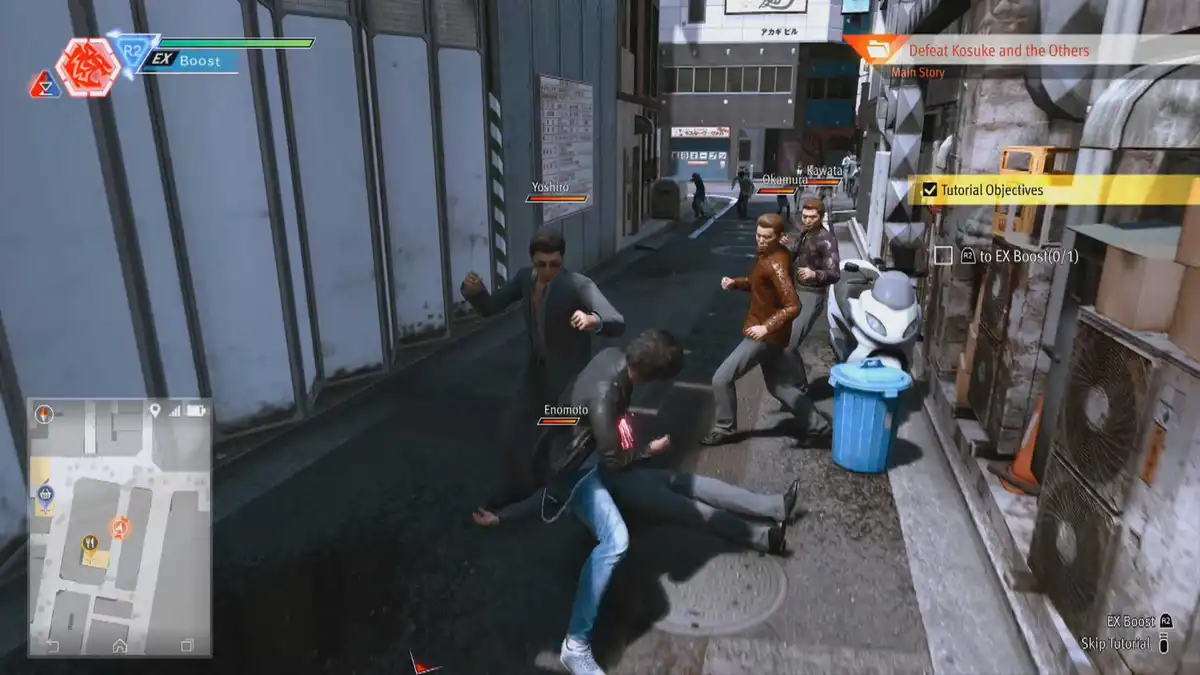
5 – Defeat Kosuke and the Others
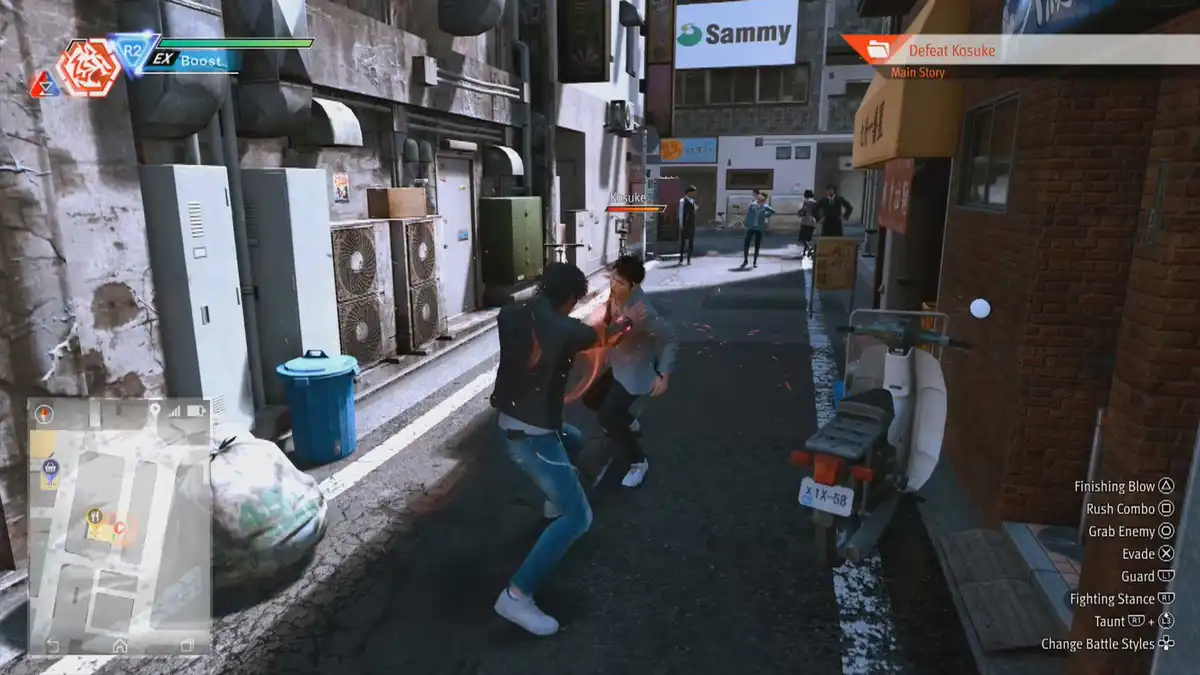
After the cutscene you have to fight Kosuke and the Street Punks.
Meet the these Tutorial Objectives to continue:
R2 to EX Boost (1x)
6 – Catch Kosuke
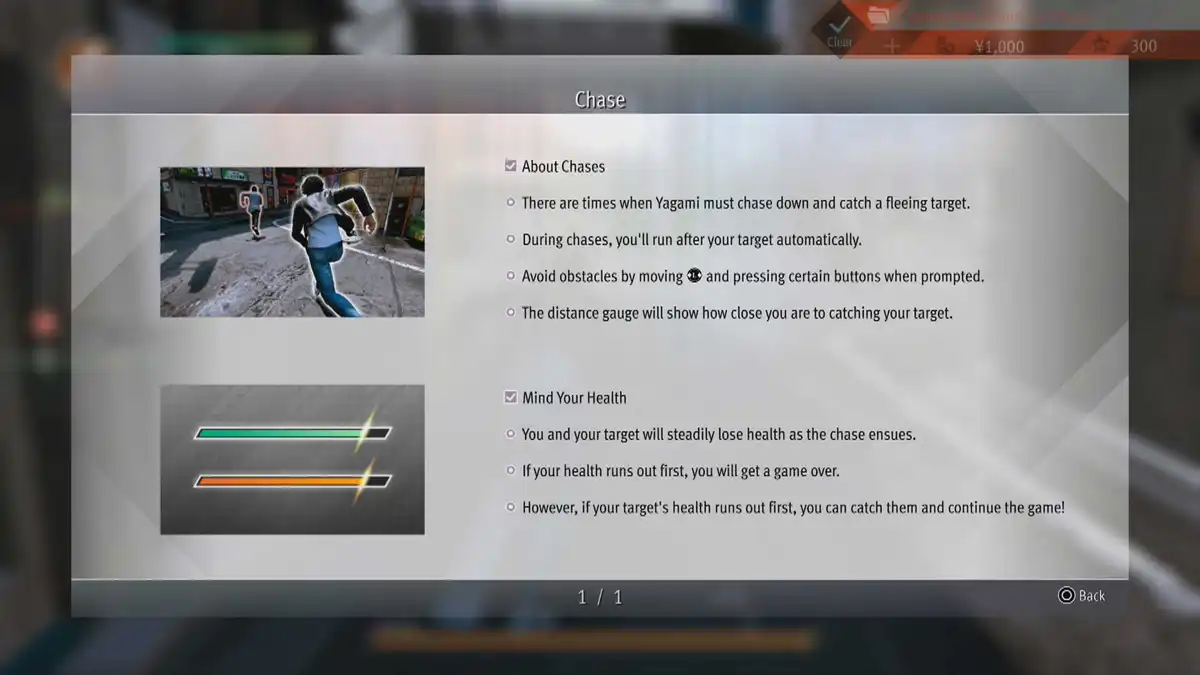
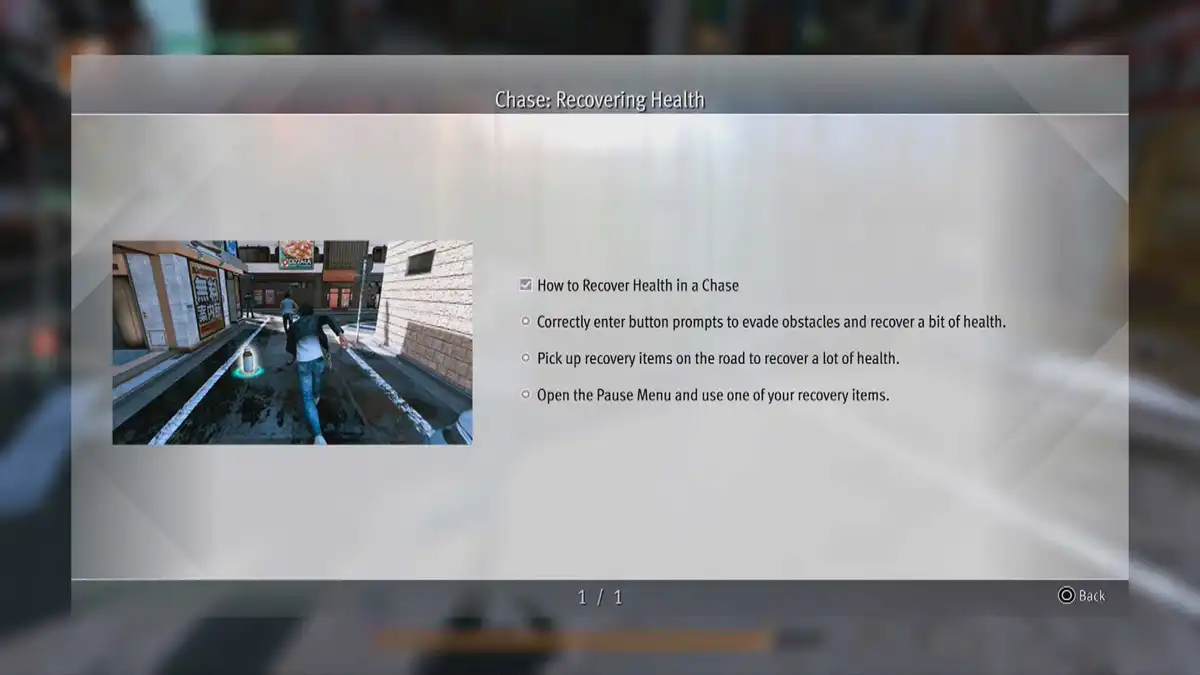
Next is the Chase Tutorial and how to recover health during the chase.
7 – Go to Genda Law Office, Talk to Genda
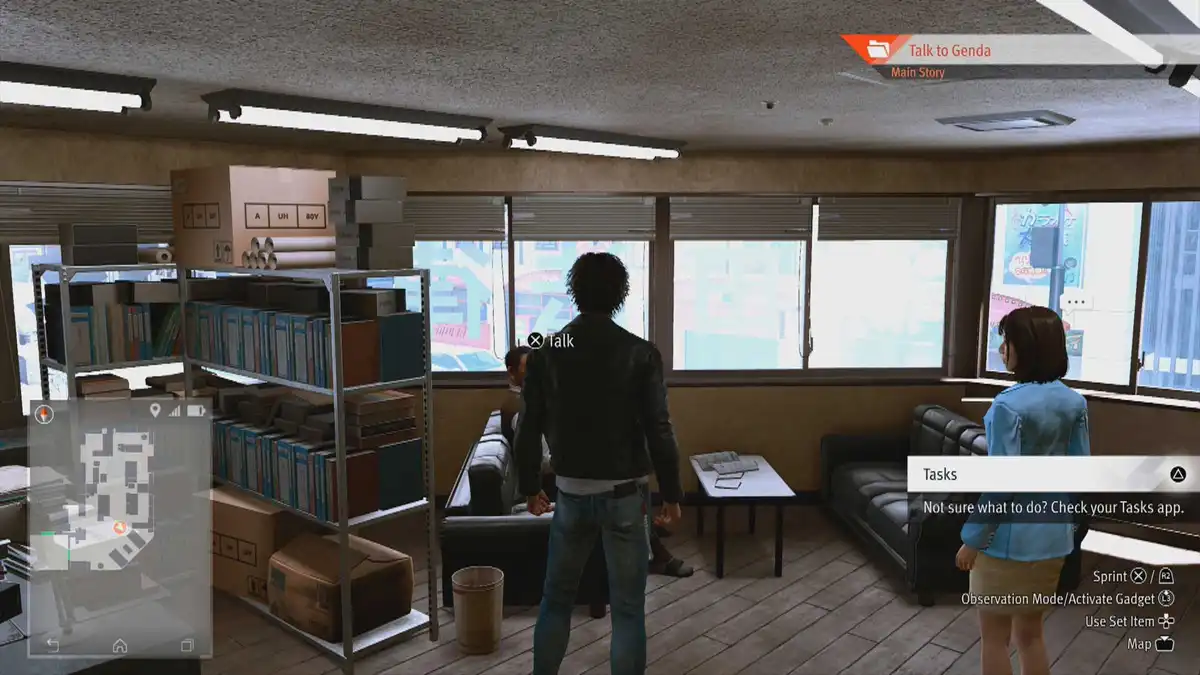
Talk to Genda in his office, then go downstairs and talk to Kaito. He’s waiting at the minibus right in front of the office. Head to the bar.

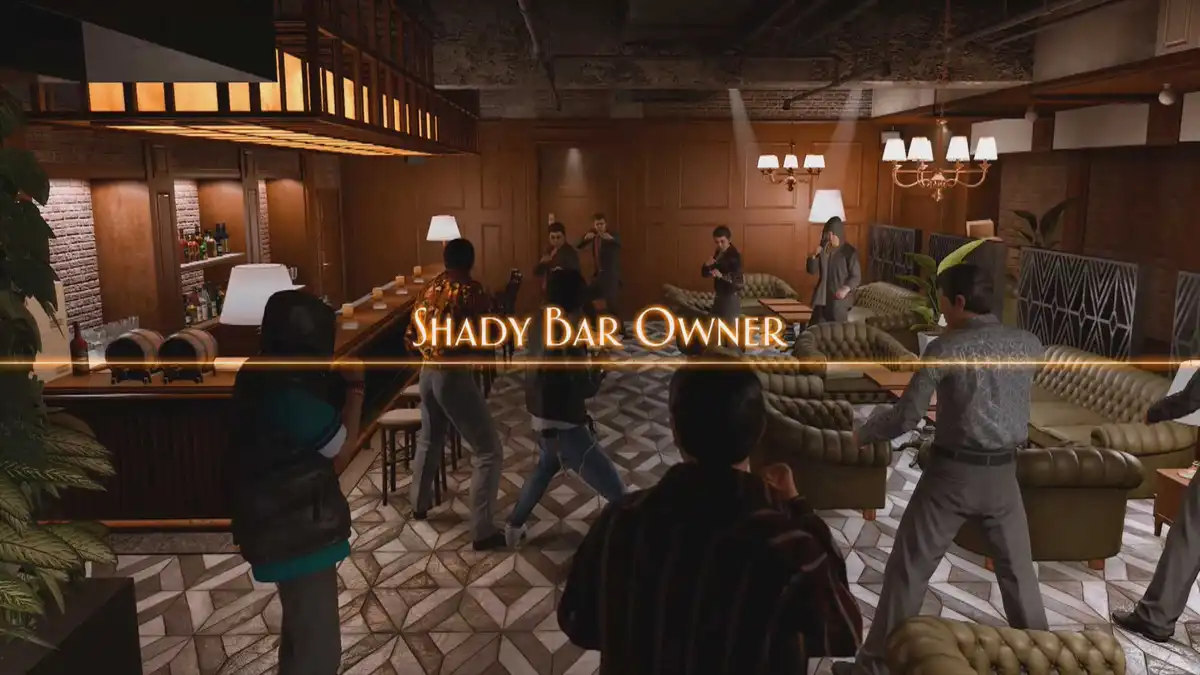
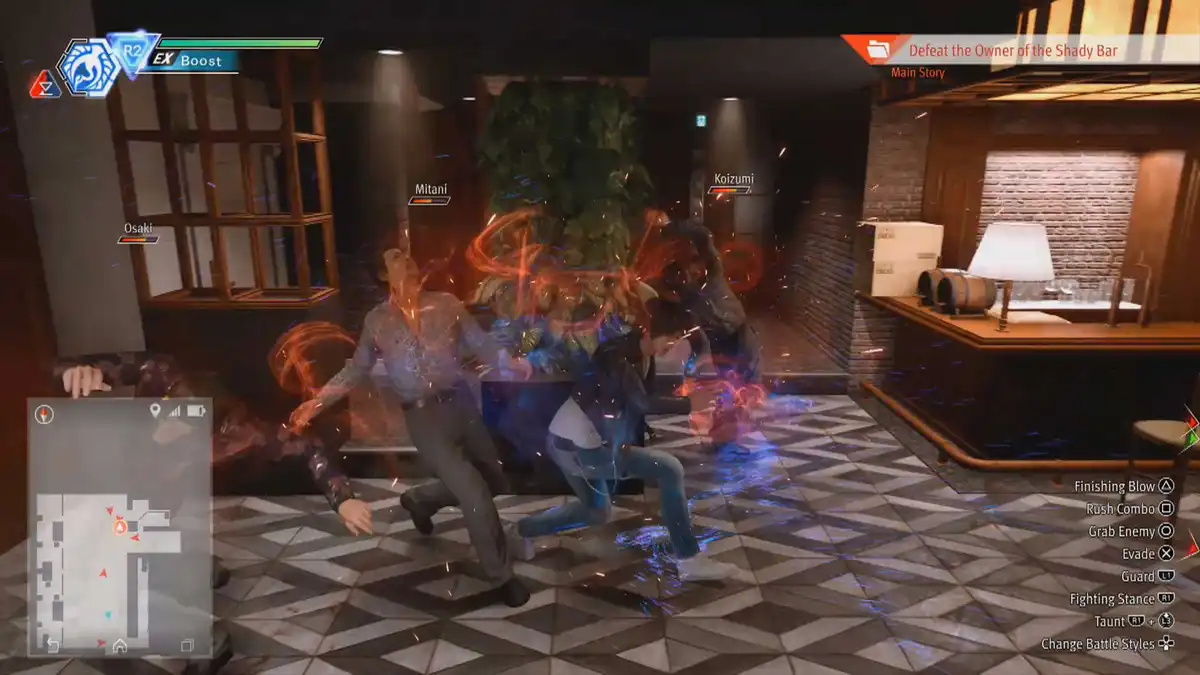
8 – Defeat the Owner of the Shady Bar
Fight the Shady Bar Owner.
9 – Return to Yagami Detective Agency
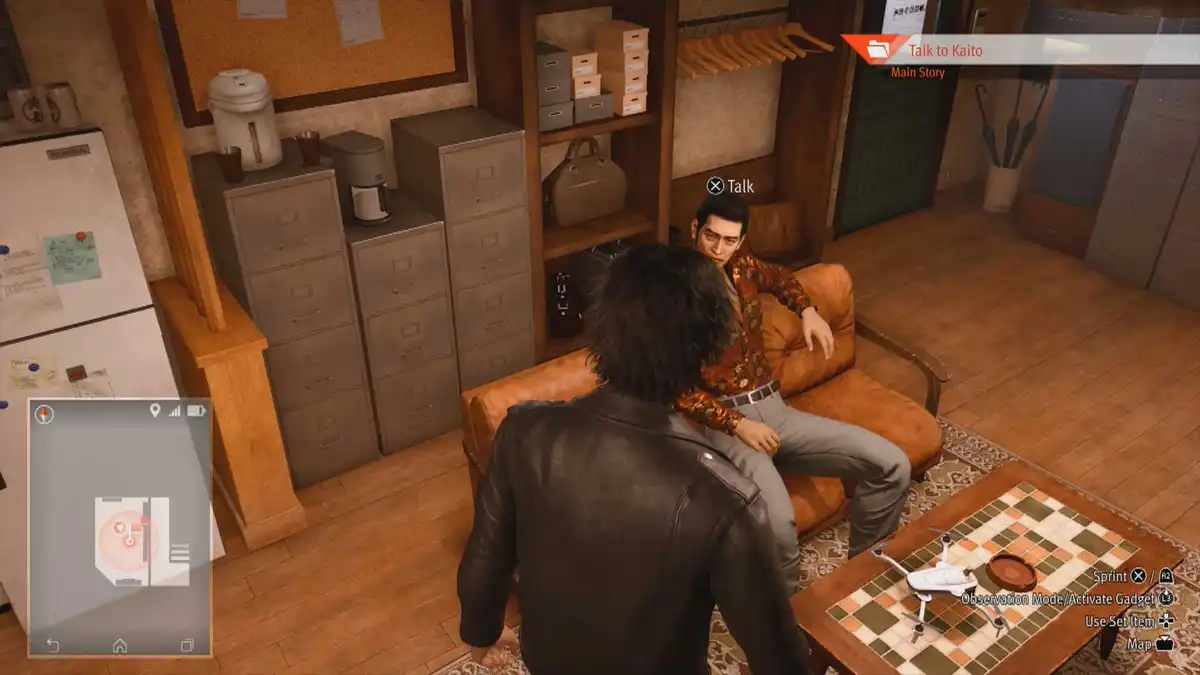
Head back to the agency. There is a marker on the map in which direction you need to go. Once in the office, talk to Kaito.

10 – Head to Yokohama 99
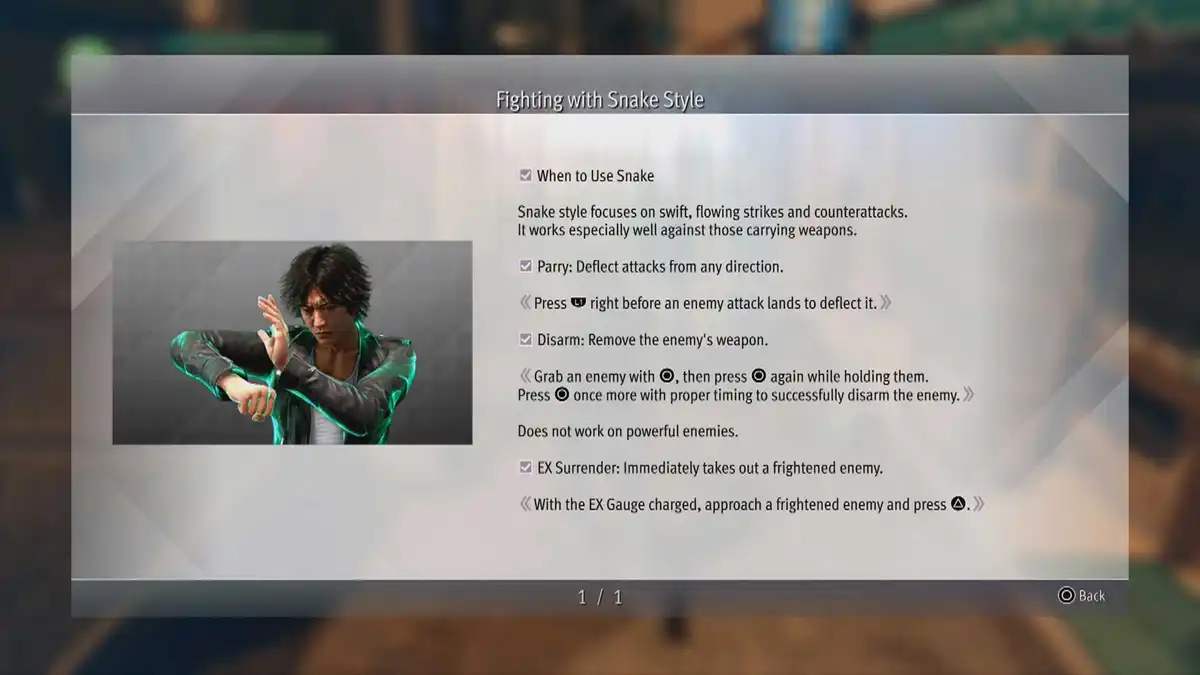
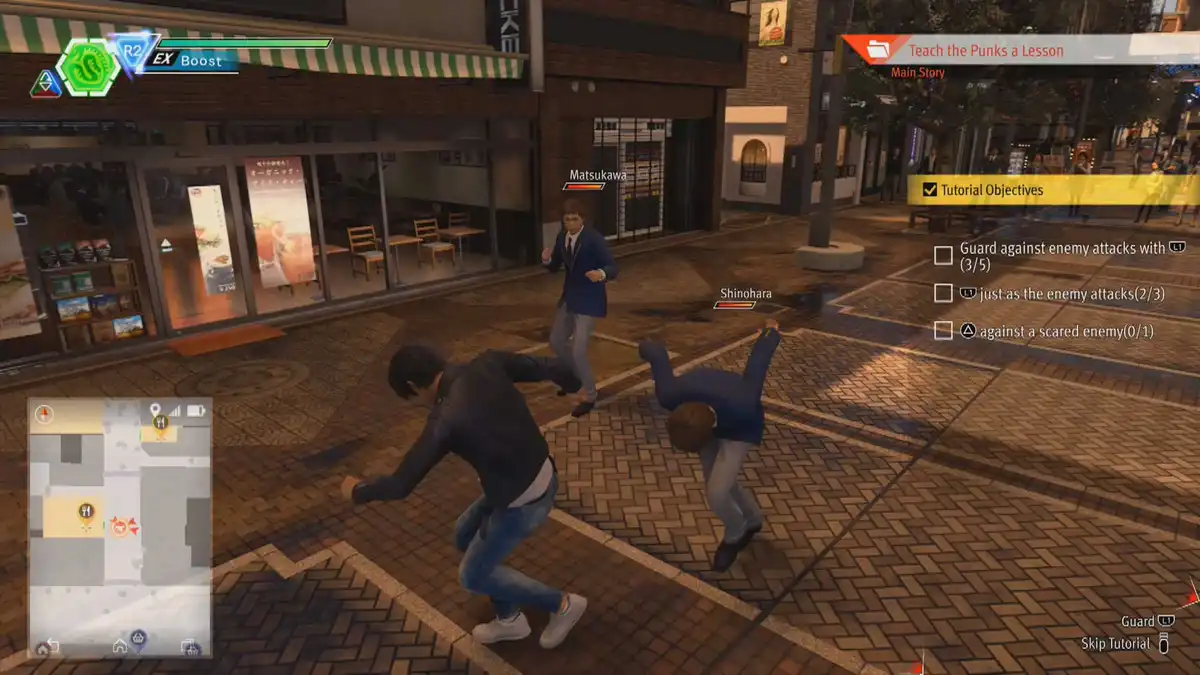
In Yokohama, head to the Yokohama 99 Detective Agency. On the way, you have to “Teach the Punks a Lesson”, where you learn “Fighting with Snake Style”.
Meet the these Tutorial Objectives to continue:
Guard against enemy attacks with L1 (5x)
L1 just as the enemy attacks (3x)
“Triangle” against a scared enemy (1x) – scared enemies have a blue glow.
11 – Go to Kyoinro
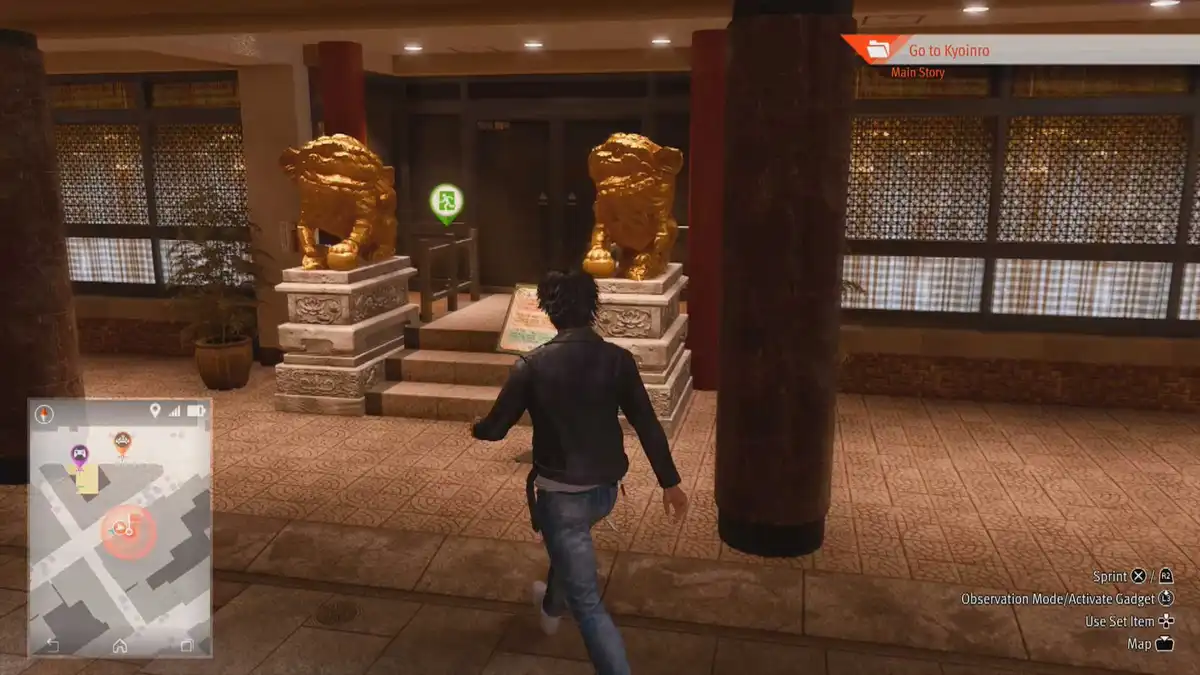
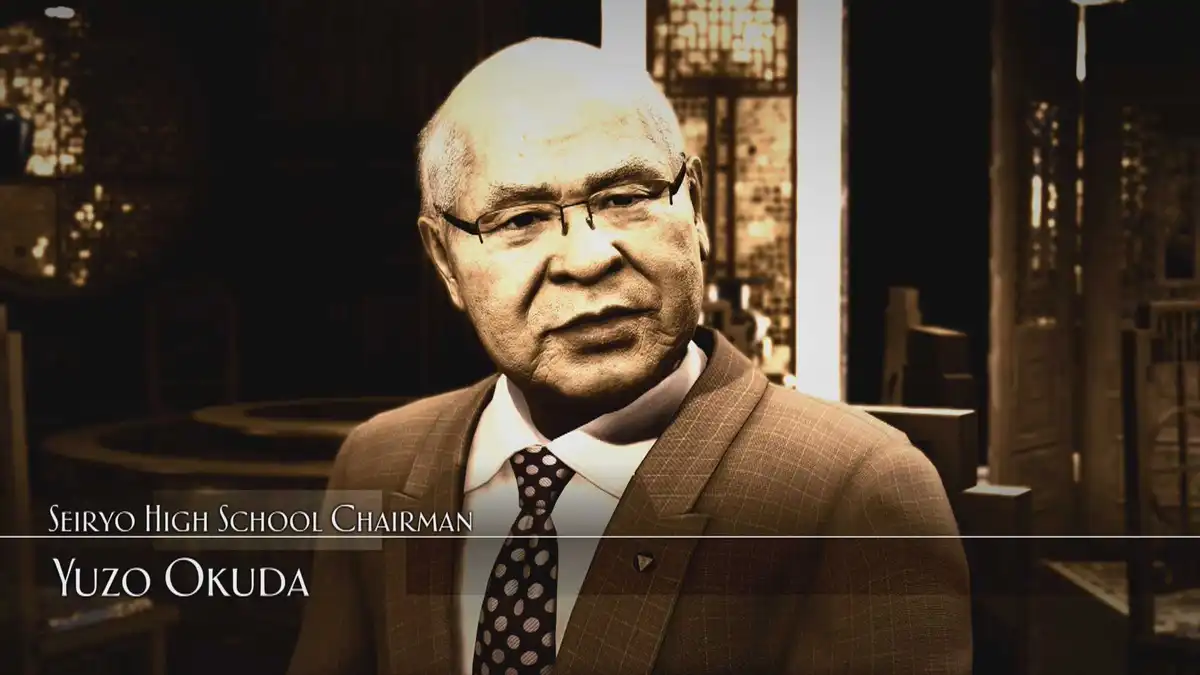
After meeting Suriura and Tsukumo at Yokohama 99, head over to the Kyoinro restaurant to meet the client.
Back in the office, you will have to solve the Skateboard Detective vs. the Reseller Side Case before going to sleep at the couch.
12 – Go to Seiryo High School
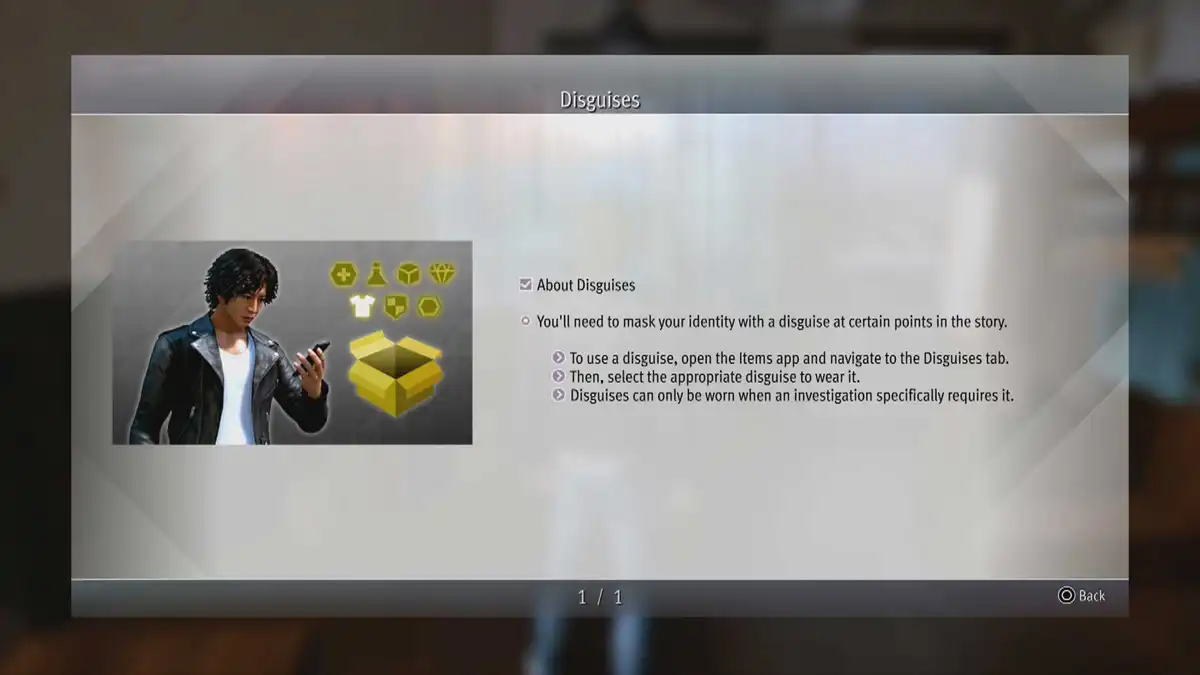
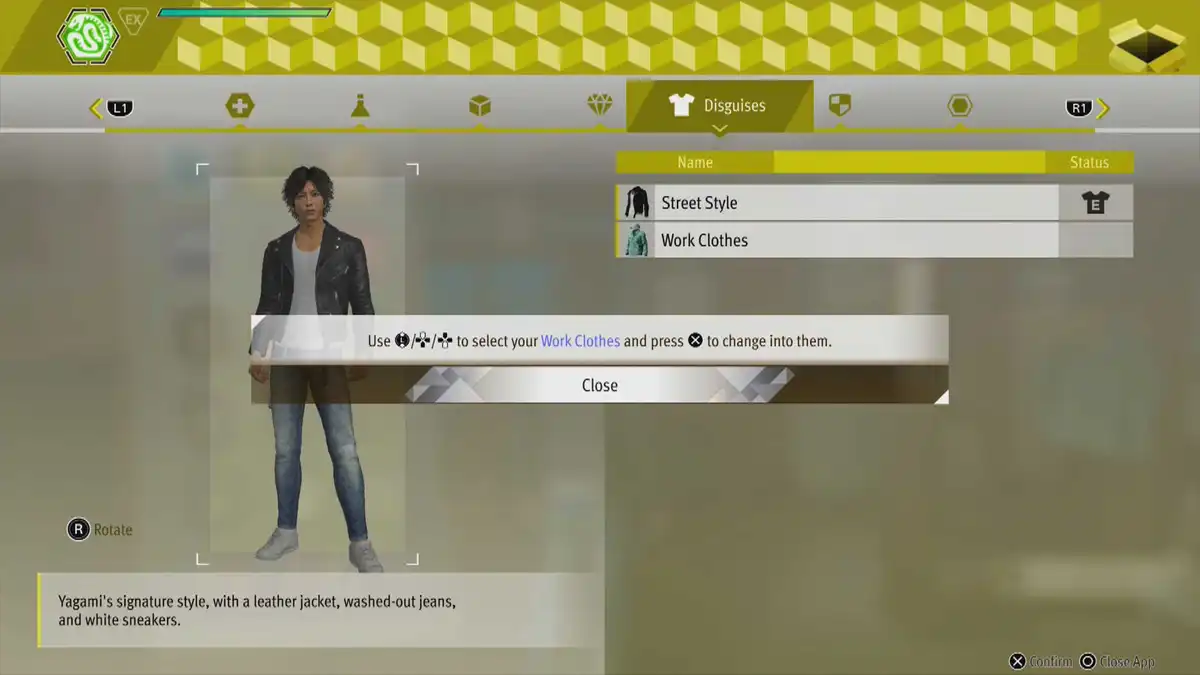
The next morning, you’ll learn how to put on disguises. Choose the Work Clothes in the menu.
Then, take a taxi to the school.
13 – Set up Cameras Around Campus
At the school, follow Kaito. You will set up cameras automatically for a while. When you split, walk upstairs to the 3rd floor.
There are 3 camera positions in this part:
-> Staircase between 2nd and 3rd
-> Toilet
-> Staircase between 3rd and roof.
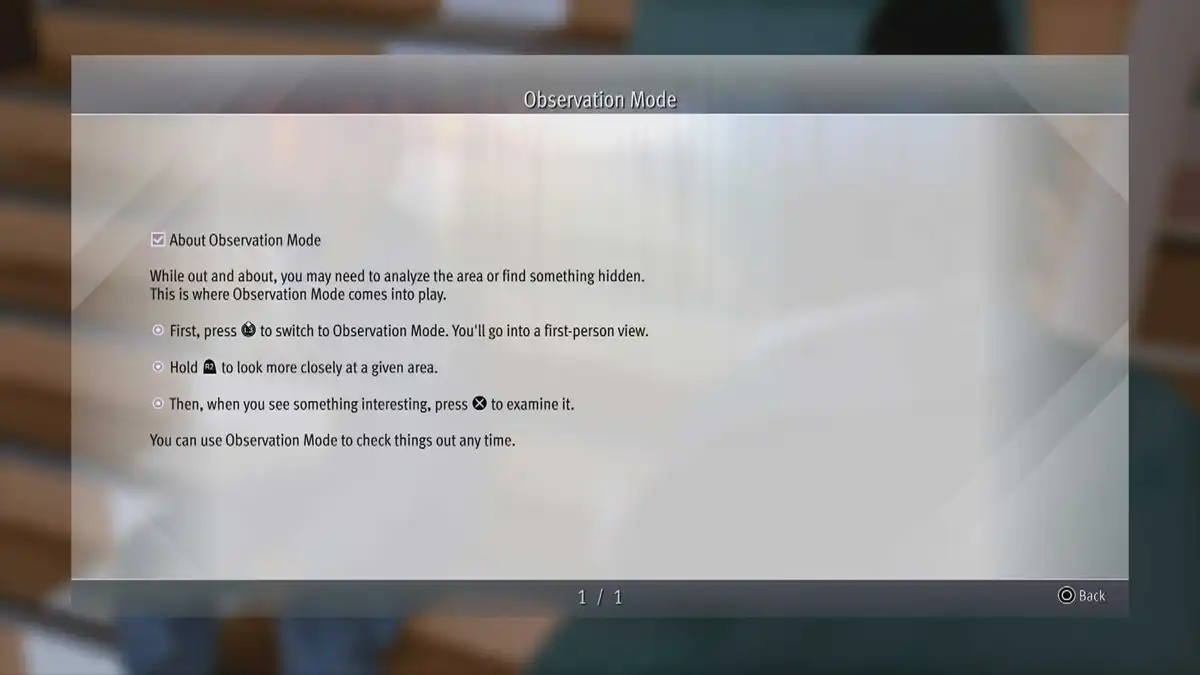
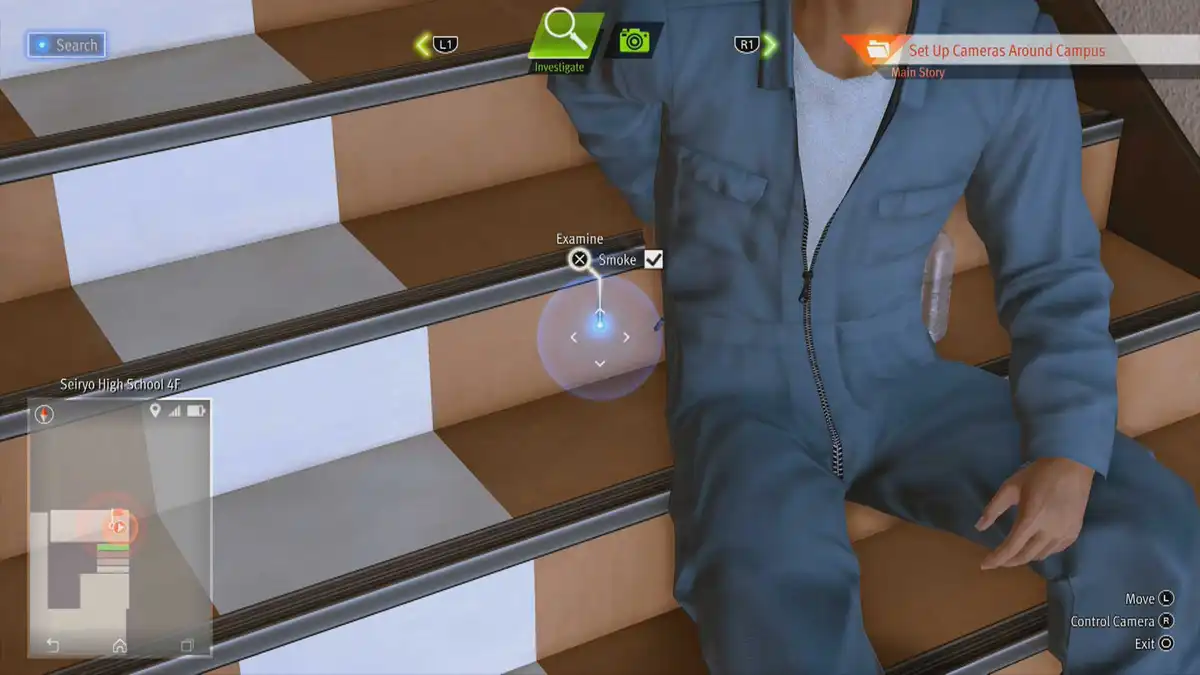
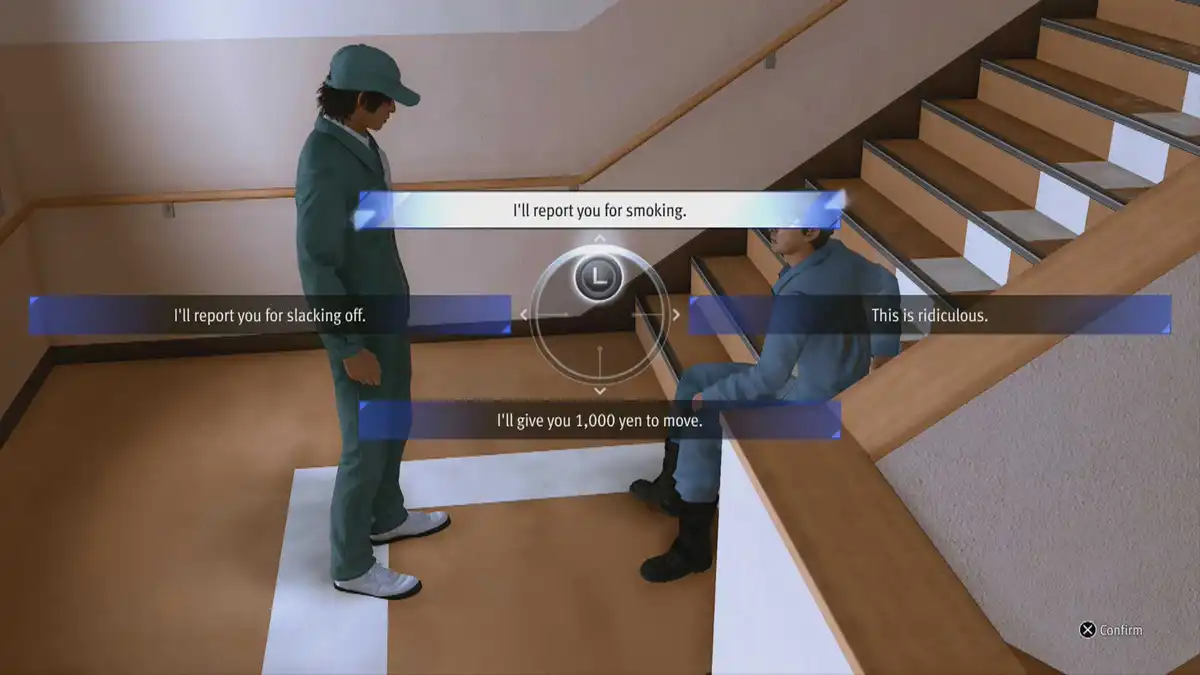
Exit Observation Mode and talk to the Janitor. Tell him you’ll report him for smoking. You then install the last camera and meet with Kaito on the second floor.
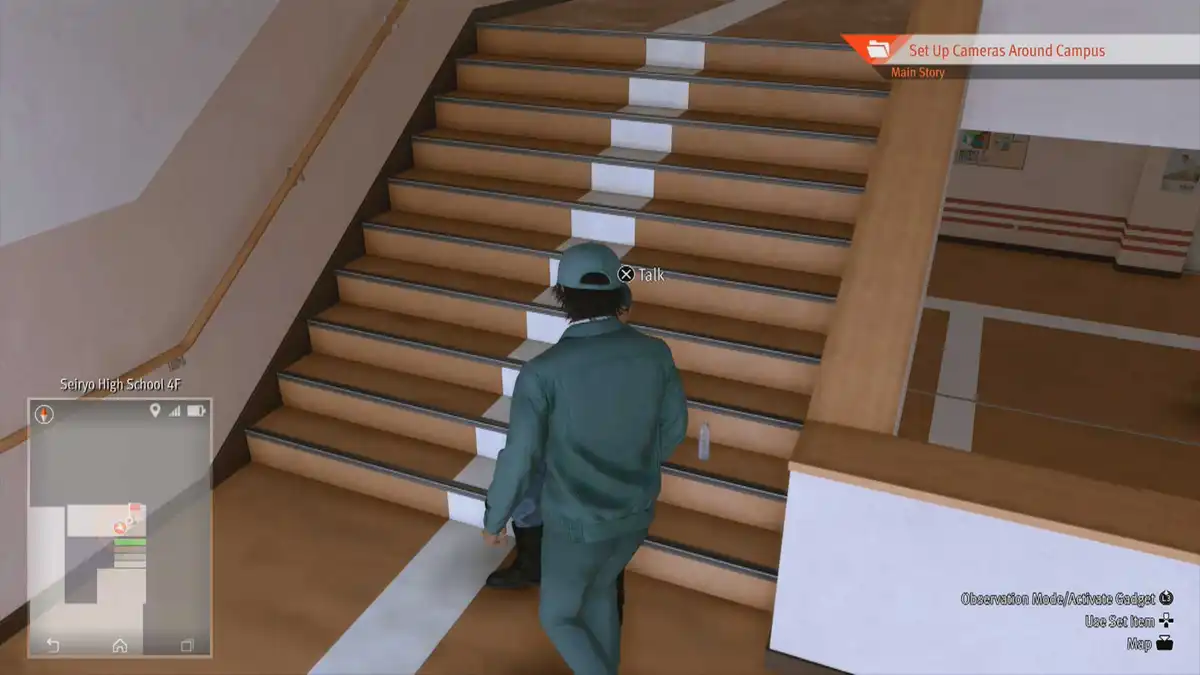
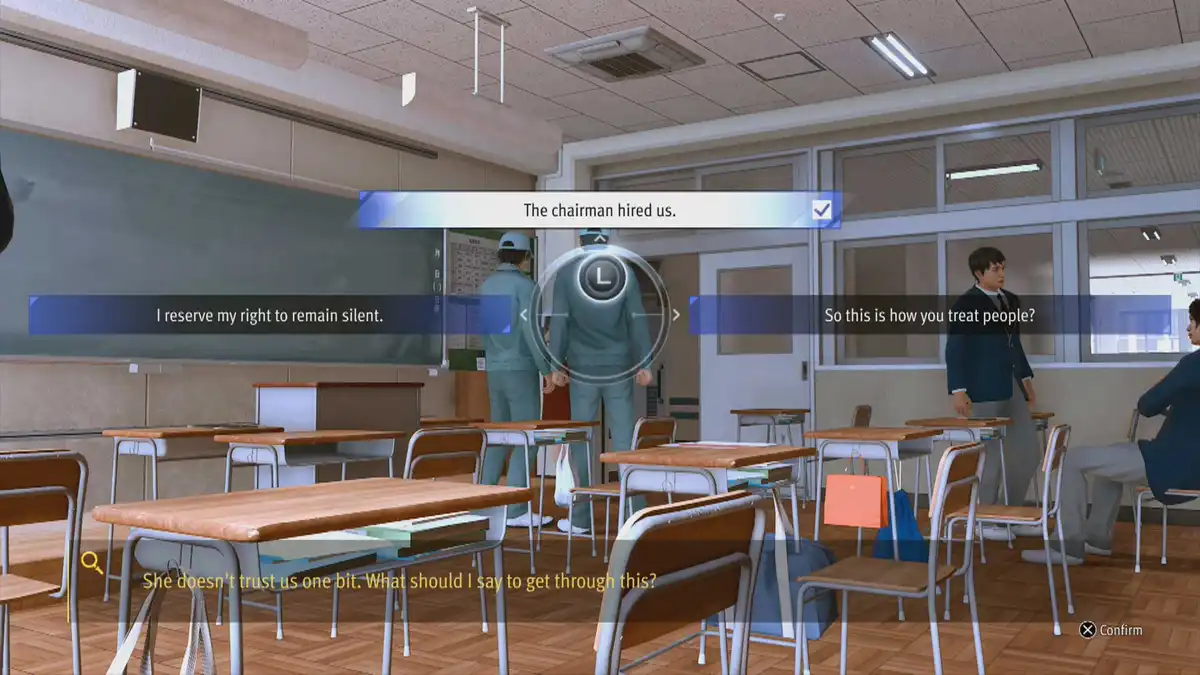
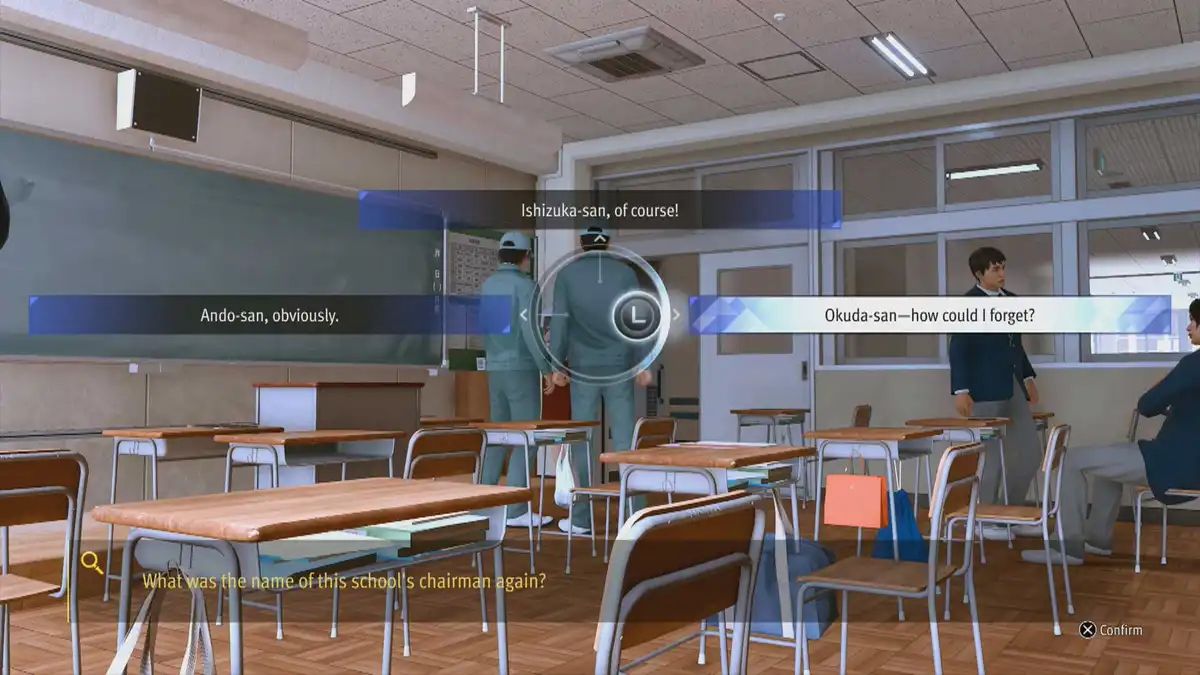
After the cutscene, enter classroom 2-2. When the teacher arrives, tell her the chairmain hired you. His name is Okuda-san (see “Go to Kyoinro” above). You can now “Head to the Gymnasium” to meet the others. Just follow the markers on the minimap.
14 – Head to Class 2-2 on the Second Floor
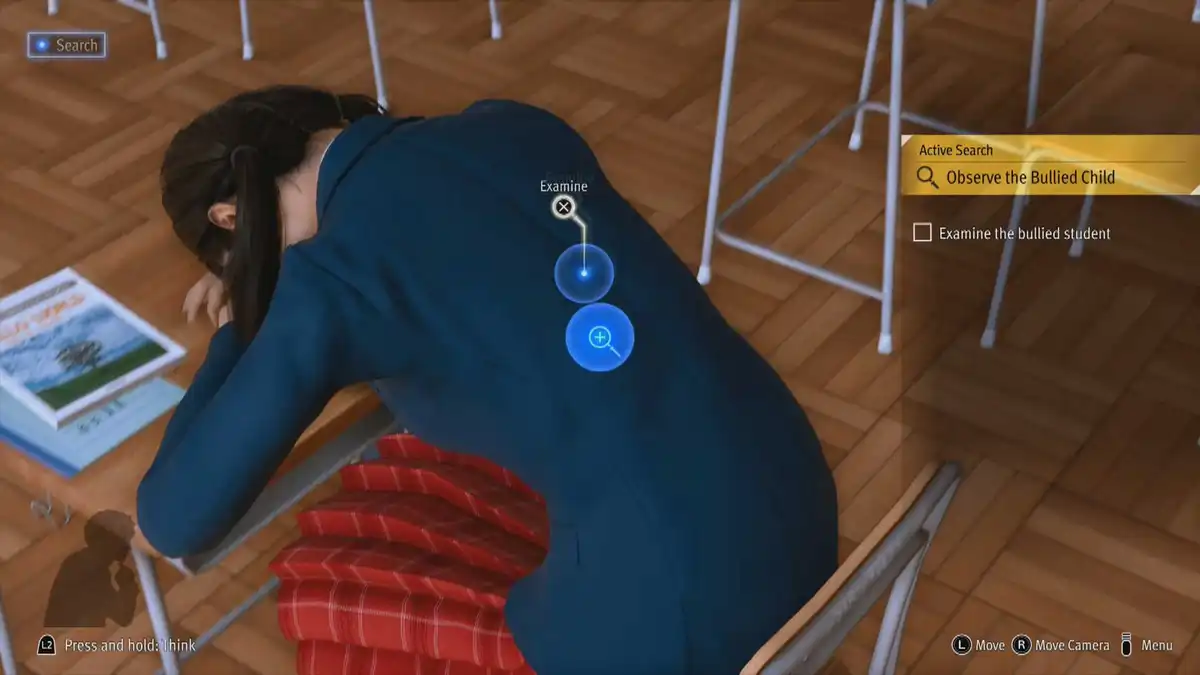
Go back from the roof to the second floor inside classroom 2-2. Approach the girl and go into Observation Mode to “Observe the Bullied Child”. Examine her hand and her head.
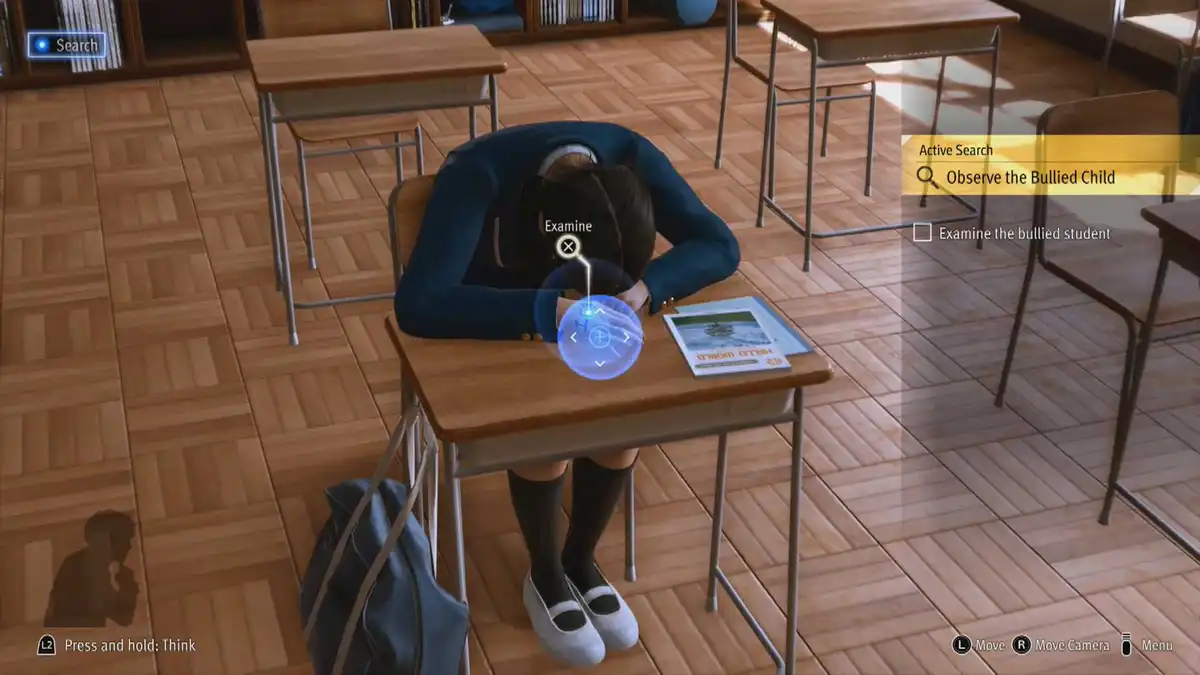
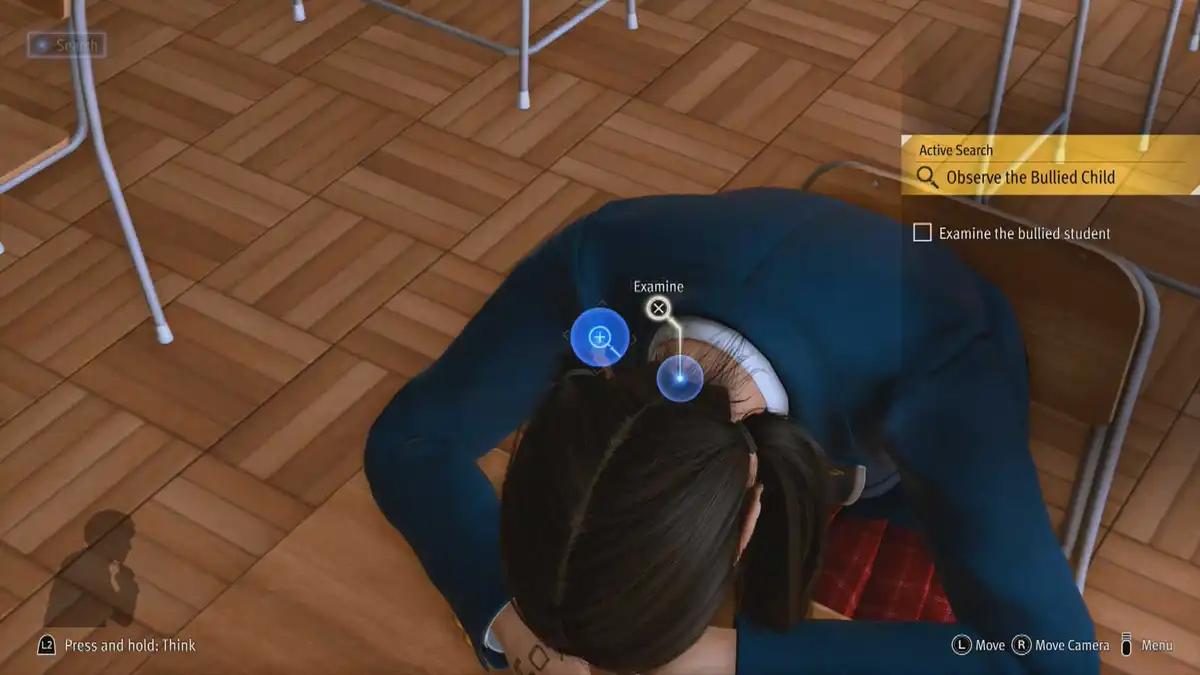
Also her back and the notebook on the table.

15 – Go to the Chairman’s Office on the 3rd Floor
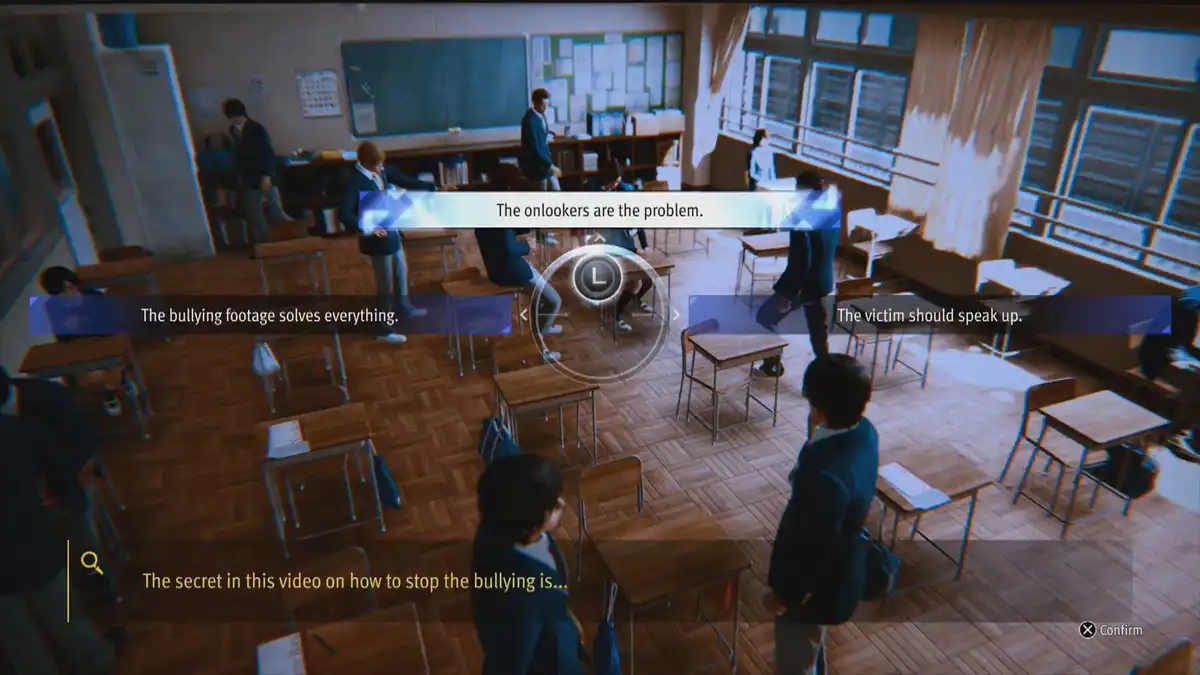
In the Chairman’s Office, answer the question with “The Onlookers are the problem”.
16 – Check the Camera by the 2nd Floor/Escape
Go to the second floor as indicated in the mini-map. The cinematics start as soon as you get to the camera. After the cinematics, you have to parcour up the pipes and drop on the other side.
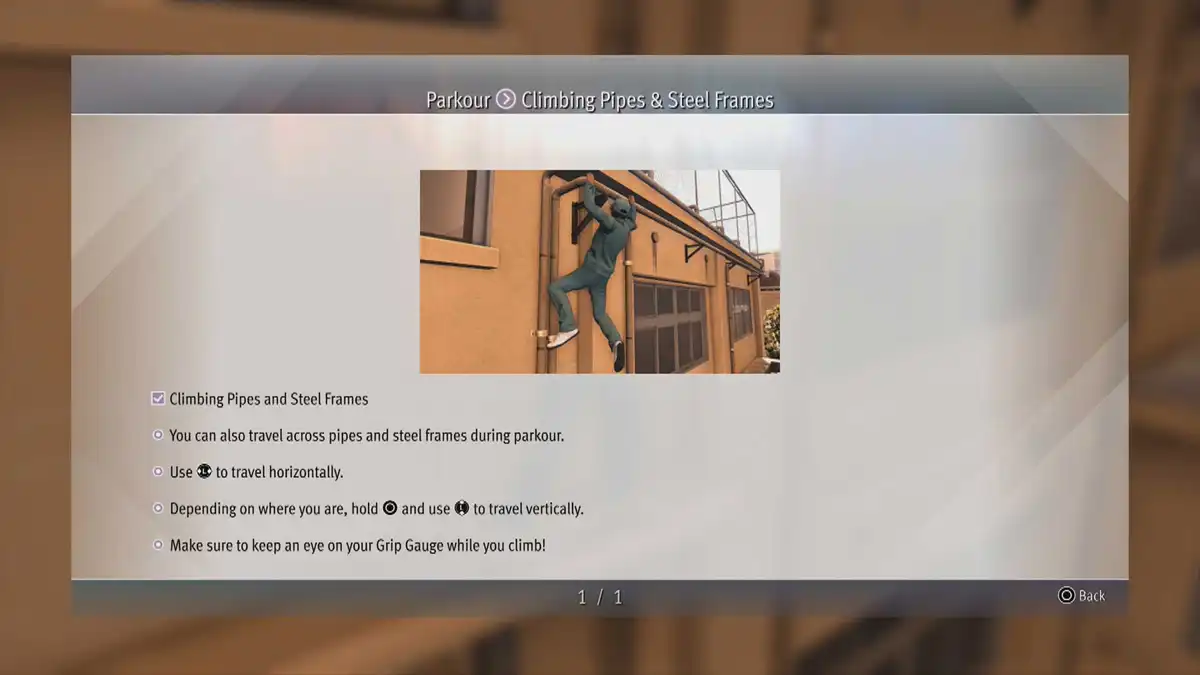
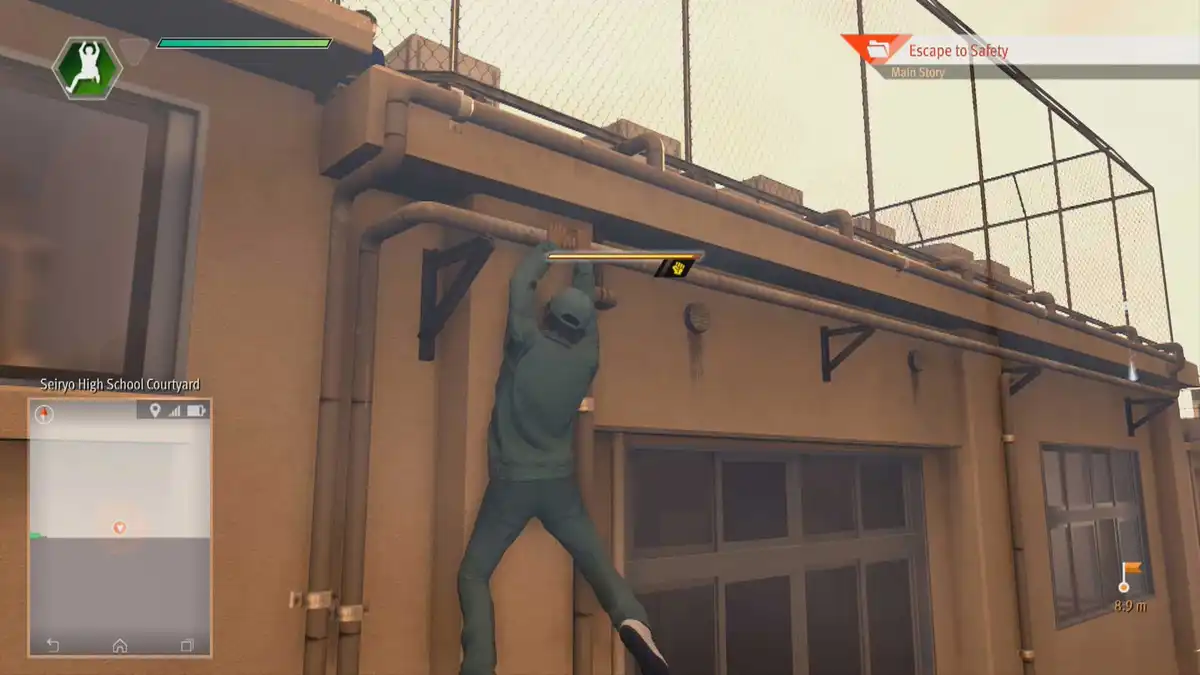
The path now is more or less guided. Sneak over to the ladder to the roof and get on the roof. After the Long Jump introduction, start running towards the marker and jump. Climb inside the building through the open window.
17 – Head to Class 2-2 Without Getting Spotted
Go to the red square and look at the guard.
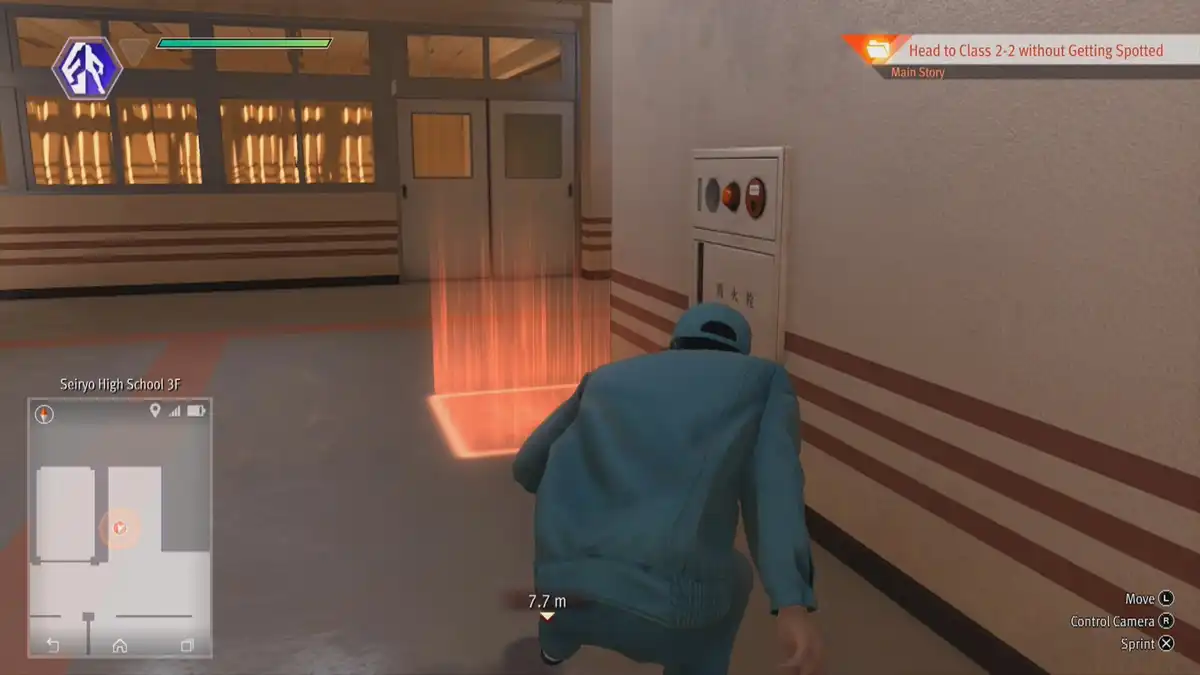
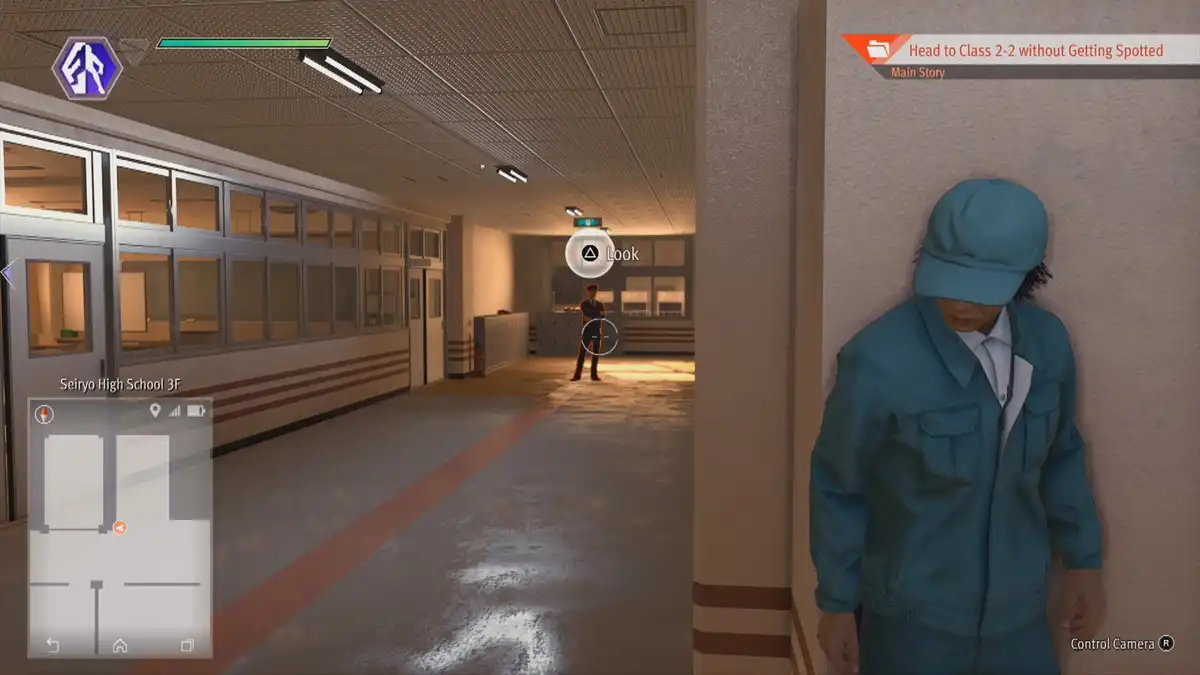
Go down the staircase, where the guards just where and position yourself on the red square. Look at the guards.
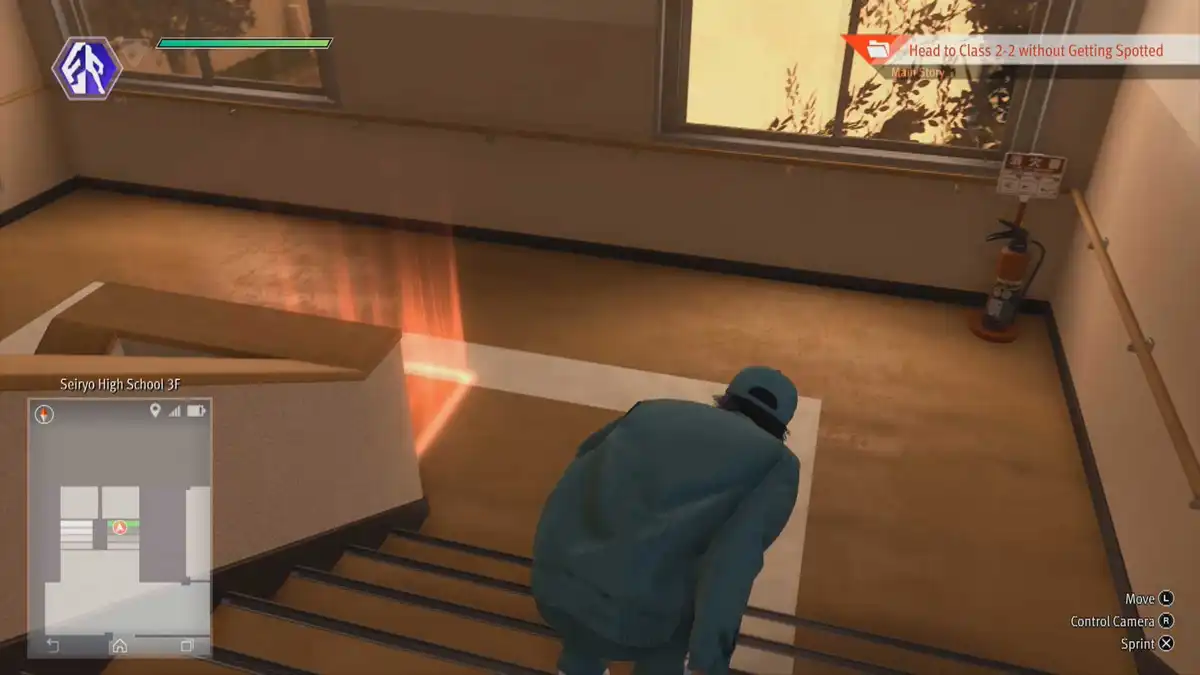
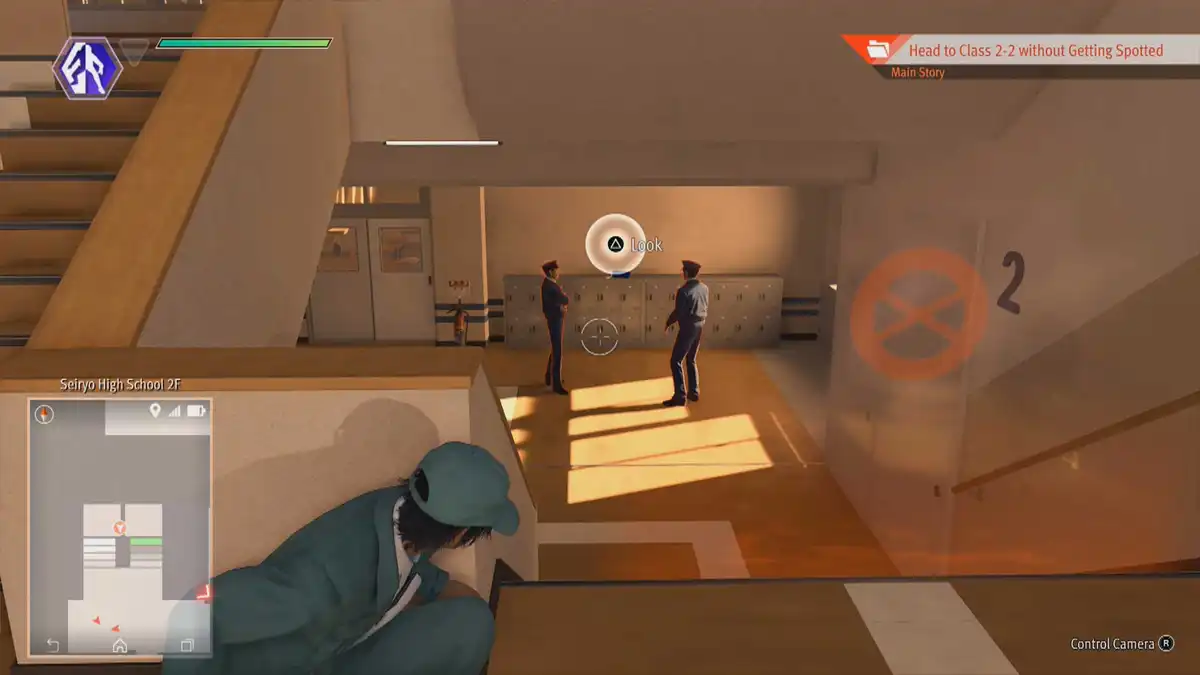
Go back up to the roof and look at the guard. Here you’ll get the Smoke Ball introduction. Throw the Smoke Ball and go through the roof door while the guard can’t see you.
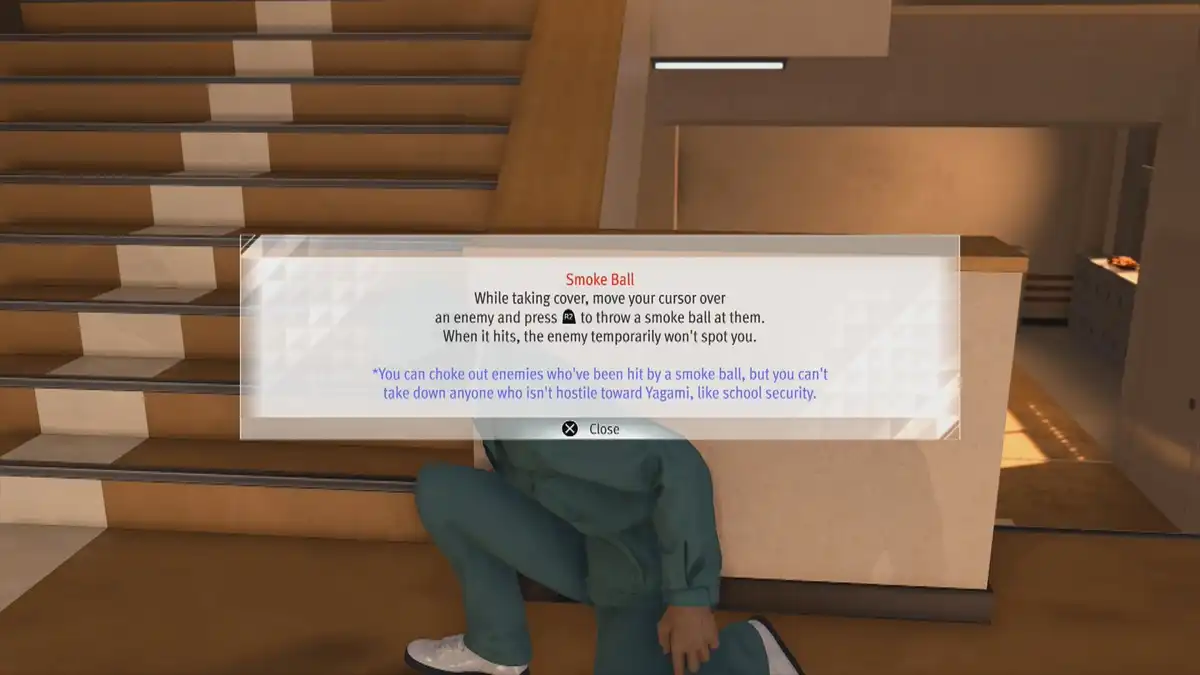
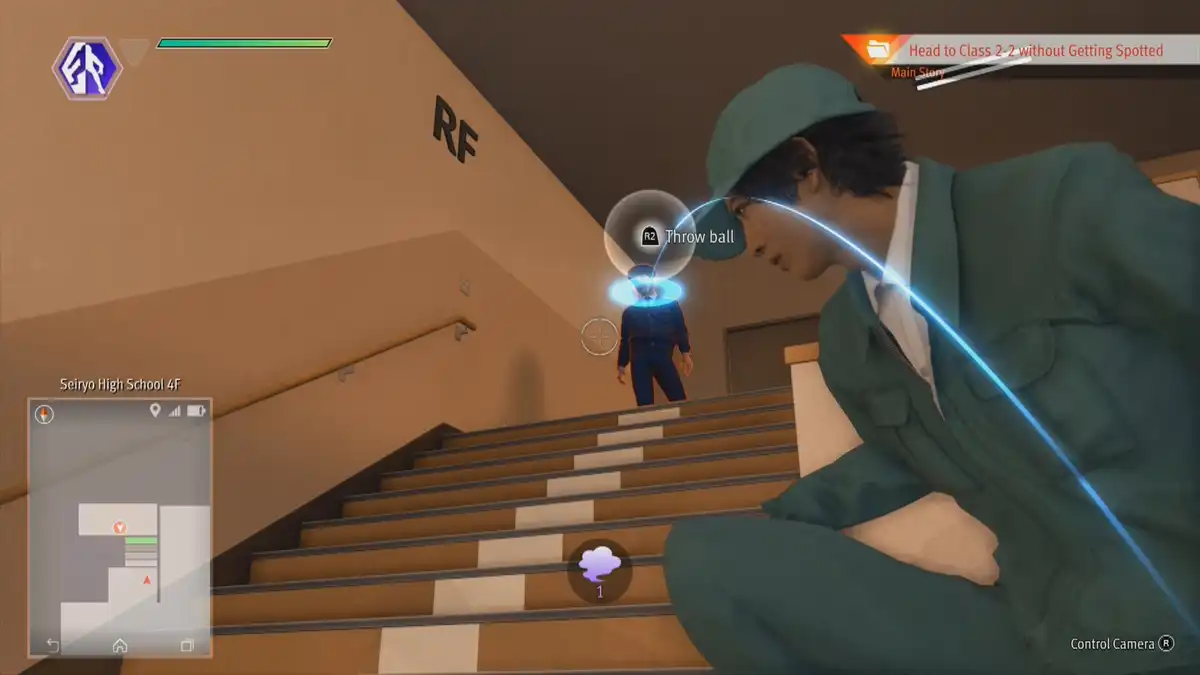
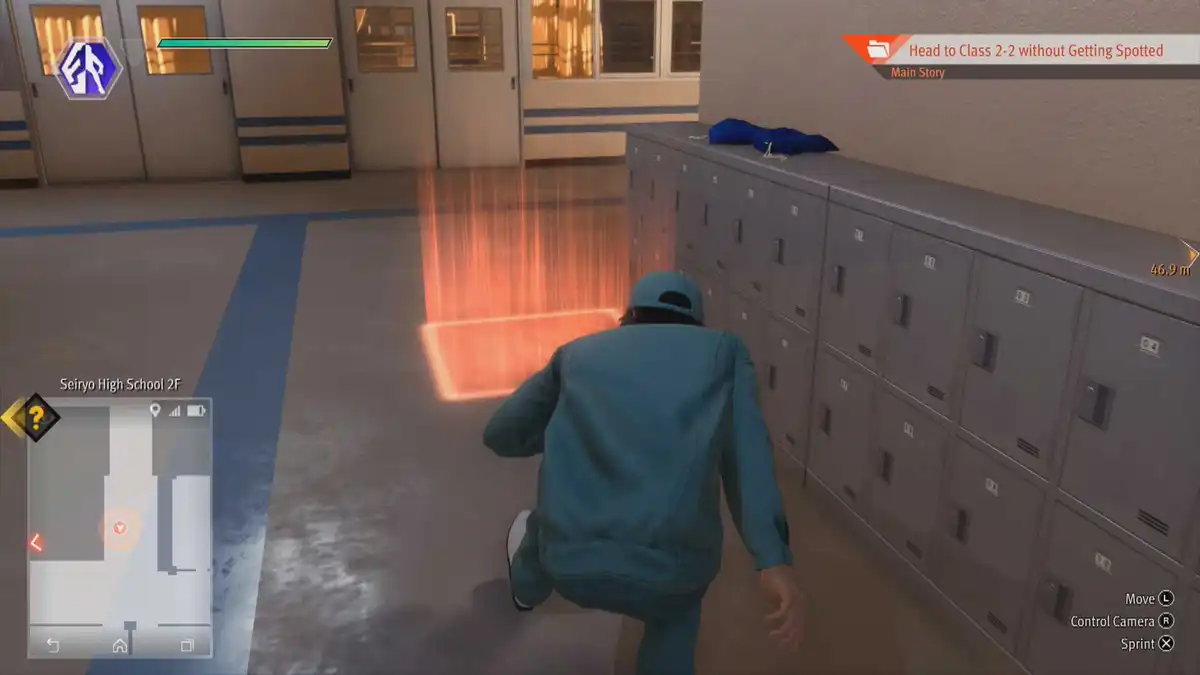
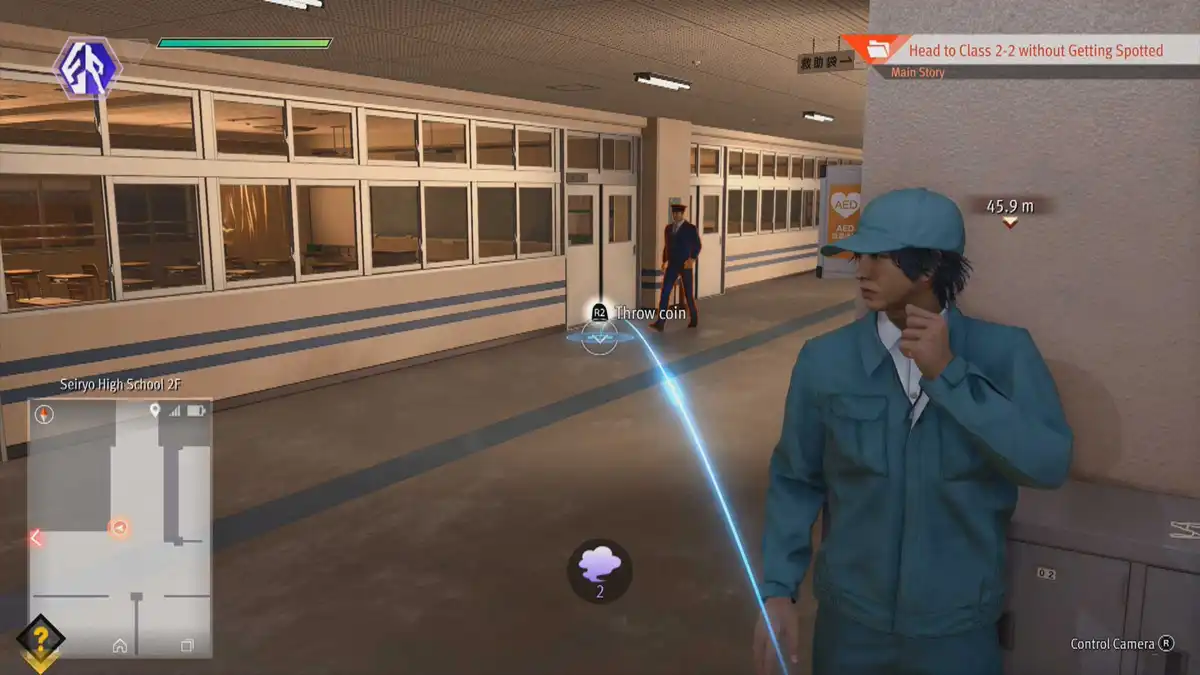
Cross the roof. Take as much distance from the guards as you can. Enter the building again at the other side. Go down, to the red square where you can toss a coin to distract the guard to sneak past him. There is another red square in the corridor. From here you can distract another guard with the coin just before you can enter the classroom.
18 – Set up the Speakers/Punish the Students
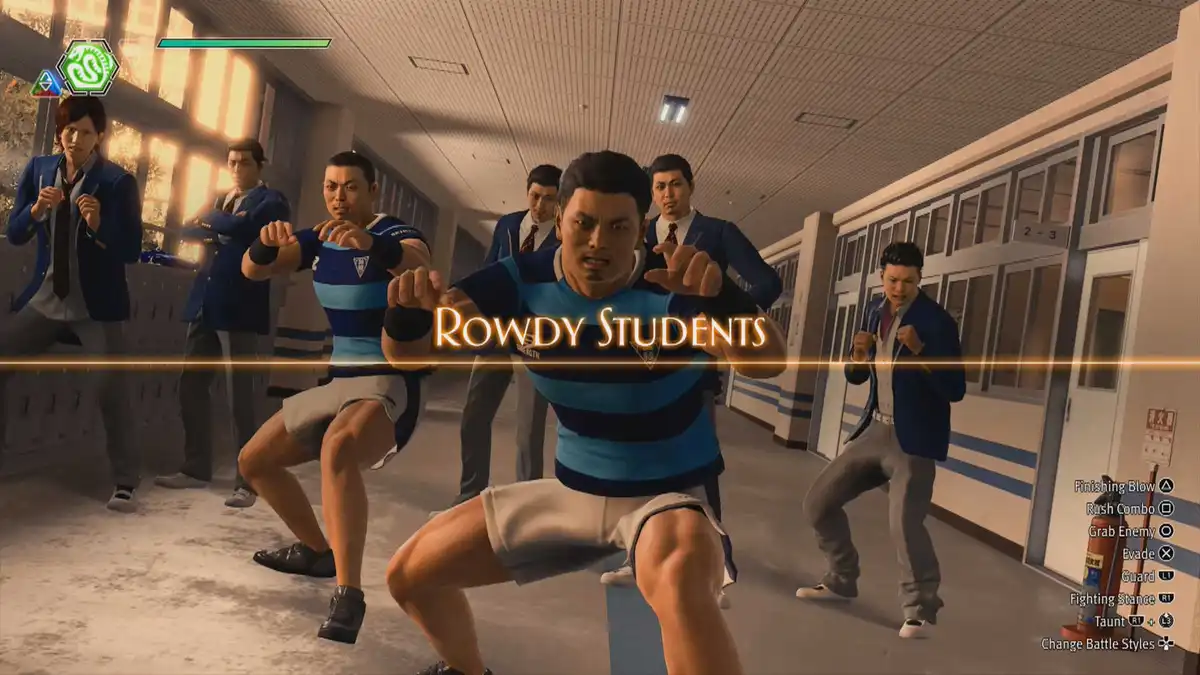
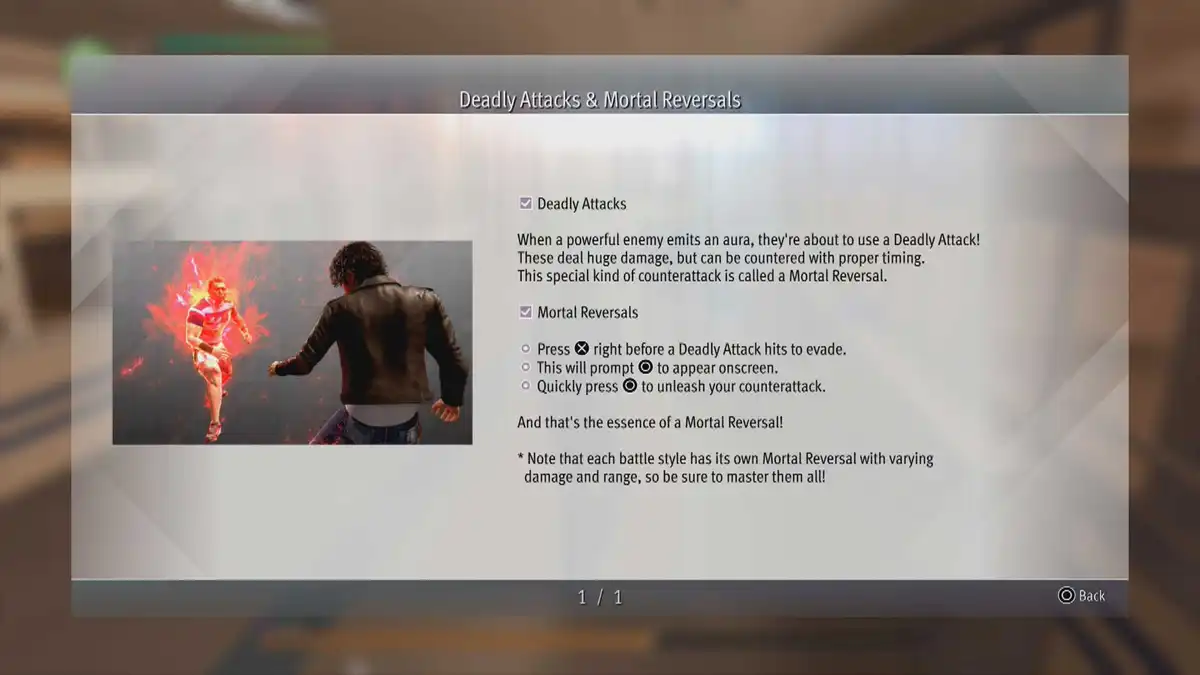
Go to the girls desk, where you will start to install the speakers. When you’re finished, the Rowdy Students will spot you and start a fight. Here you’ll learn about “Deadly Attacks” and how to avoid them. After the fight, head back to Yokohama 99 and rest up on the couch.
The next morning, return to Seiryo High School to complete the chapter.
Browse Lost Judgment

Lost Judgment: A Particularly Hardcore Demo Event – Side Case
The complete walkthrough of the Side Case: A Particularly Hardcore Demo Event in the game Lost Judge…
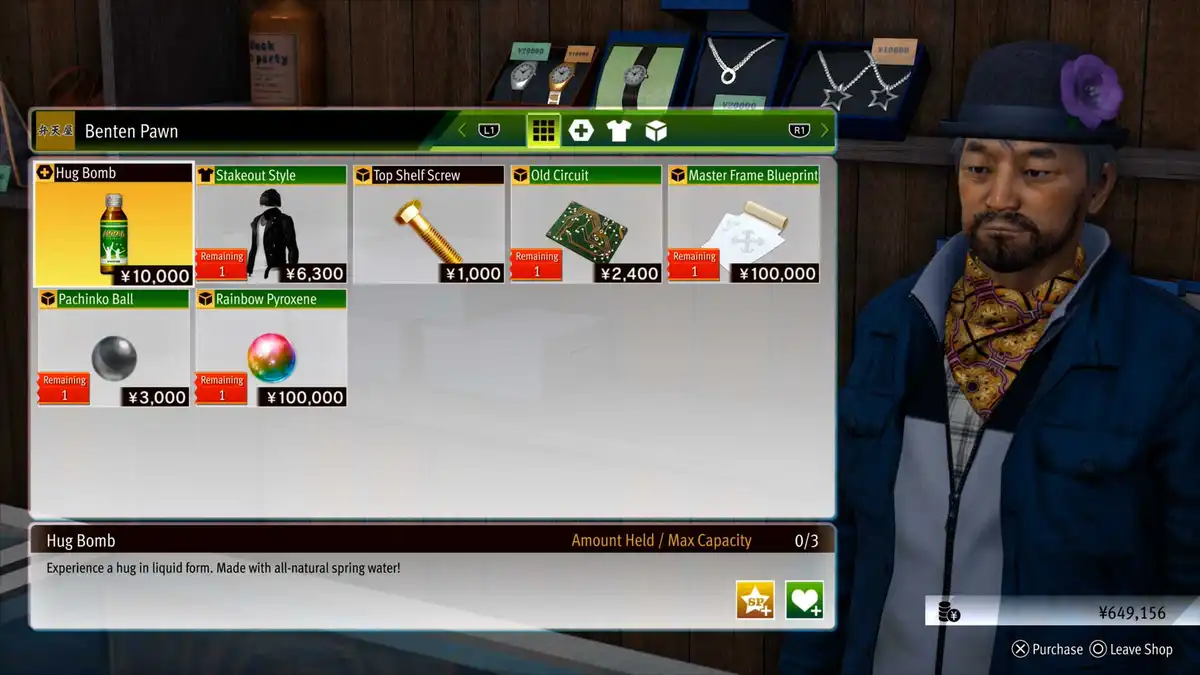
Lost Judgment: All Yokohama Shops & What They Sell
A list of all shops and what they sell in Lost Judgment's Yokohama.
Lost Judgment: Biker Gang – Made in Heaven School Story Walkthrough
The complete walkthrough of the School Story: Biker Gang – Made in Heaven in Lost Judgment.

Lost Judgment: Broken Barriers Side Case Walkthrough
How to complete the Broken Barriers Side Case in the Lost Judgment game.
Lost Judgment: Chaos of the Masked Writer Side Case Walkthrough
How to solve the "Chaos of the Masked Writer" Side Case in the game Lost Judgment.
Lost Judgment: Chapter 1 – Black Sheep Walkthrough
This is a complete walkthrough of Chapter 1: Black Sheep in the game Lost Judgement.


About Lost Judgment
Release: September 24th, 2021
Developer: Ryu Ga Gotoku Studio
Publisher: Sega
Official Website: https://games.sega.com/lostjudgment/